Open this guide on a computer or another phone - not the phone you are resetting.
This guide helps you make sure your personal data is safely saved in your Apple Account (iCloud), factory reset your iPhone, and set it up with your company apps. We will make sure nothing important is lost before the reset. The full process takes 15-20 minutes, plus extra time while your photos finish uploading to iCloud.
You will need:
- Your Wi-Fi network name and password
- Your work email: [your name]@continuumservices.com
- Your password:
If you already changed your password during a previous sign-in, use the new one.
If you have not changed your password yet, you will need to use your temporary password:
CS- followed by your employee number
- If you have a 4-digit employee ID: add two zeros at the front (e.g. 1234 becomes CS-001234)
- If you have a 7-digit employee ID: use the full number (e.g. CS-1234567)
About your data: Because this is a company-managed device, you will not be restoring from an iCloud backup. Instead, after enrollment you will sign into your Apple ID in Settings, which automatically brings back:
- Photos and videos, Contacts, Calendars, Notes, Safari bookmarks, iCloud Keychain (saved passwords), Messages, and iCloud Drive files.
What will not come back: home screen layout, wallpaper, app data, notification settings, Wi-Fi passwords, and personal apps.
Is your iCloud storage full?
If your iCloud storage is full, your photos and data cannot finish uploading - and you will see a message like this:
If you see this,
tap here to free up space first, then come back and start the steps. Your free 5 GB fills up fast - clear old backups and large files, or add paid Apple iCloud+ storage at your own cost.
Plenty of space already? Tap Next to start.
Part 1: Save your data to iCloud
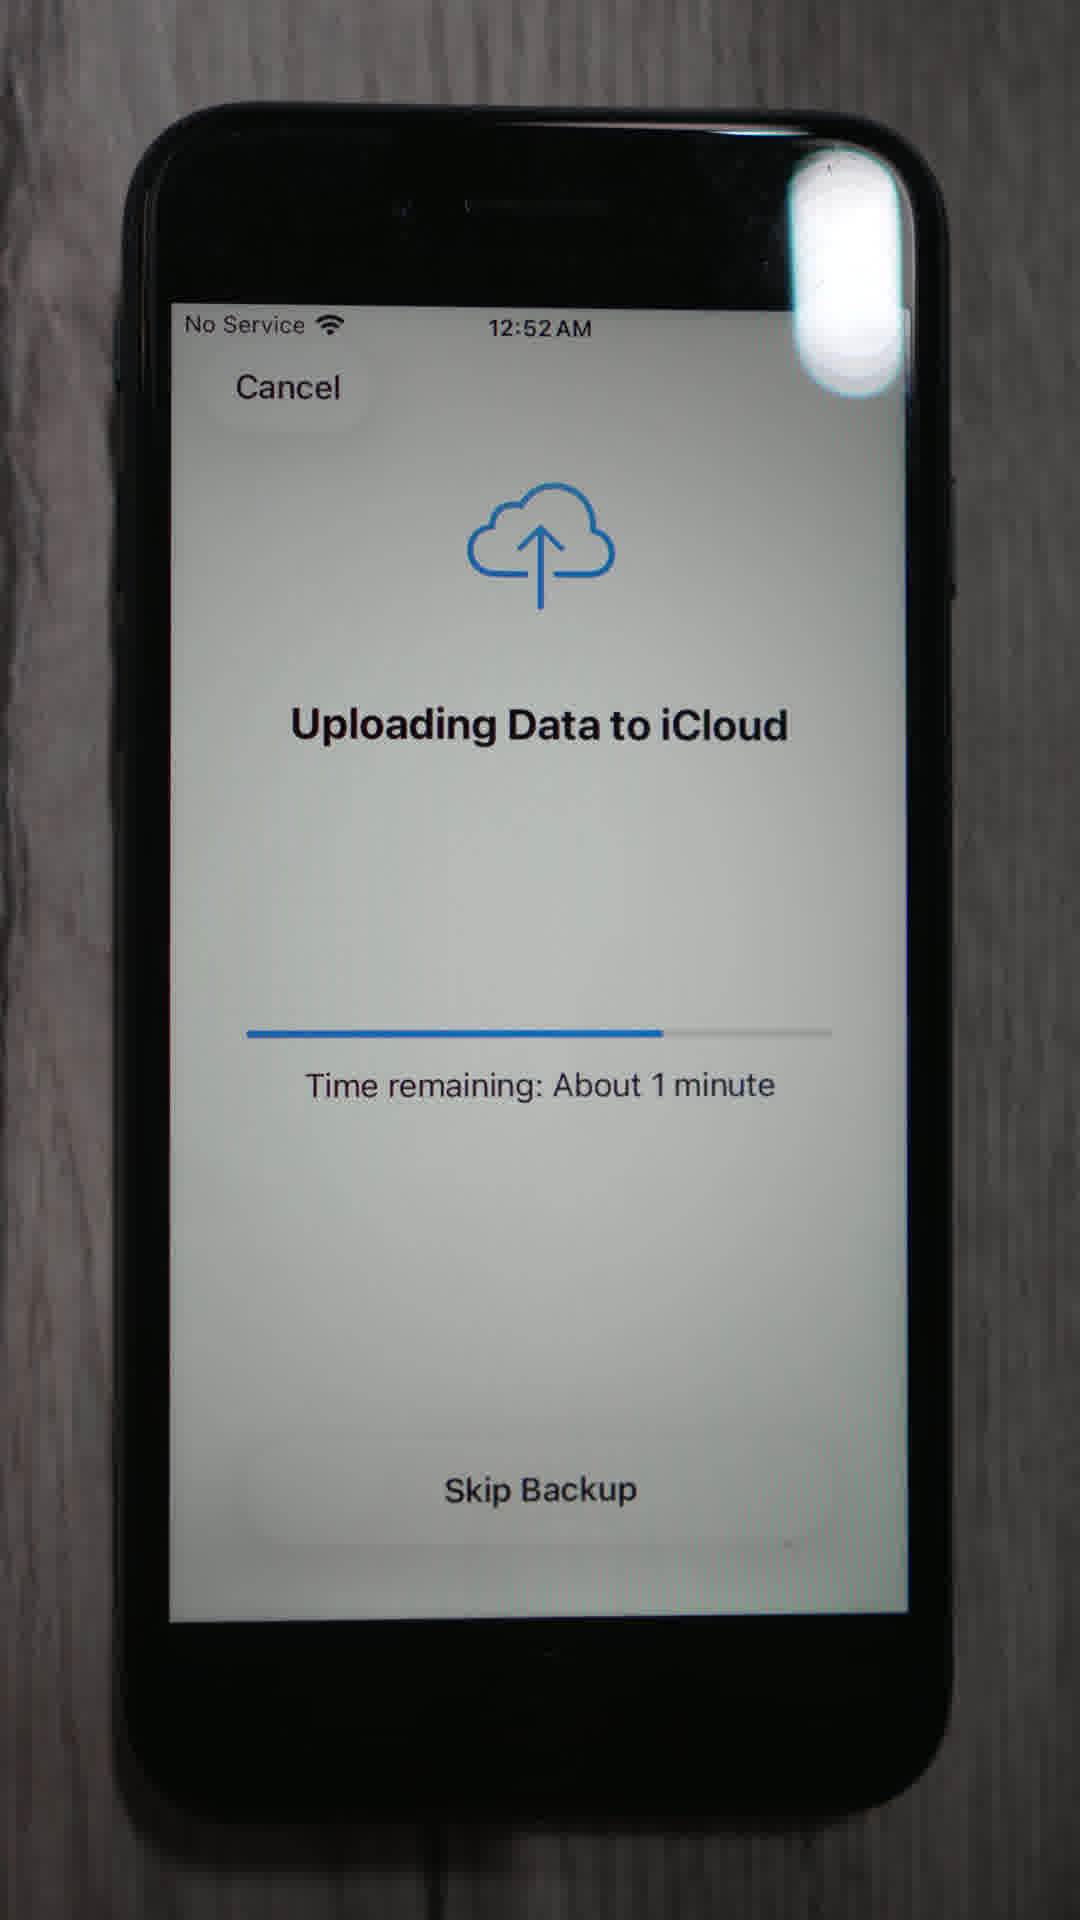
Here is exactly how to check, screen by screen, that your data is saved to iCloud before you reset. Keep the phone on Wi-Fi and plugged in the whole time.
1.Open Settings and tap your name at the top, then tap iCloud.

2.Under Saved to iCloud, tap See All to see everything that backs up.

3.Make sure Photos, iCloud Drive, Mail, and Passwords are switched On.

4.Scroll down and check the rest are On too, including Notes and Messages.

5.Keep scrolling. Contacts, Reminders, Safari and the others should be On.

6.At the bottom, Calendar, Maps, Weather and the rest should be On as well.

7.To check your texts, tap Messages in iCloud.

8.This shows when your messages last synced. Tap Sync Now.

9.It will show Syncing with iCloud. Wait for it to finish.

10.When it says Synced just now, your messages are saved.

11.Go back and tap iCloud Photos to check your photos.

12.Photos shows Syncing with the number of items left. Keep the phone on Wi-Fi and plugged in until it finishes.

13.When Photos says Synced Just Now, everything is saved. You are safe to move on to the reset.

Use WhatsApp? WhatsApp chats do not save to iCloud automatically. Open WhatsApp > Settings > Chats > Chat Backup > Back Up Now and wait for it to finish, so you can restore your chats after the reset.
Part 2: Factory reset
! The erase cannot be undone. Make sure all your data has finished saving to iCloud before proceeding.
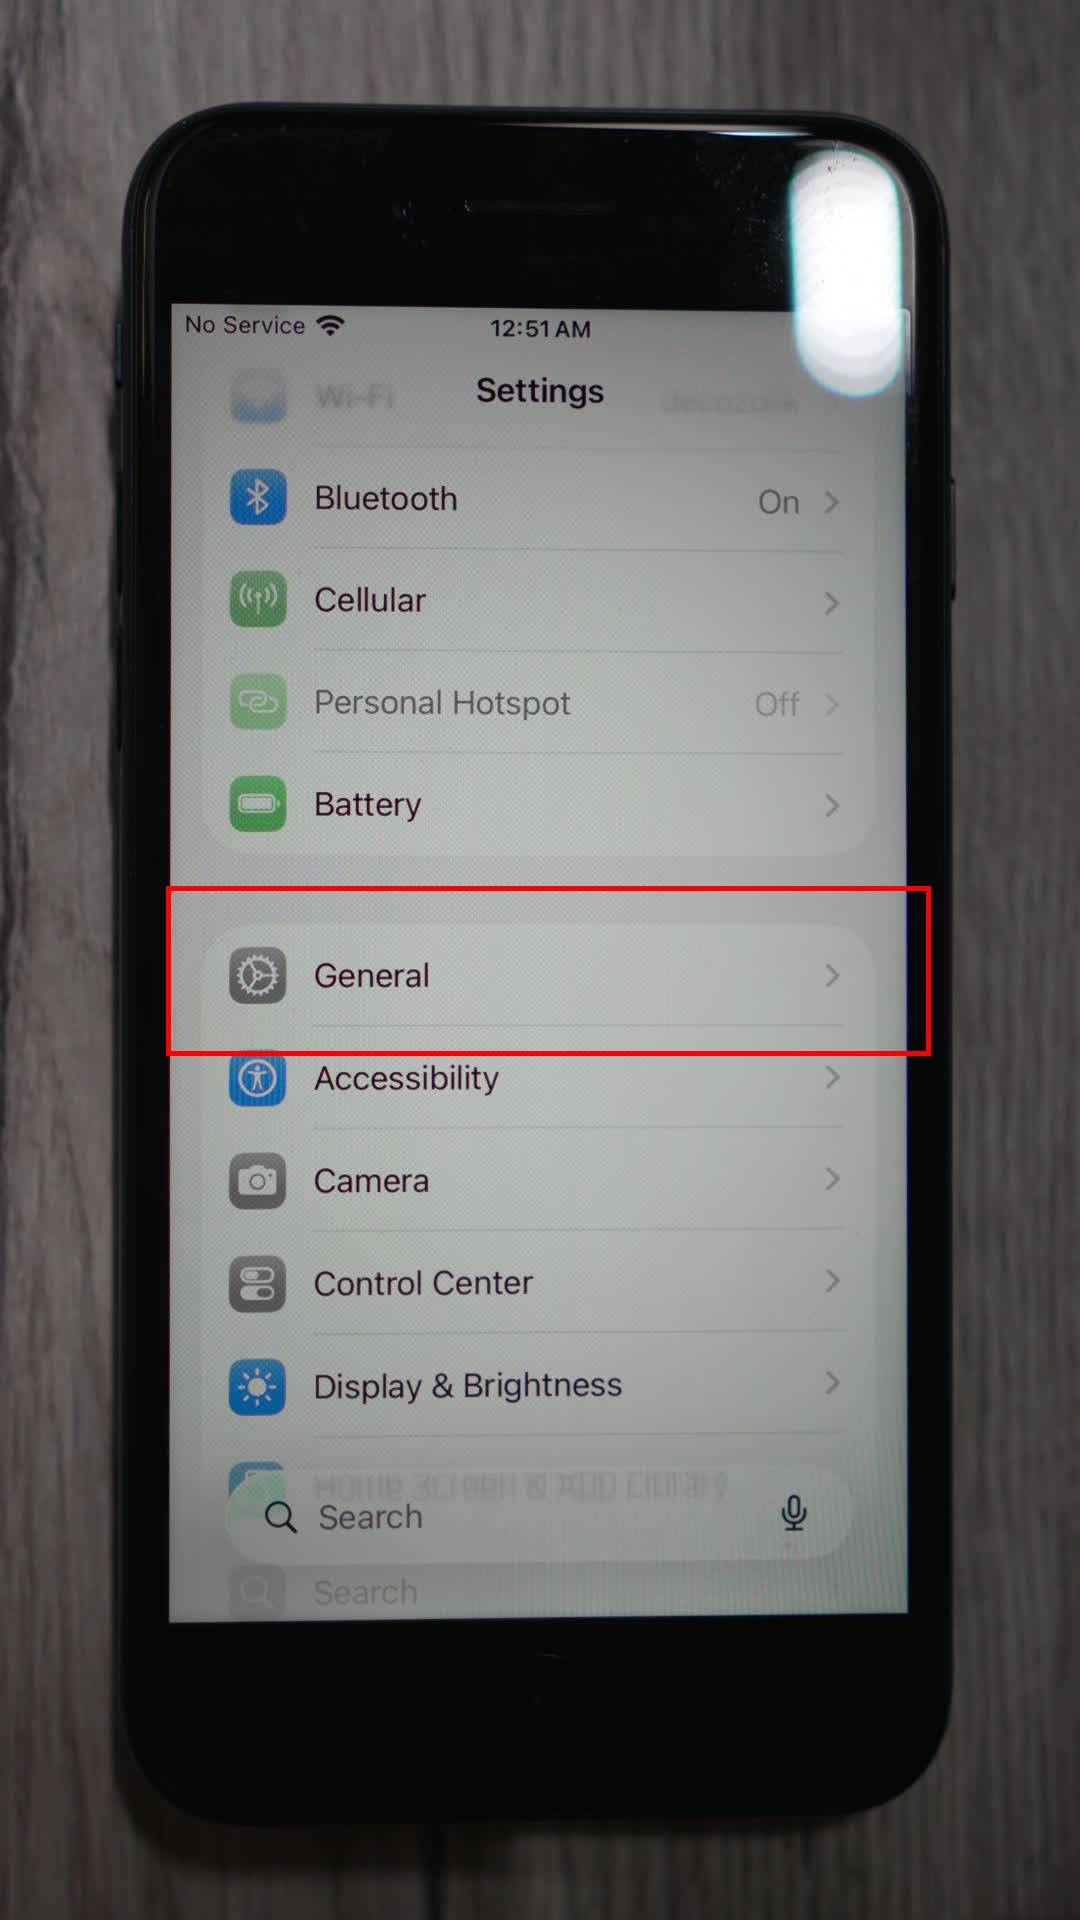
14.Open the Settings app, scroll down, and tap General.
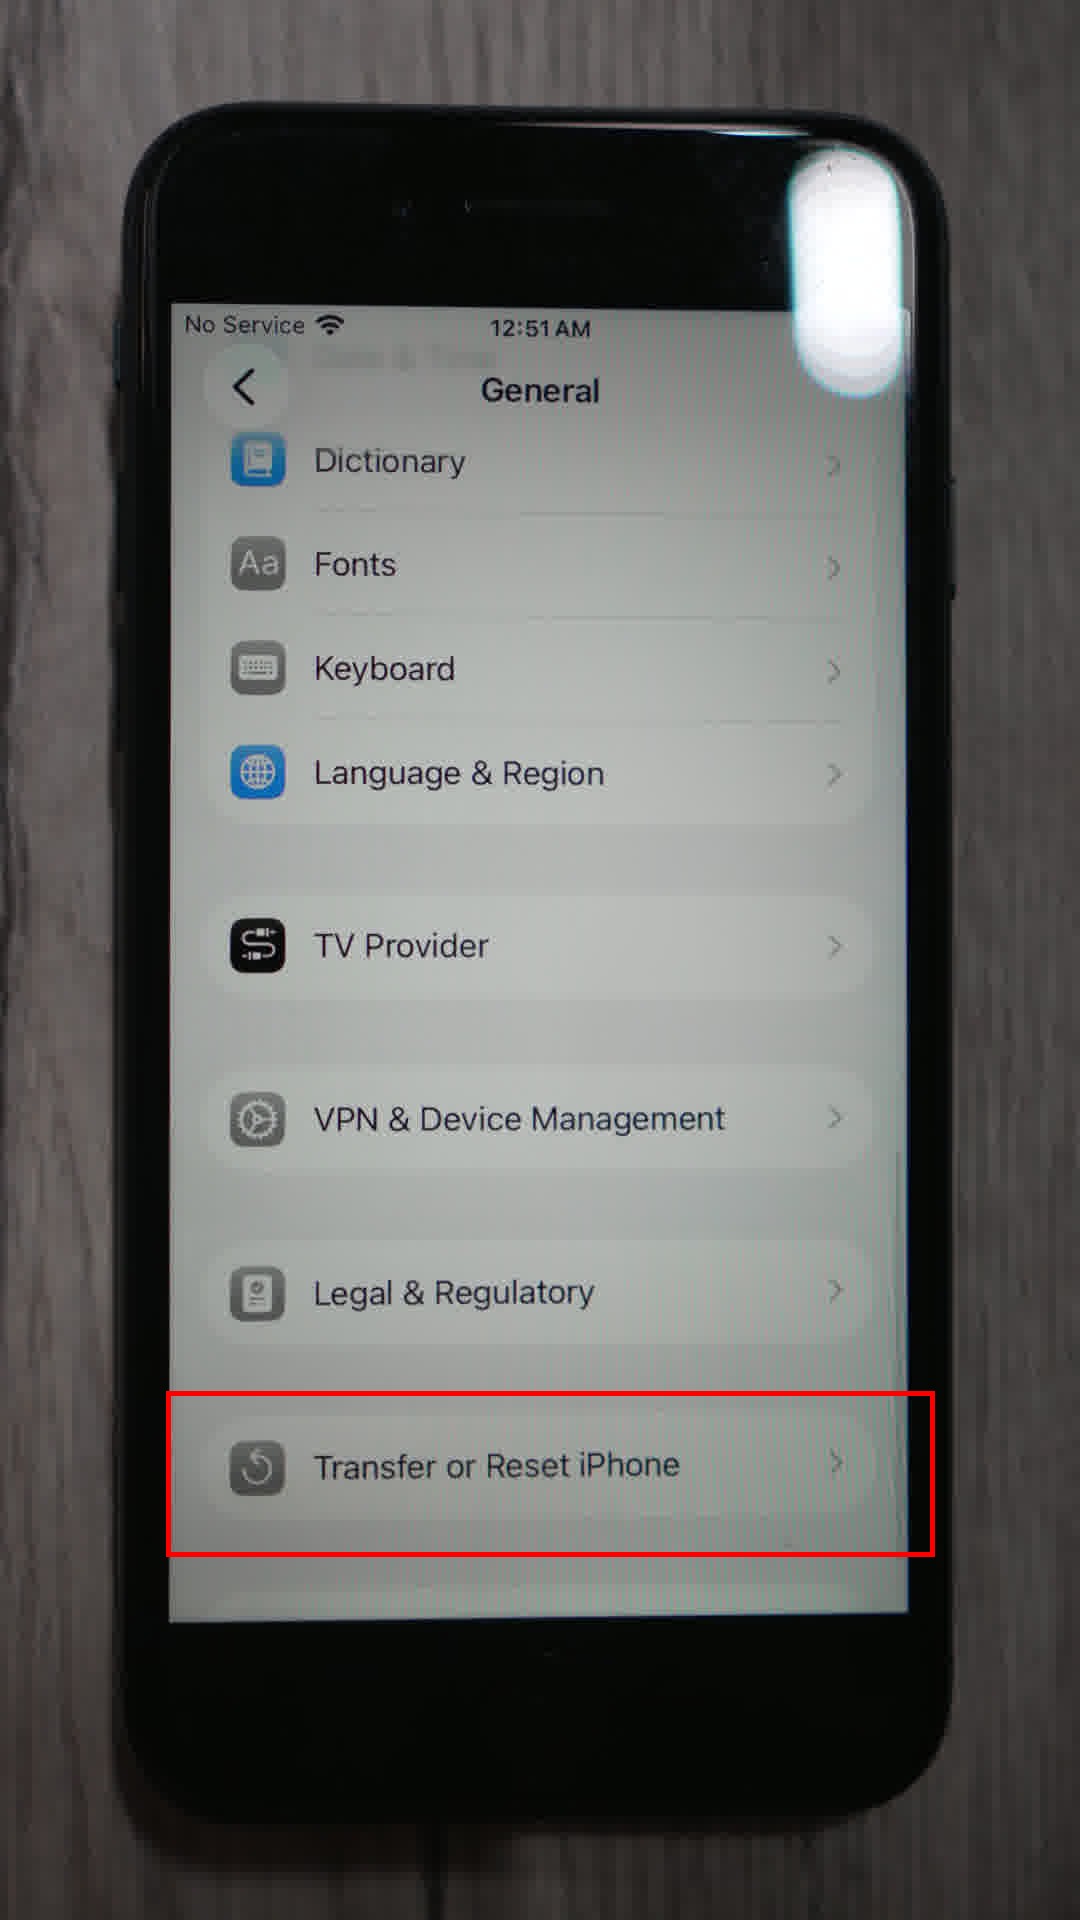
15.Scroll all the way down and tap Transfer or Reset iPhone.
16.Tap Erase All Content and Settings.
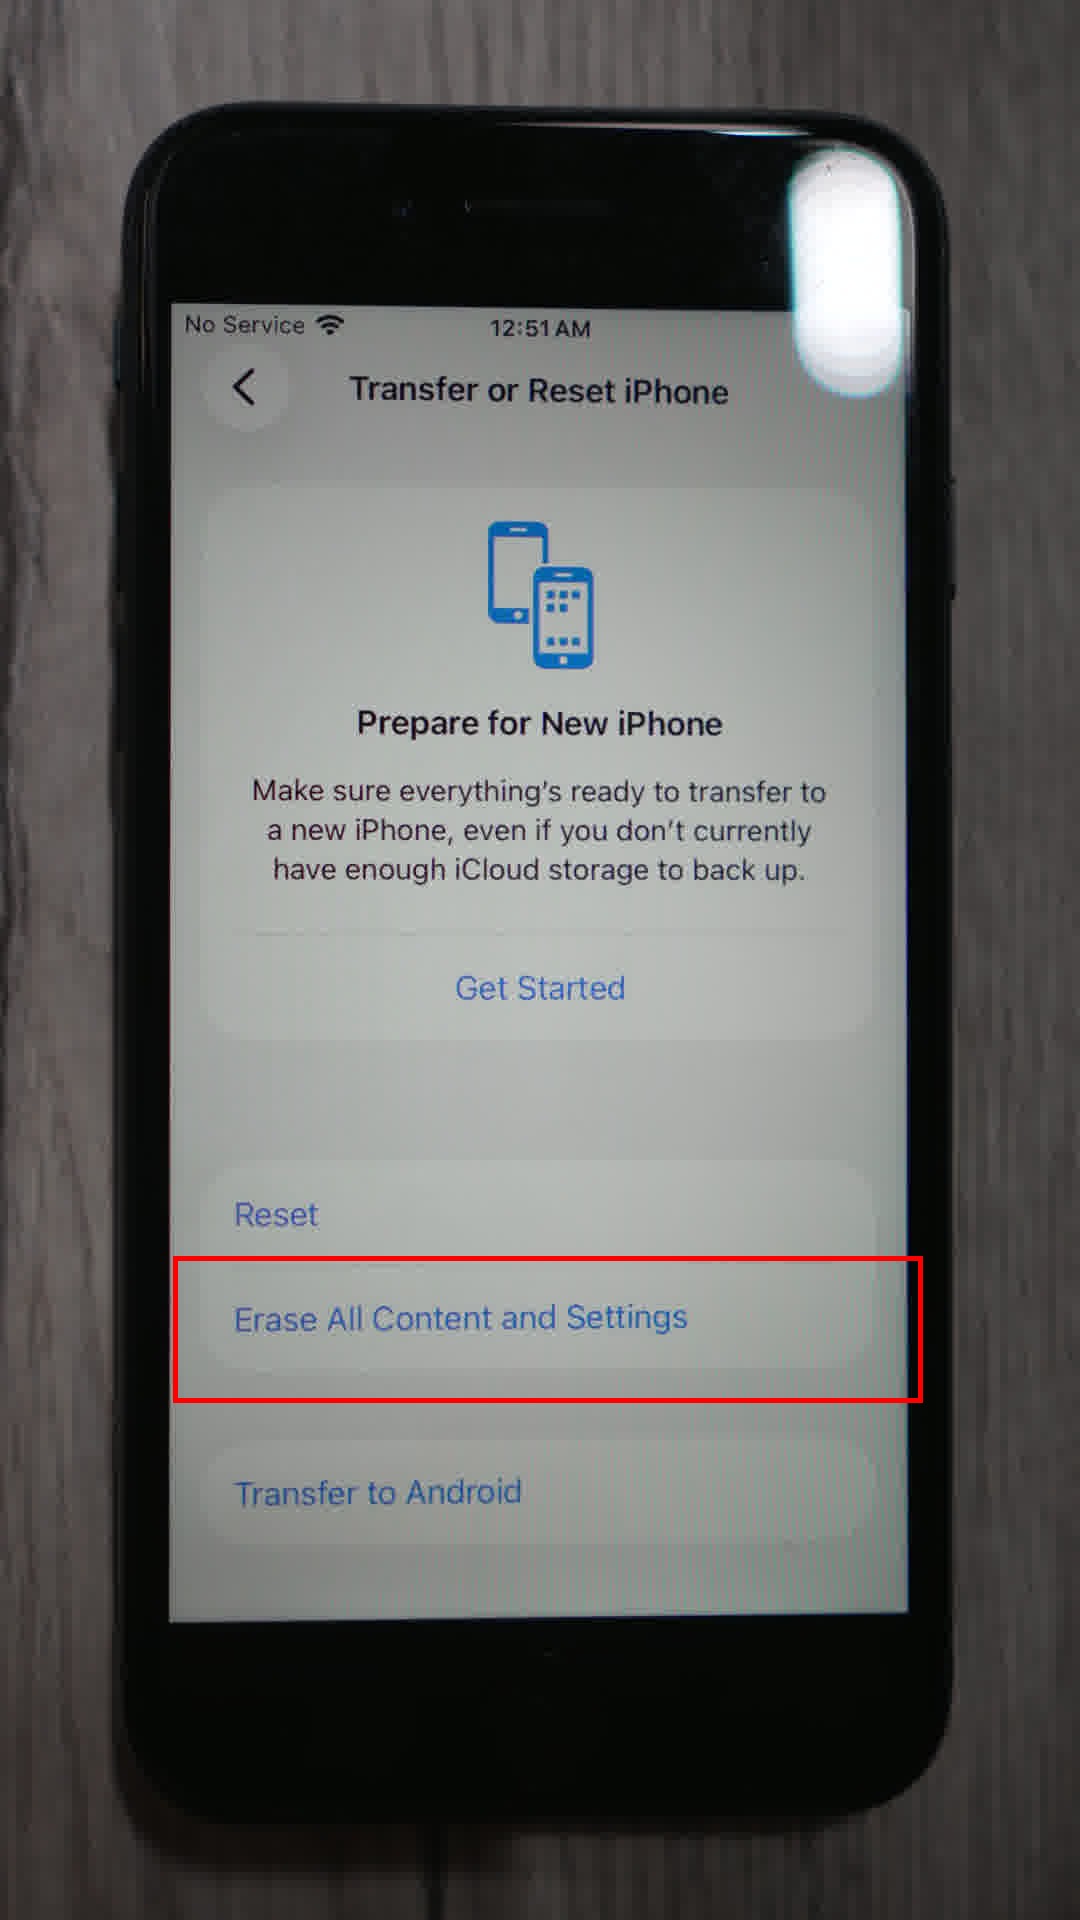
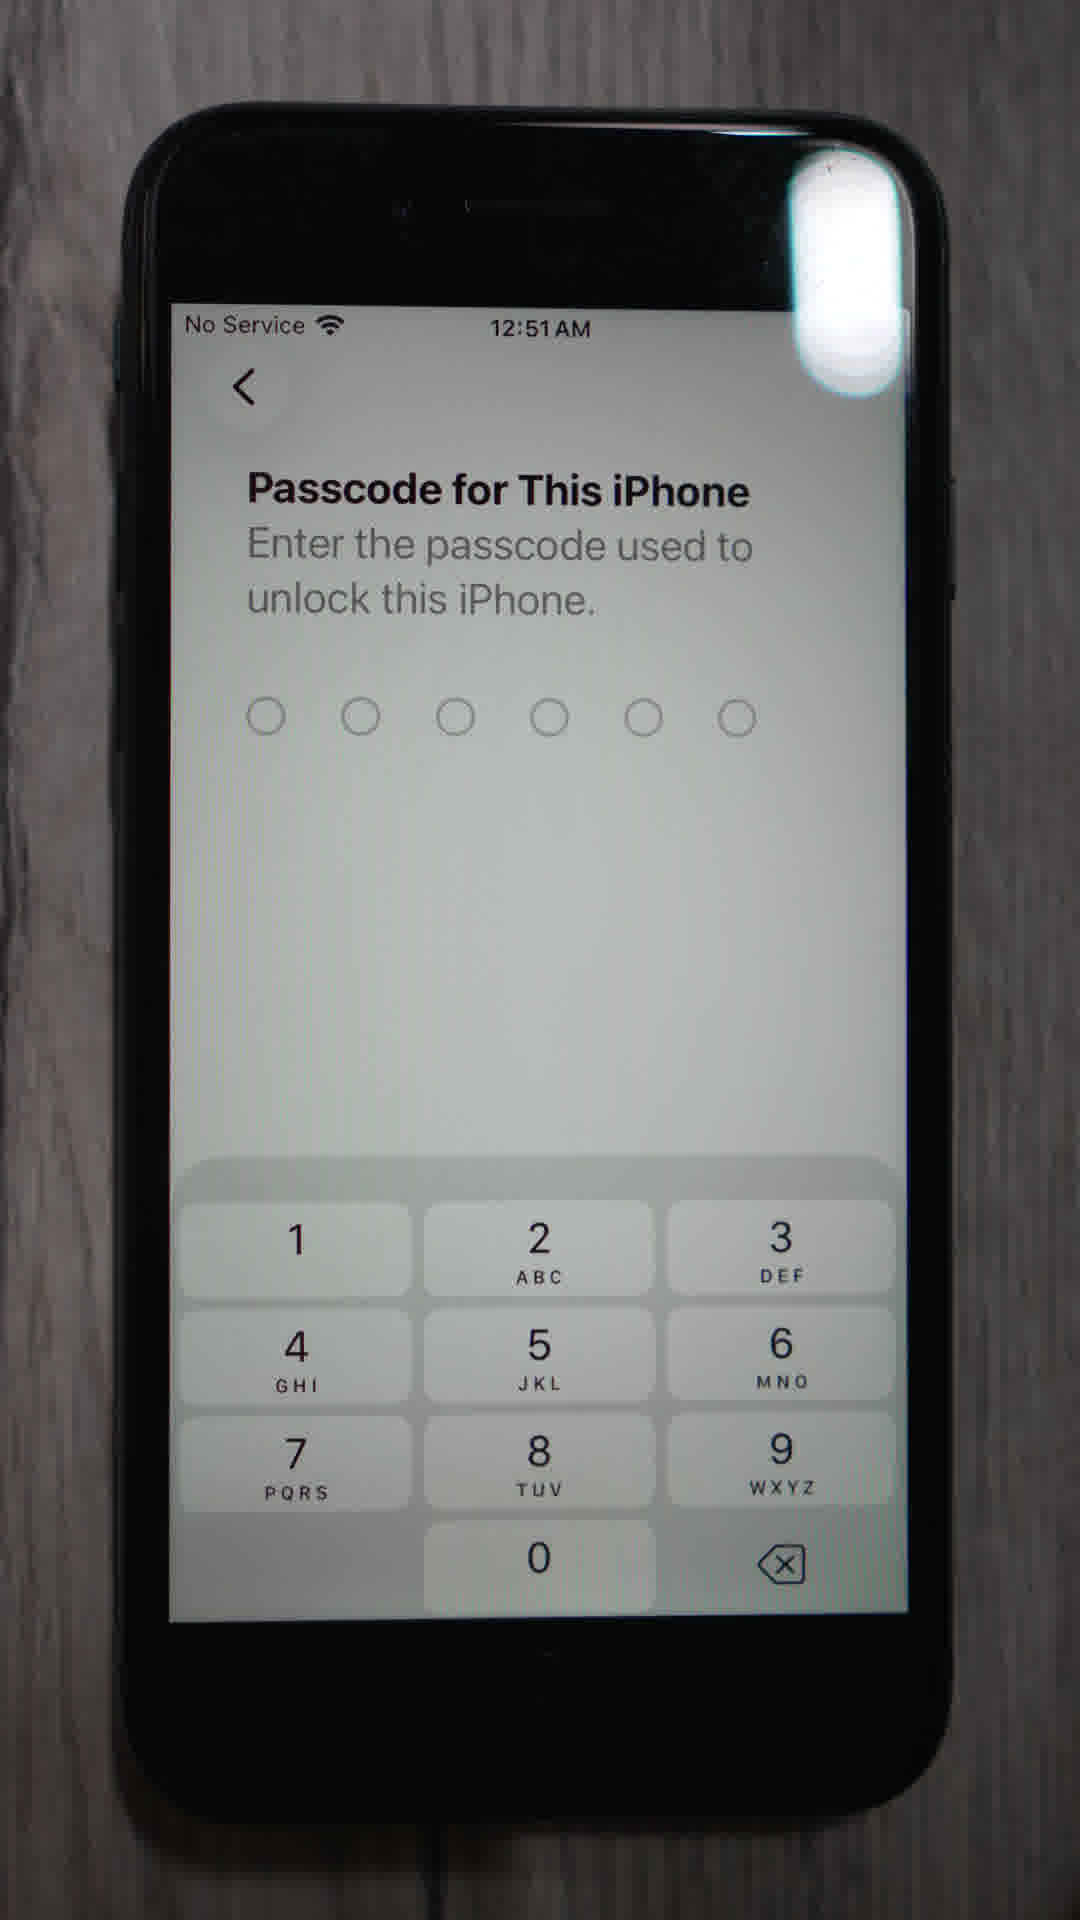
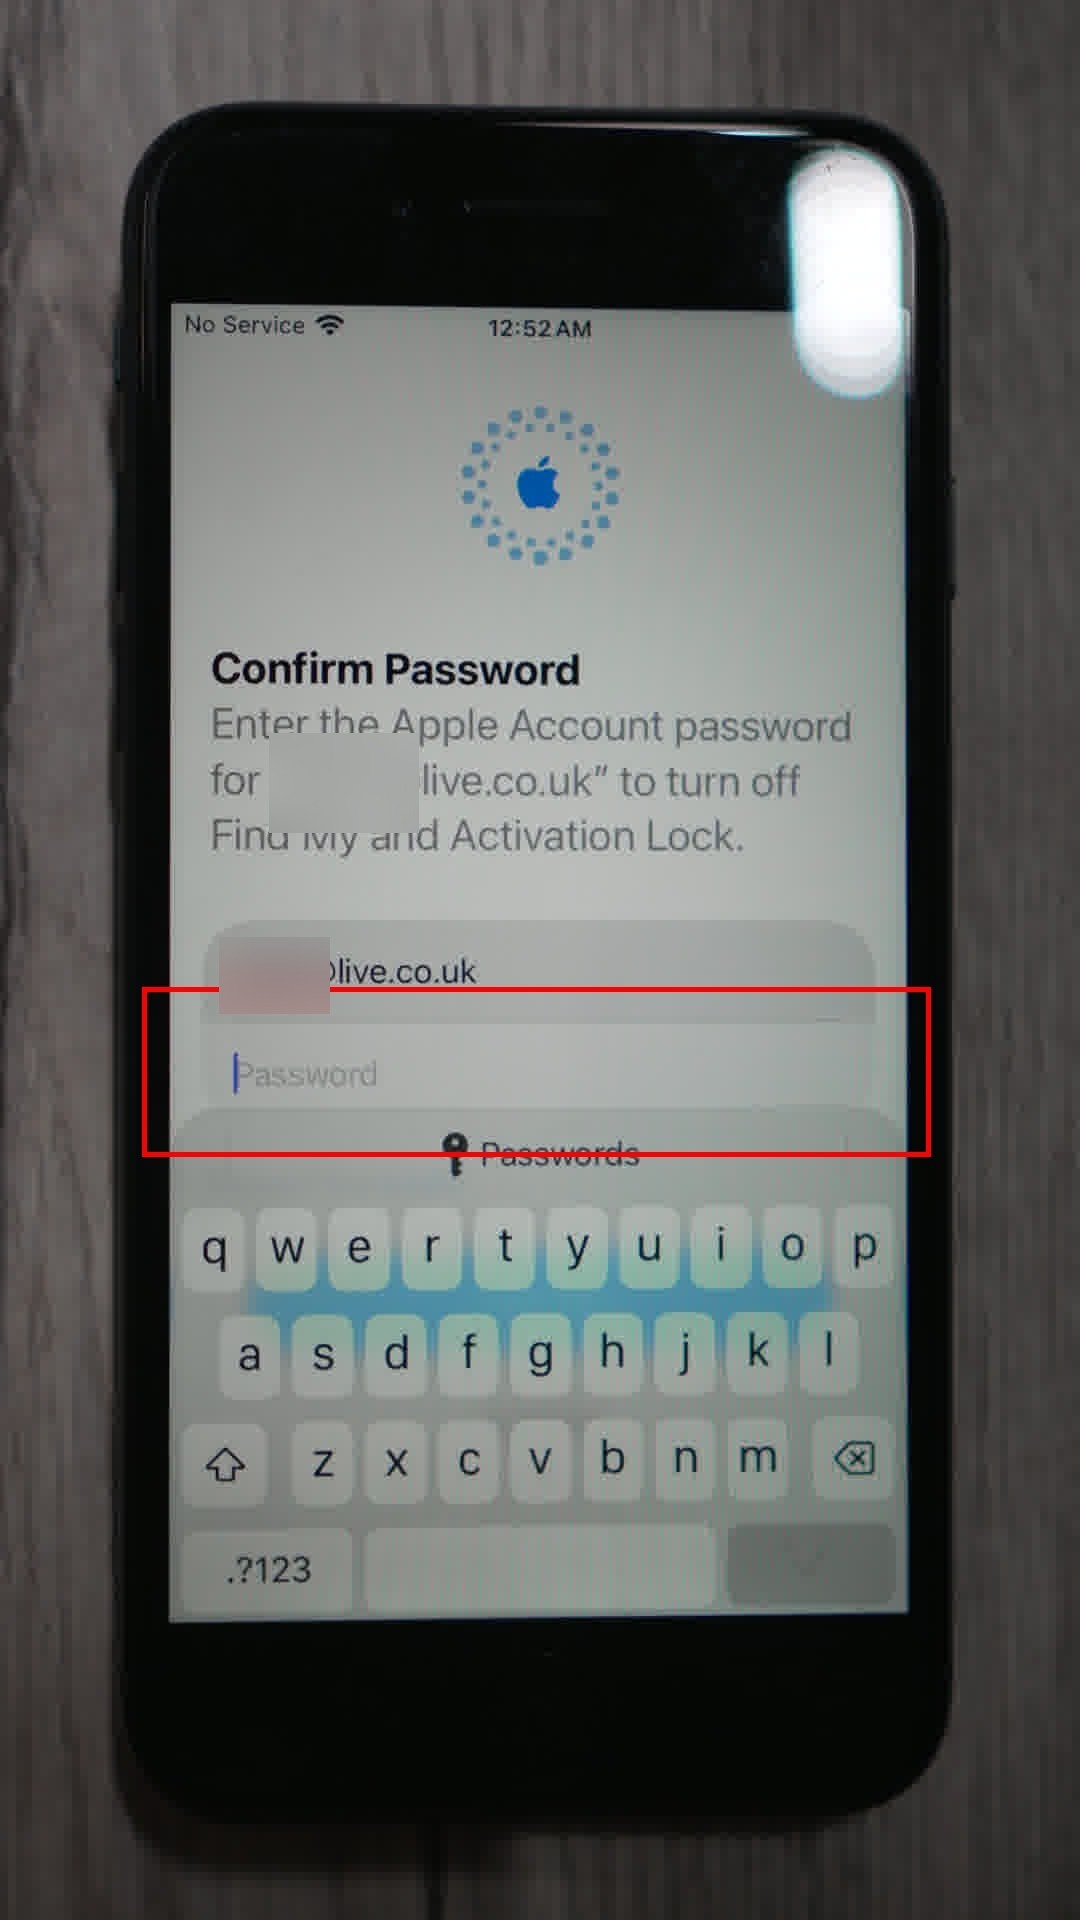
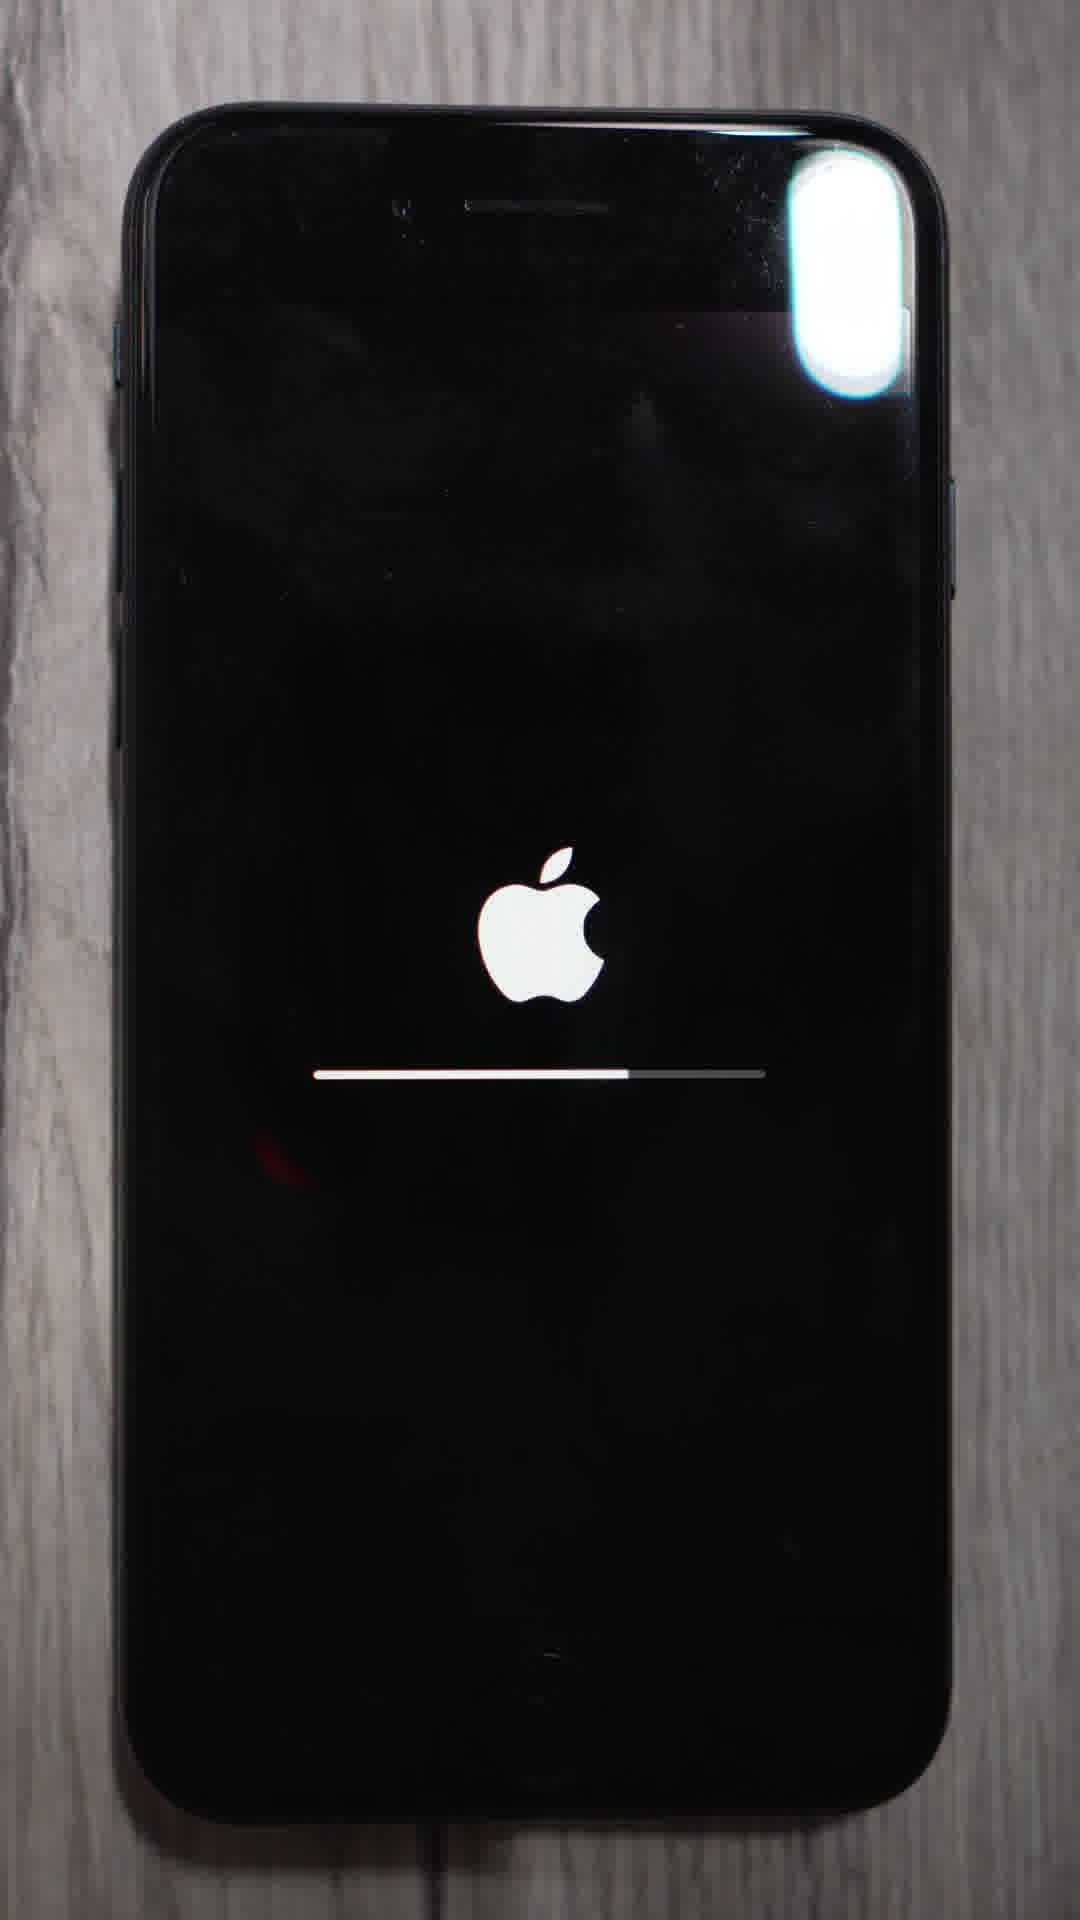
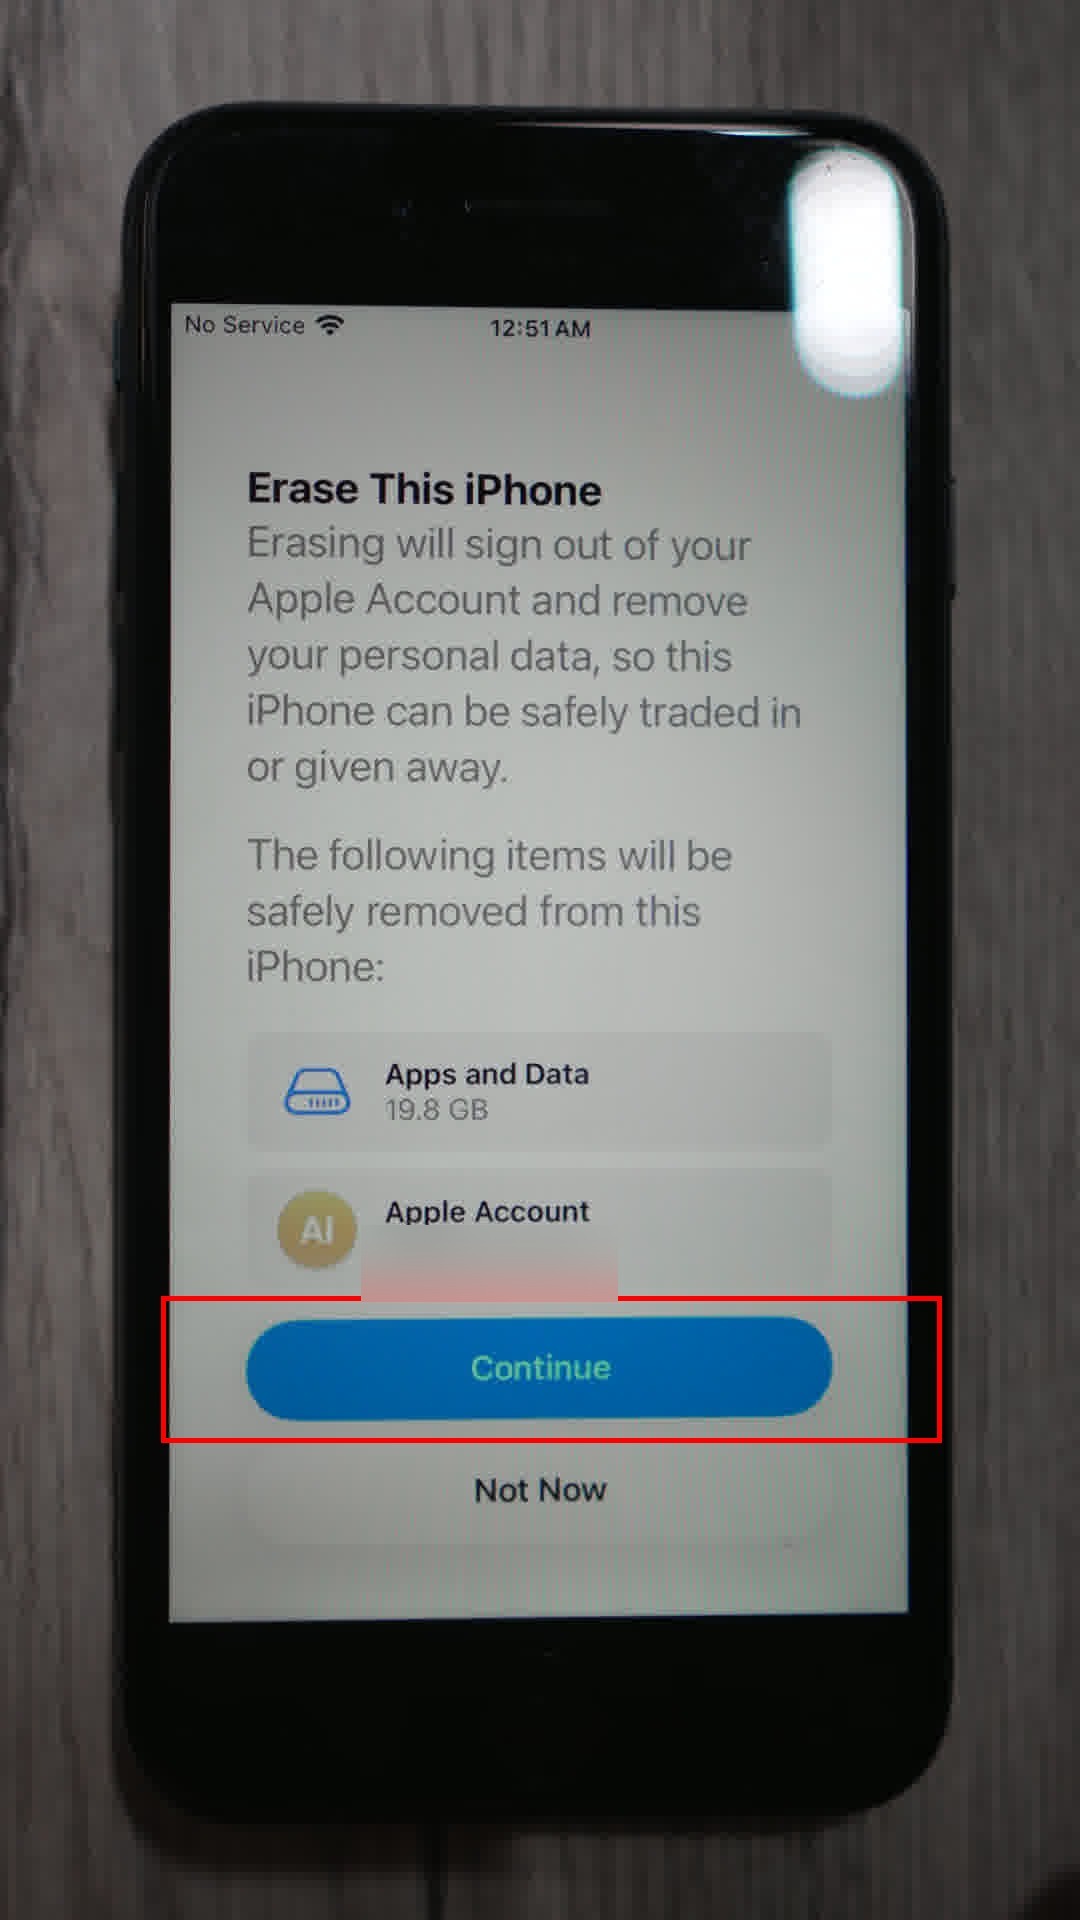
17.The Erase This iPhone screen shows what will be removed, including your Apple Account (iCloud). Tap Continue.
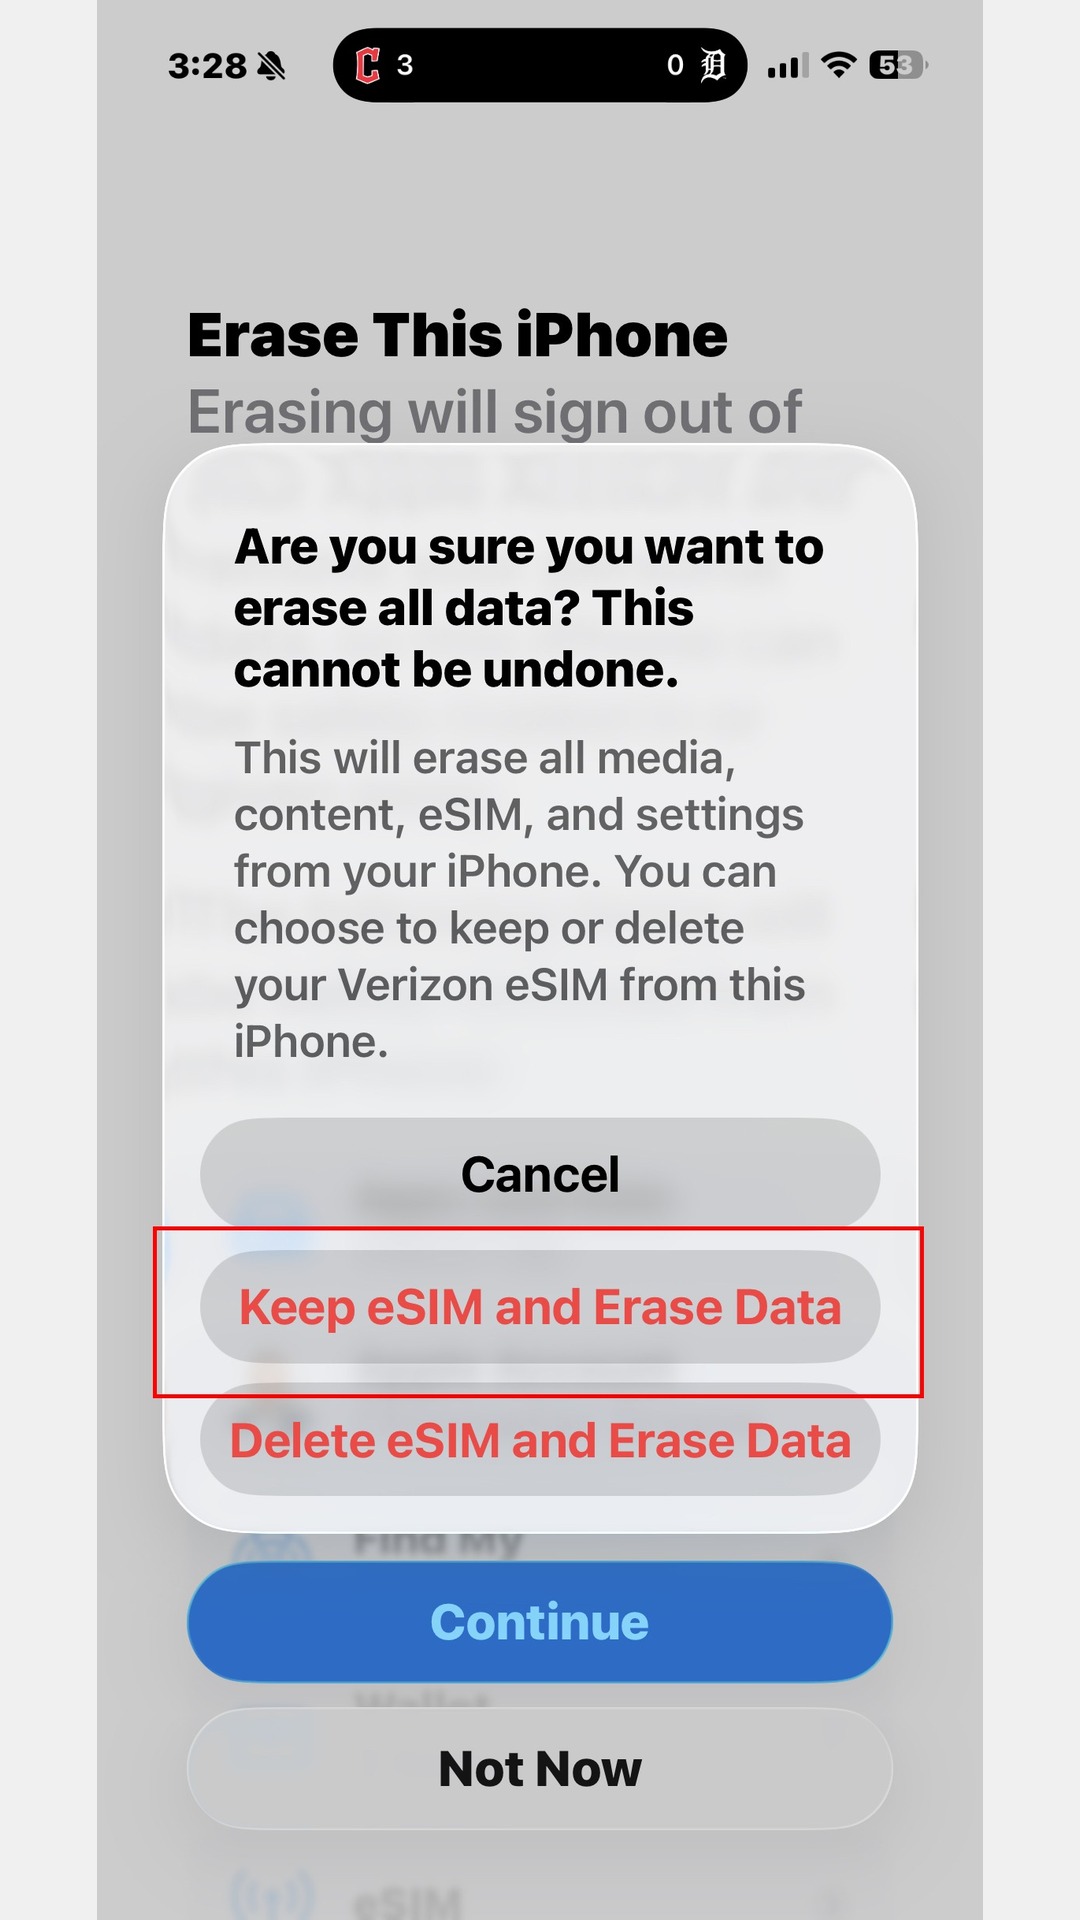
18.If your phone has an eSIM, you will be asked whether to keep or delete it. Tap Keep eSIM and Erase Data.
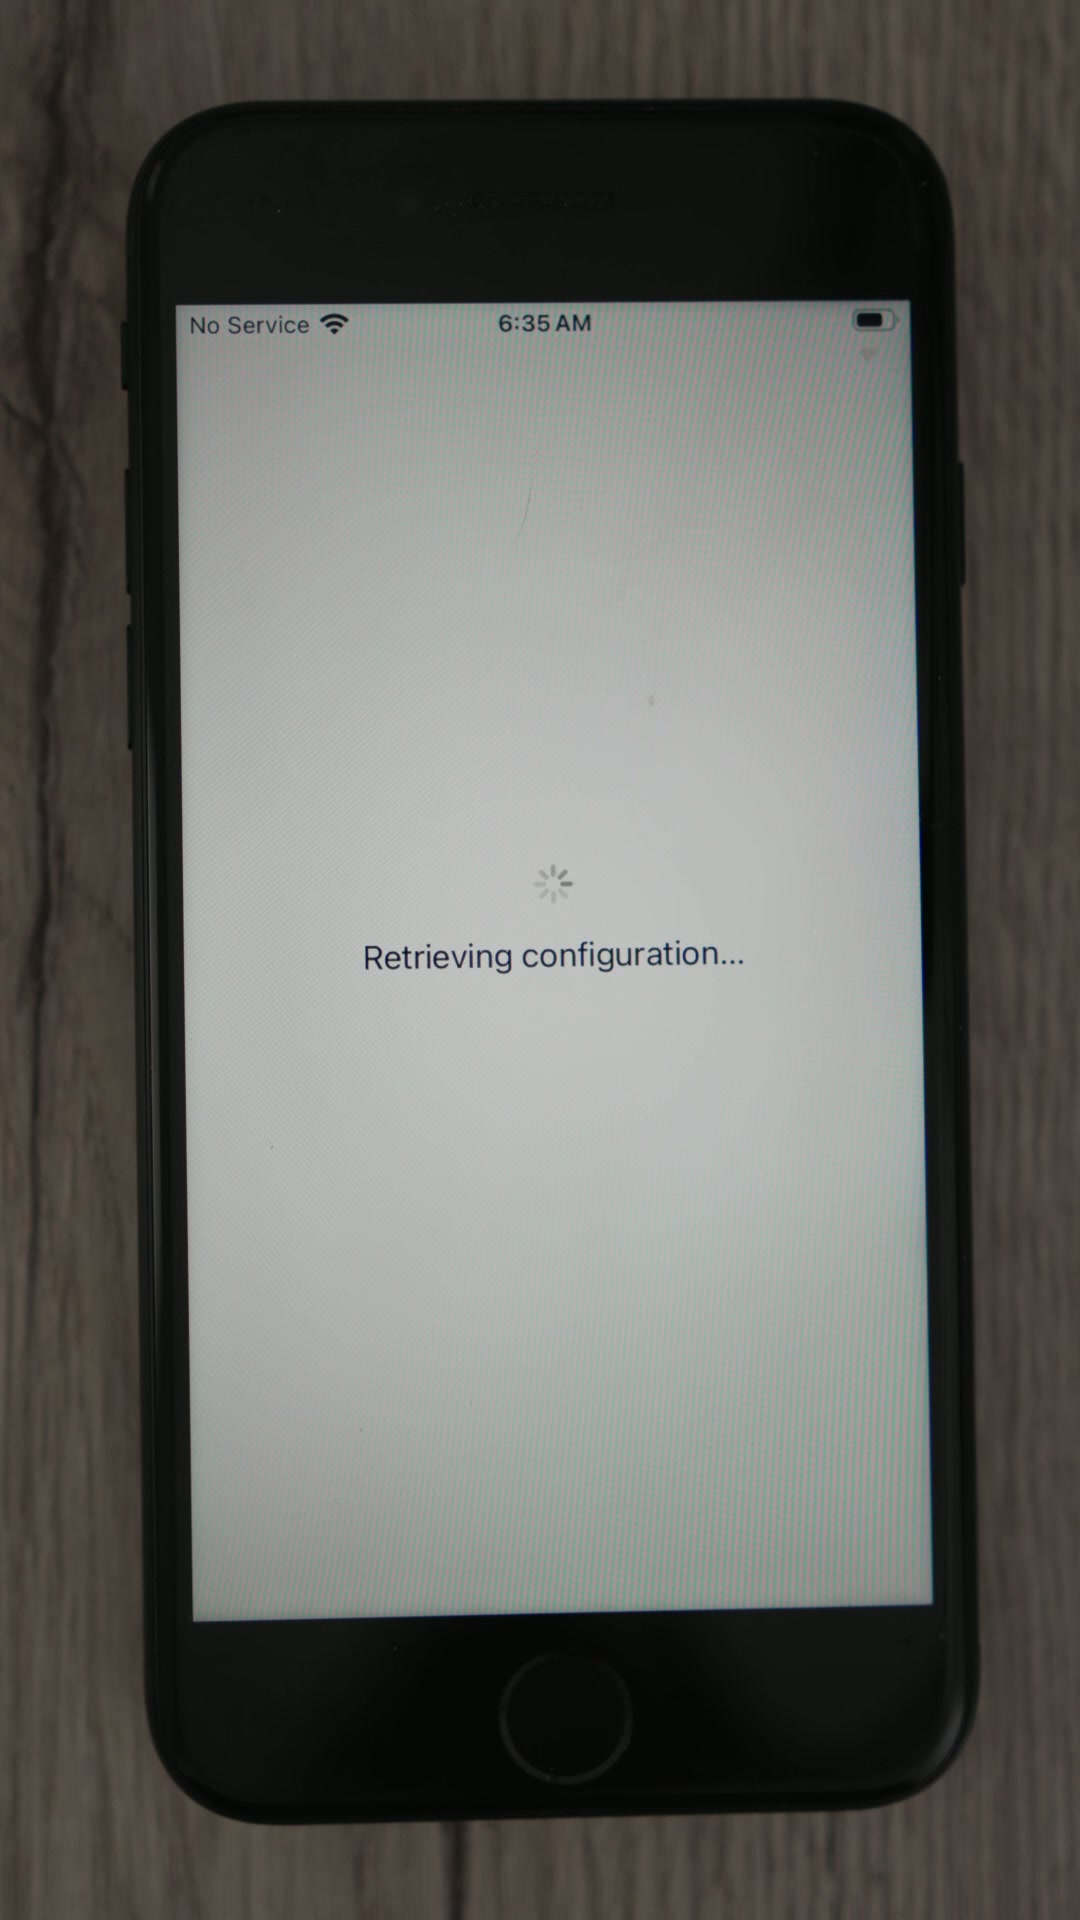
31.You will see "Retrieving configuration..." on screen. Wait for it to finish.
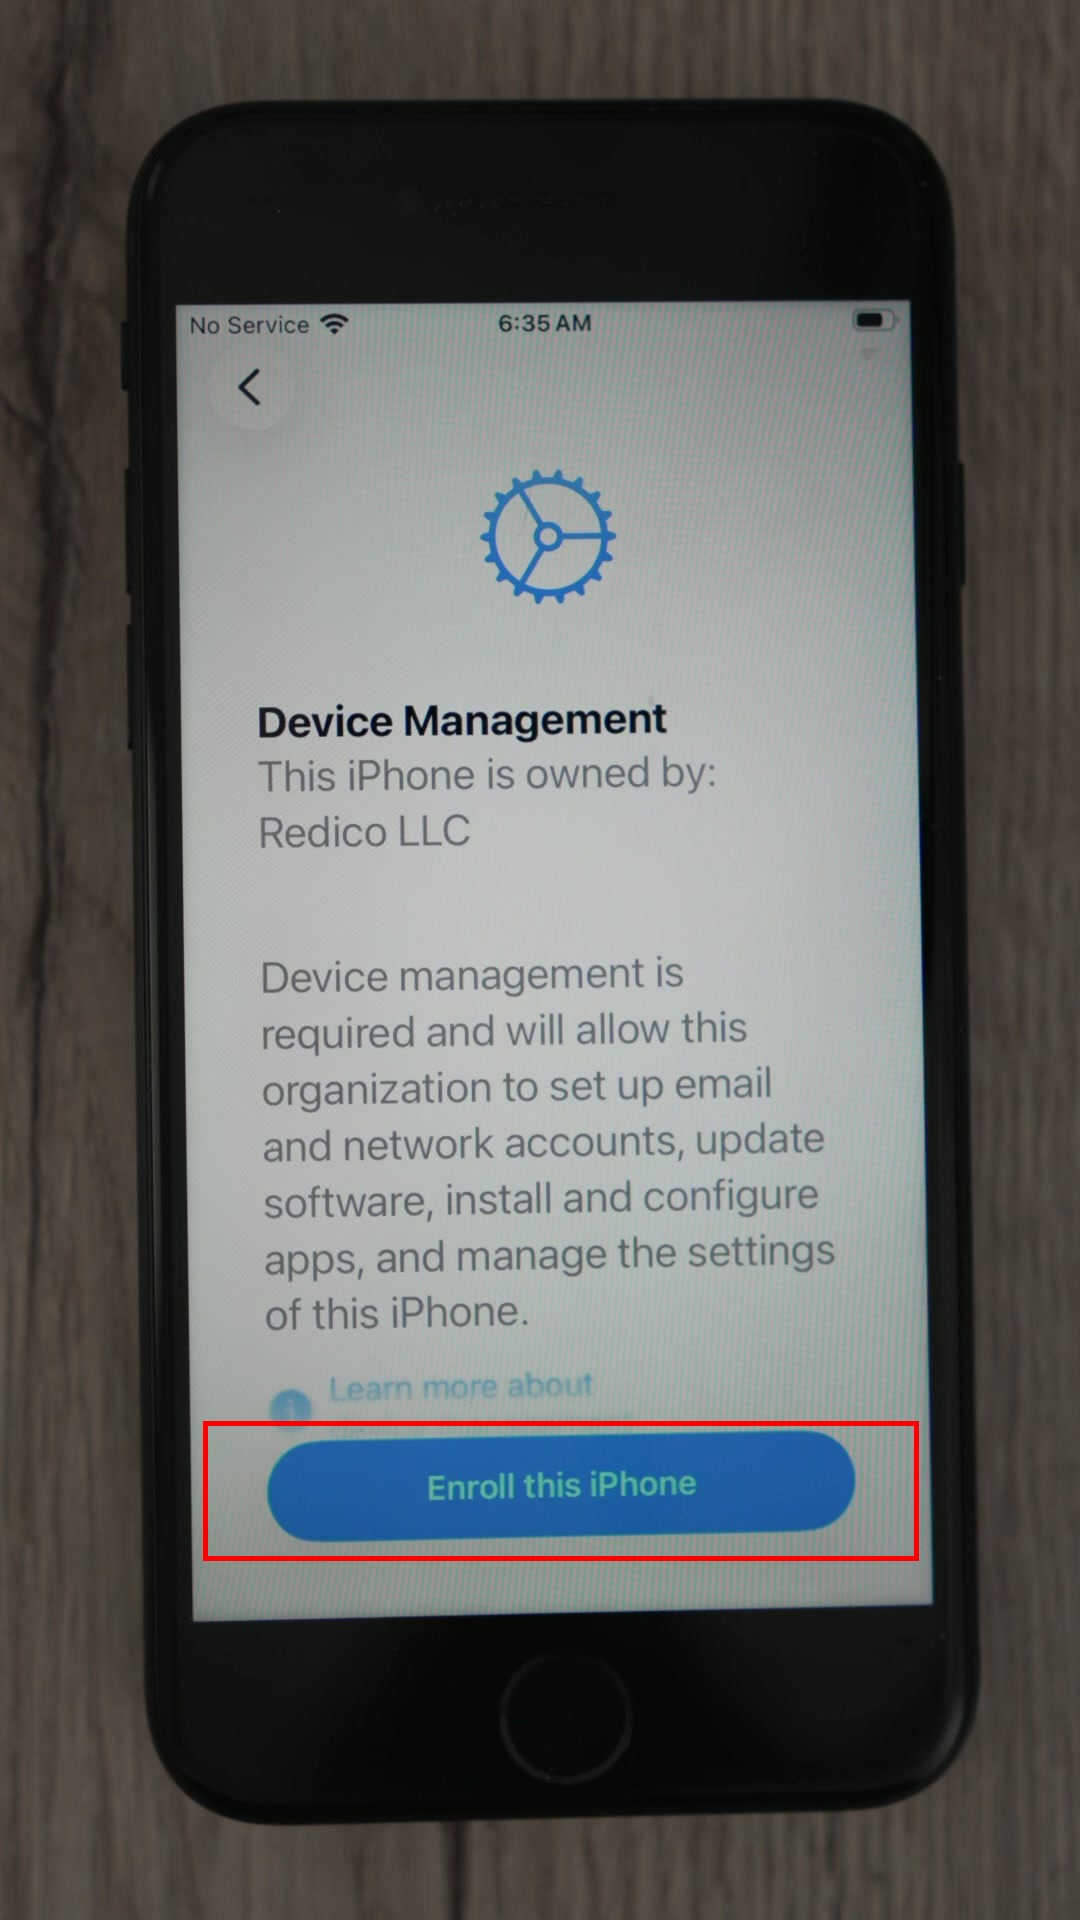
32.A screen will say "This iPhone is owned by Redico LLC". This is normal. Tap Enroll This iPhone.
33.The phone will install your company configuration. This can take 1-2 minutes.
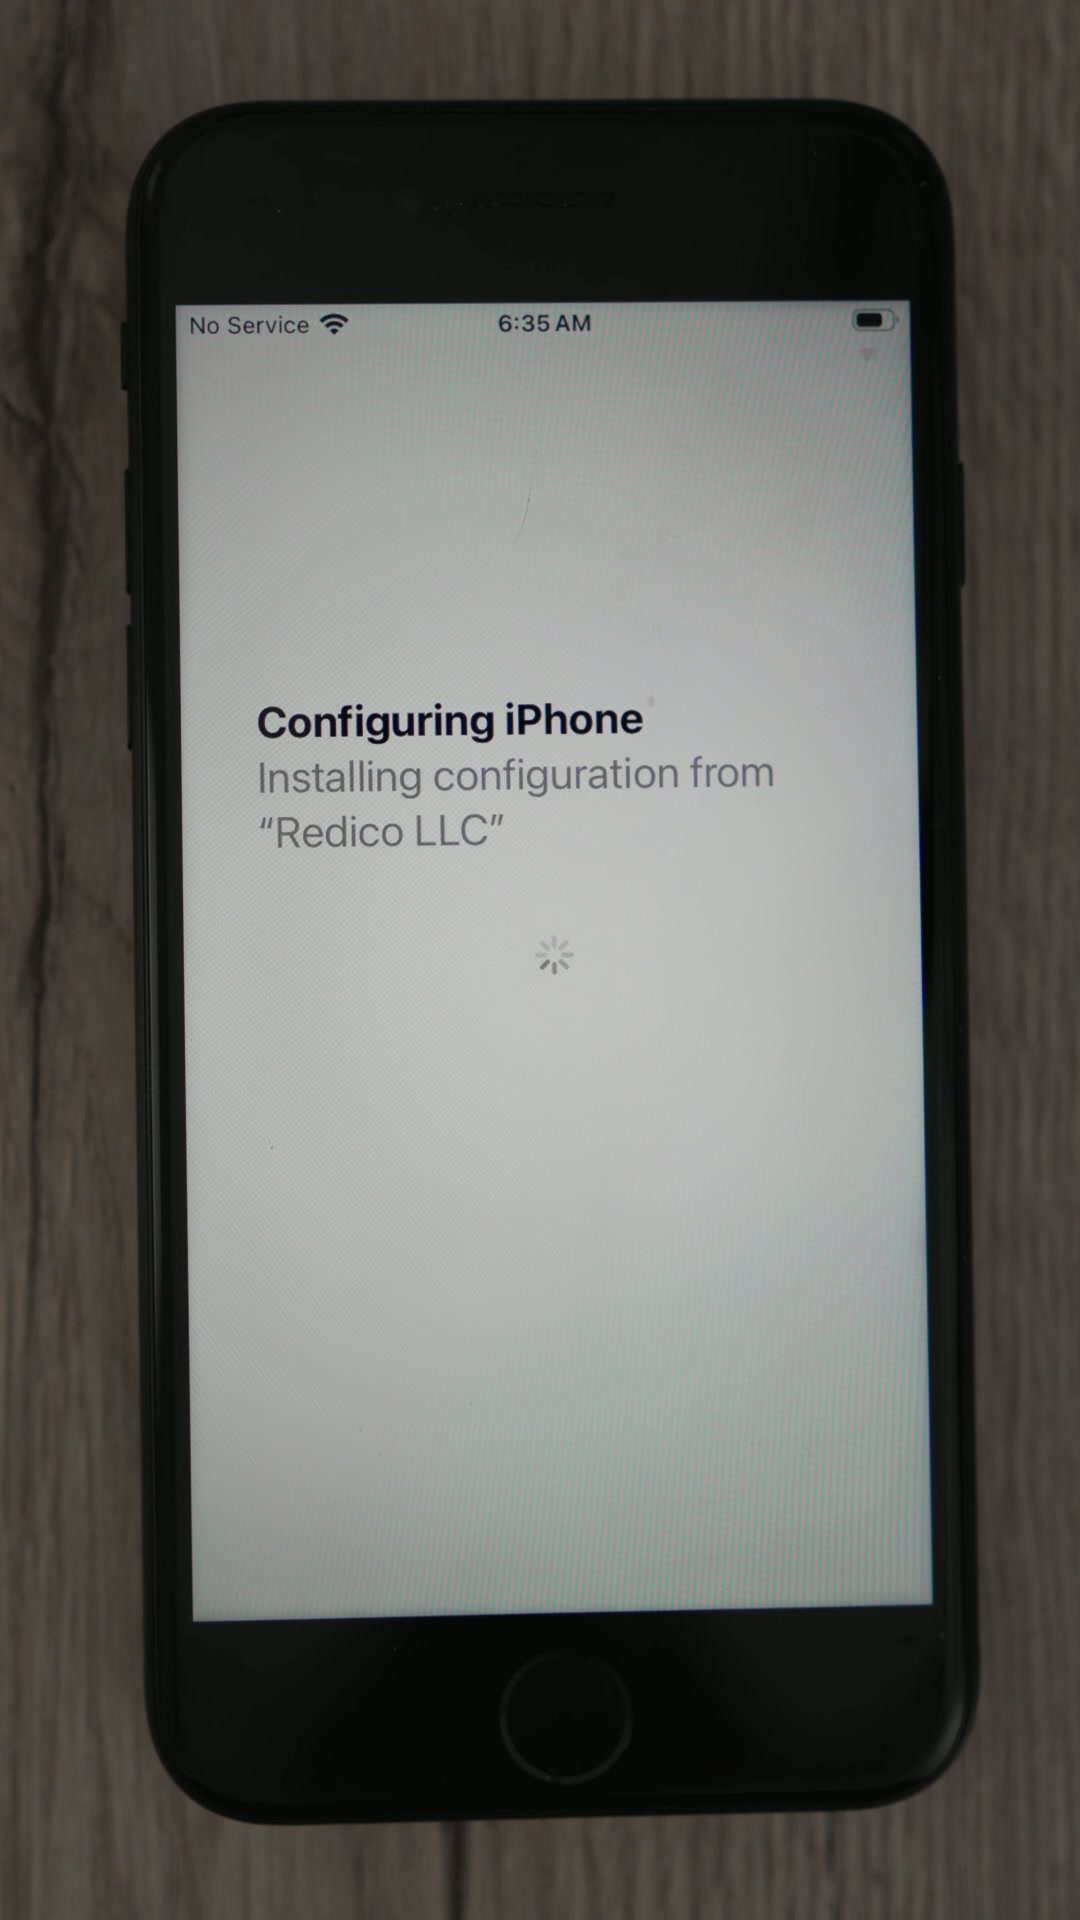
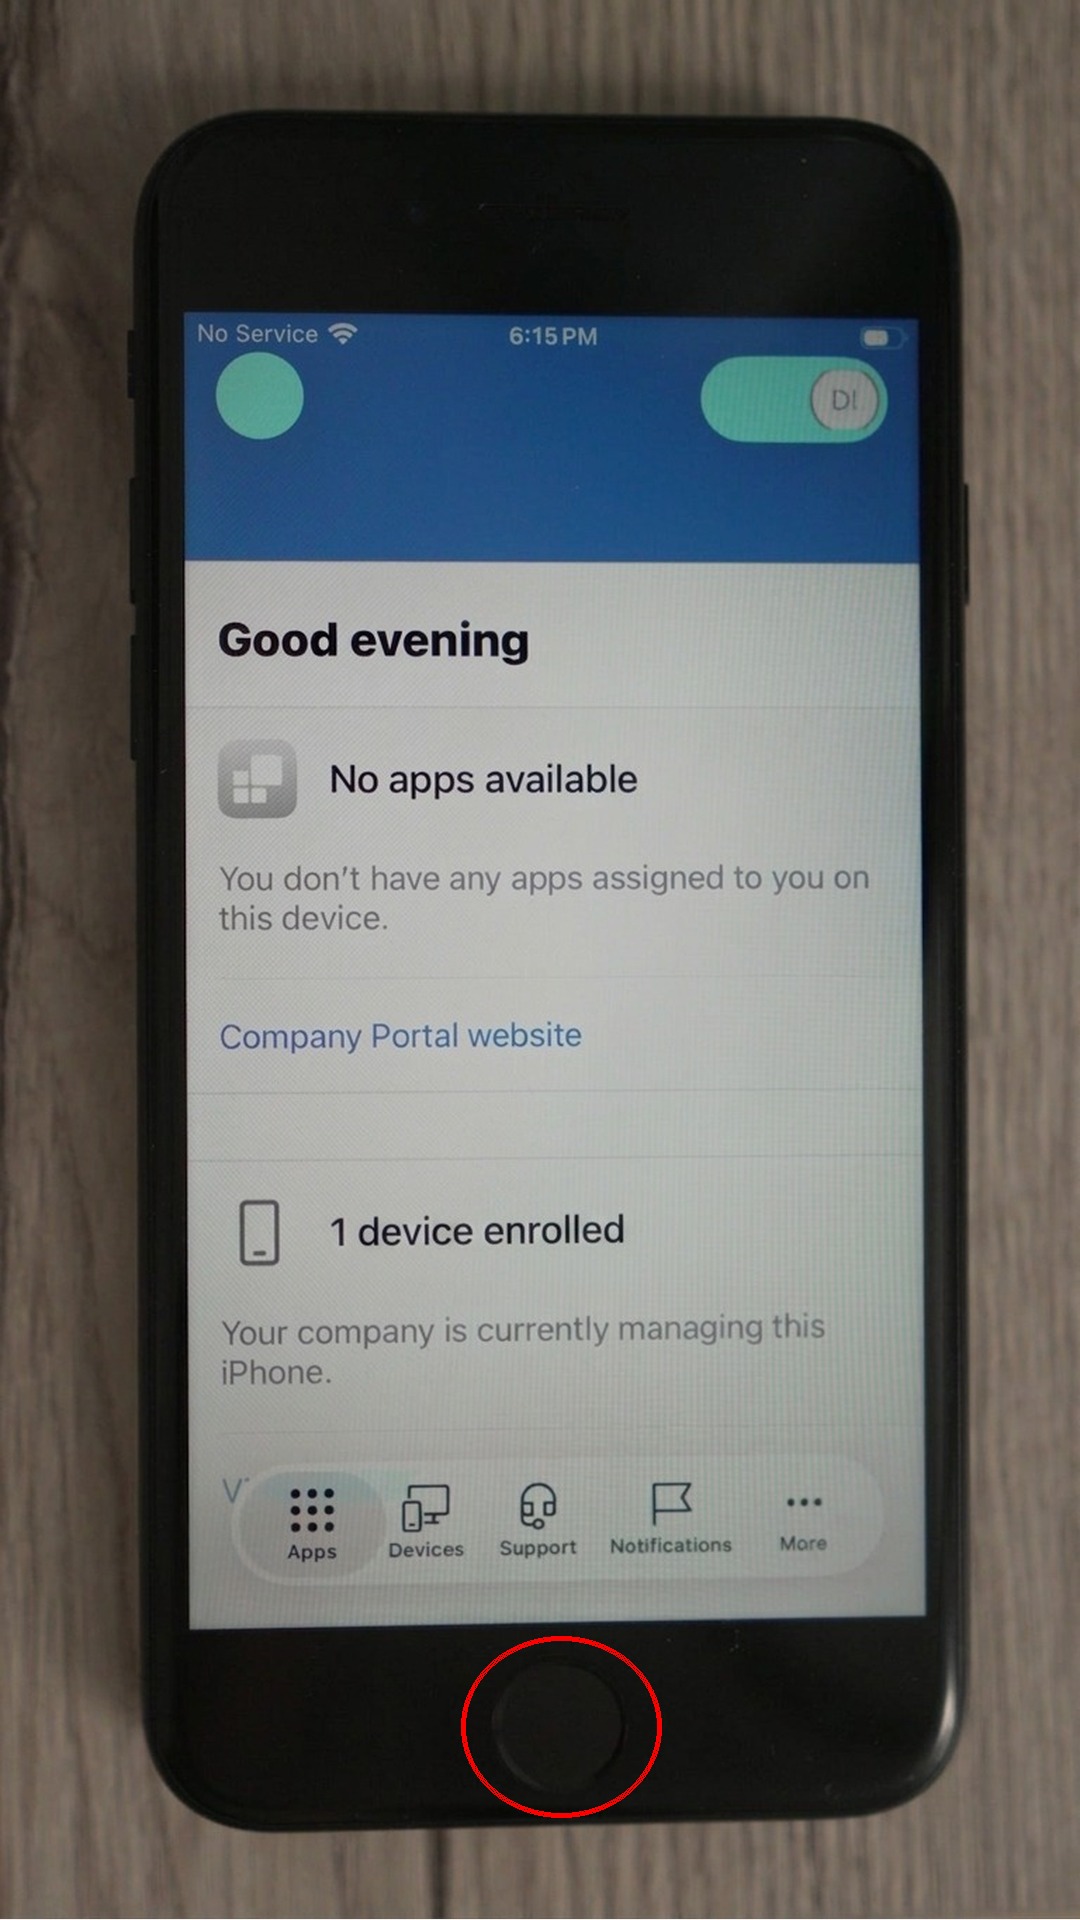
Do not press the Home button or turn off the phone while it says "Configuring iPhone".
Part 4: Touch ID or Face ID and passcode
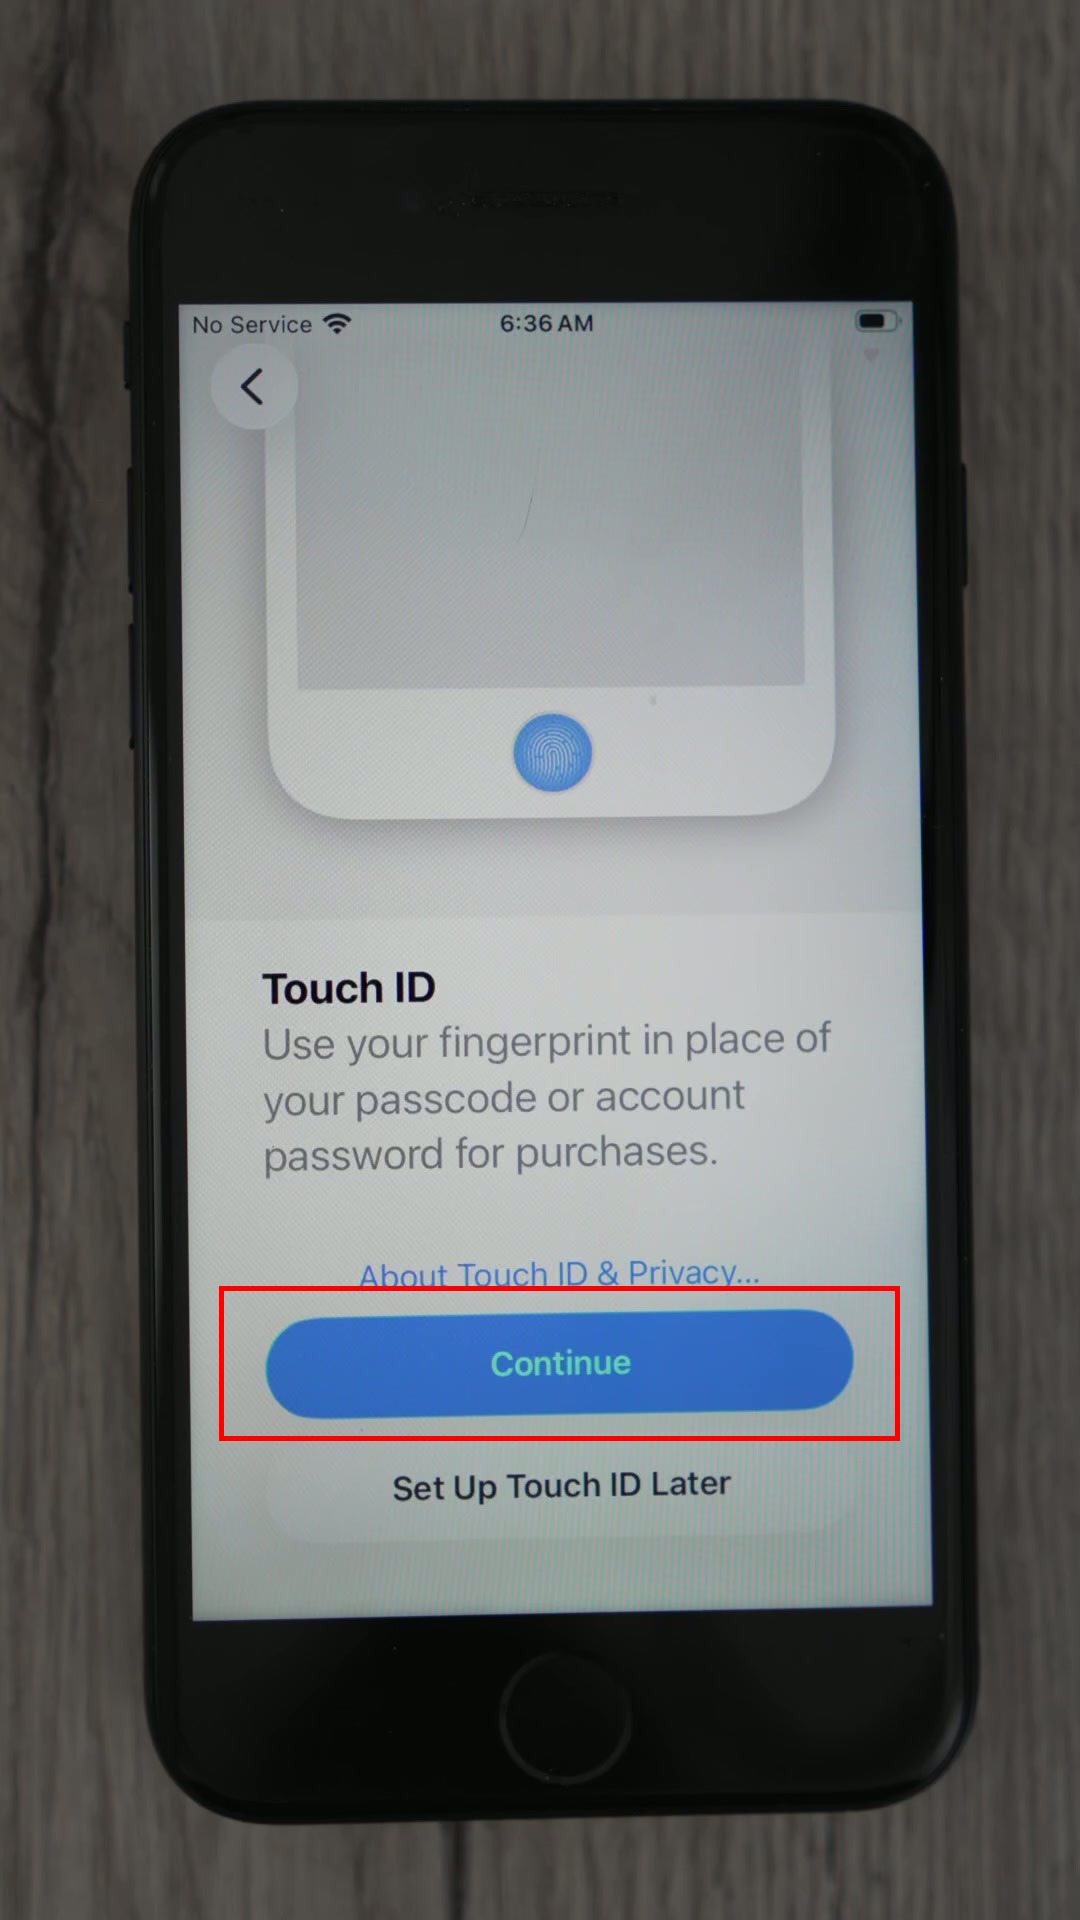
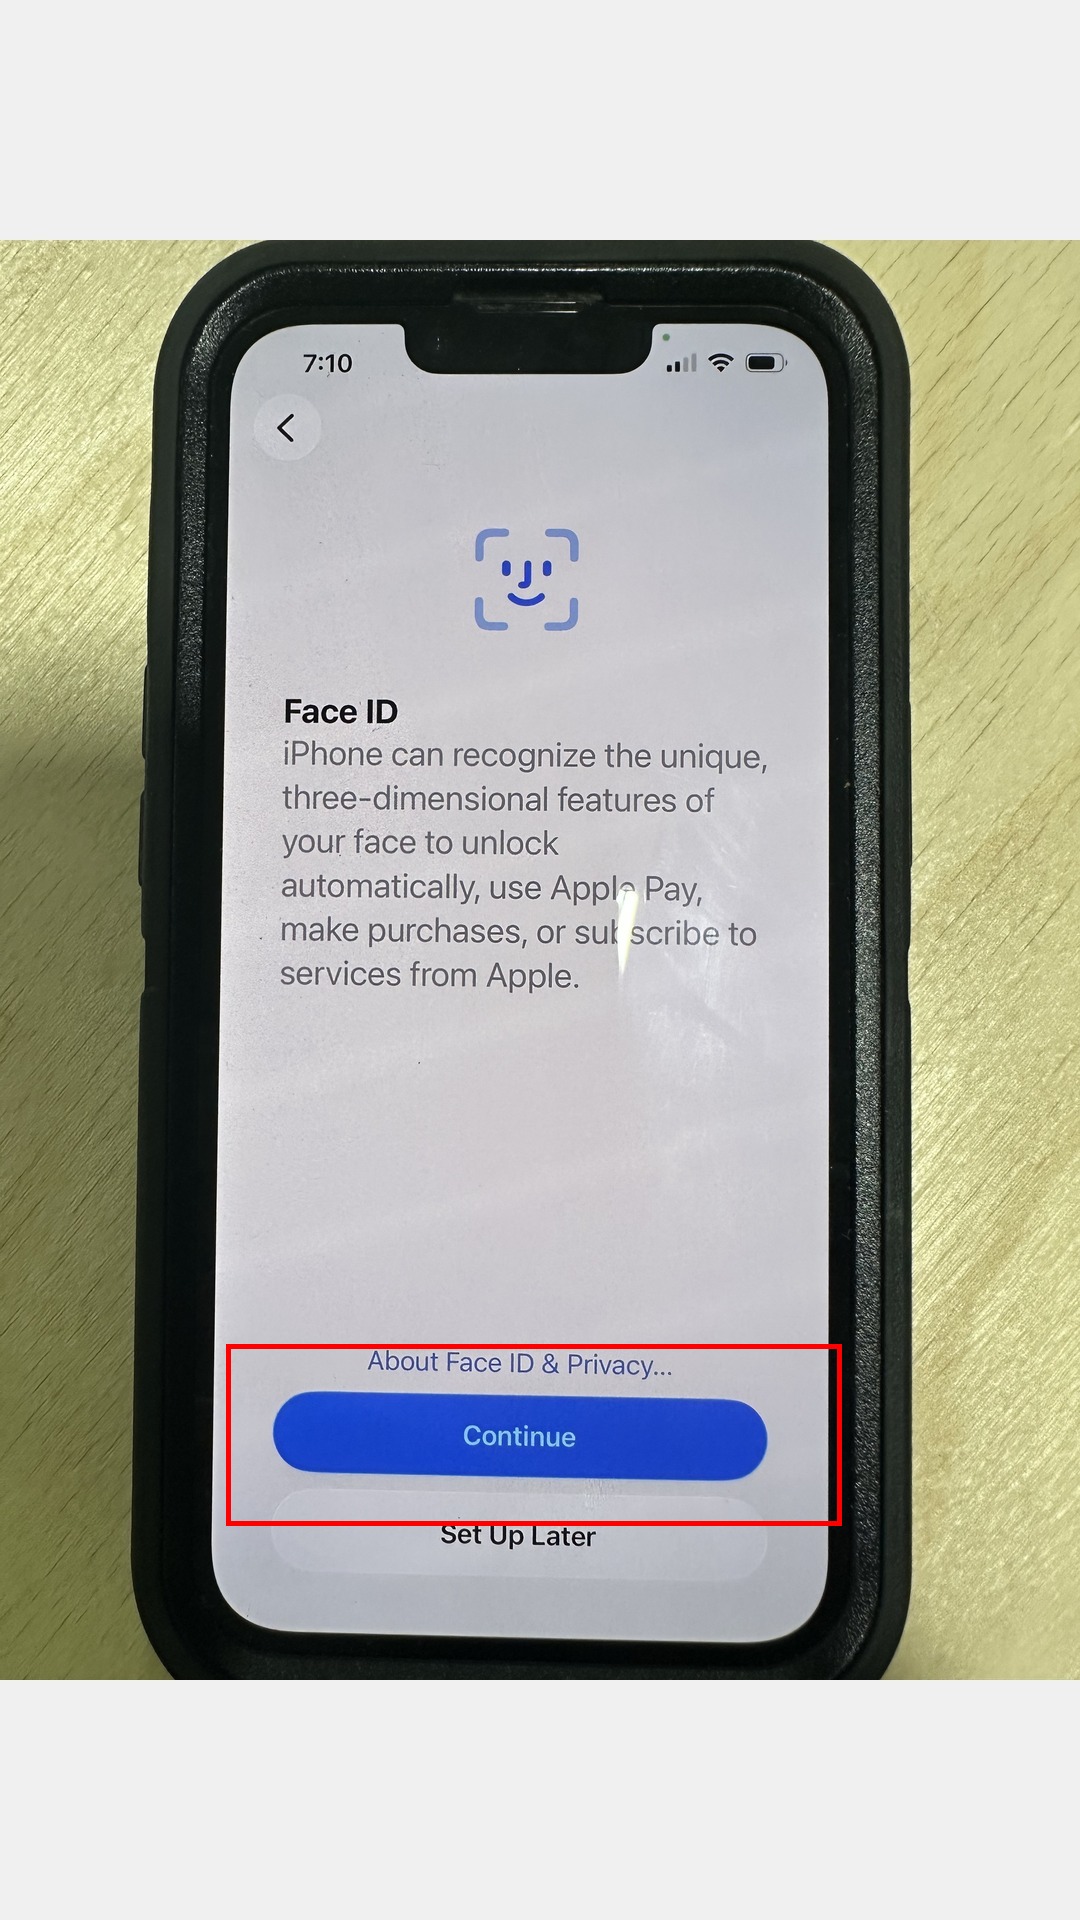
Depending on your iPhone model, you will see either Touch ID (fingerprint) or Face ID (face scan). Both do the same thing. Follow the on-screen instructions and tap Continue when done.
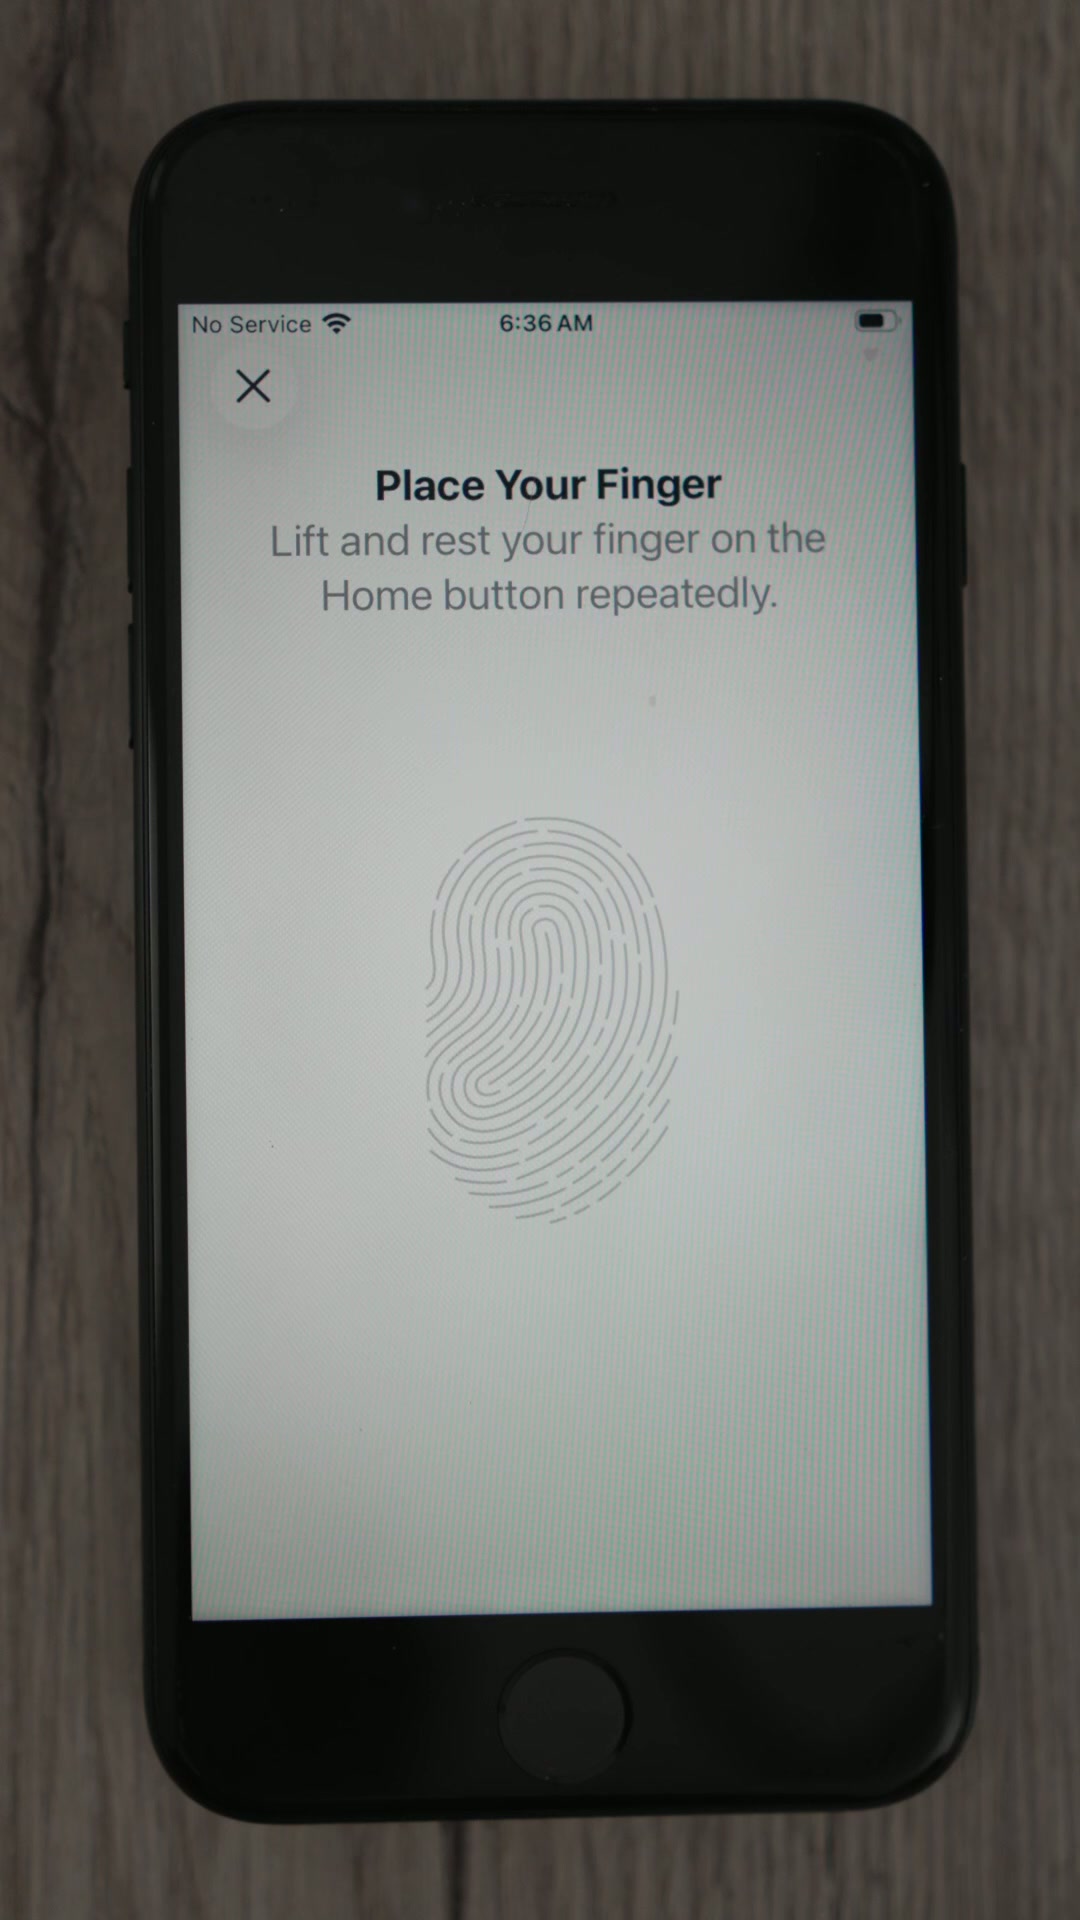
34.Set up Touch ID. Tap Continue, then place your finger on the Home button and lift it repeatedly.
35.Place your finger on the Home button repeatedly until the fingerprint fills in.
36.When asked to Adjust Your Grip, rest the edges of your finger on the button.
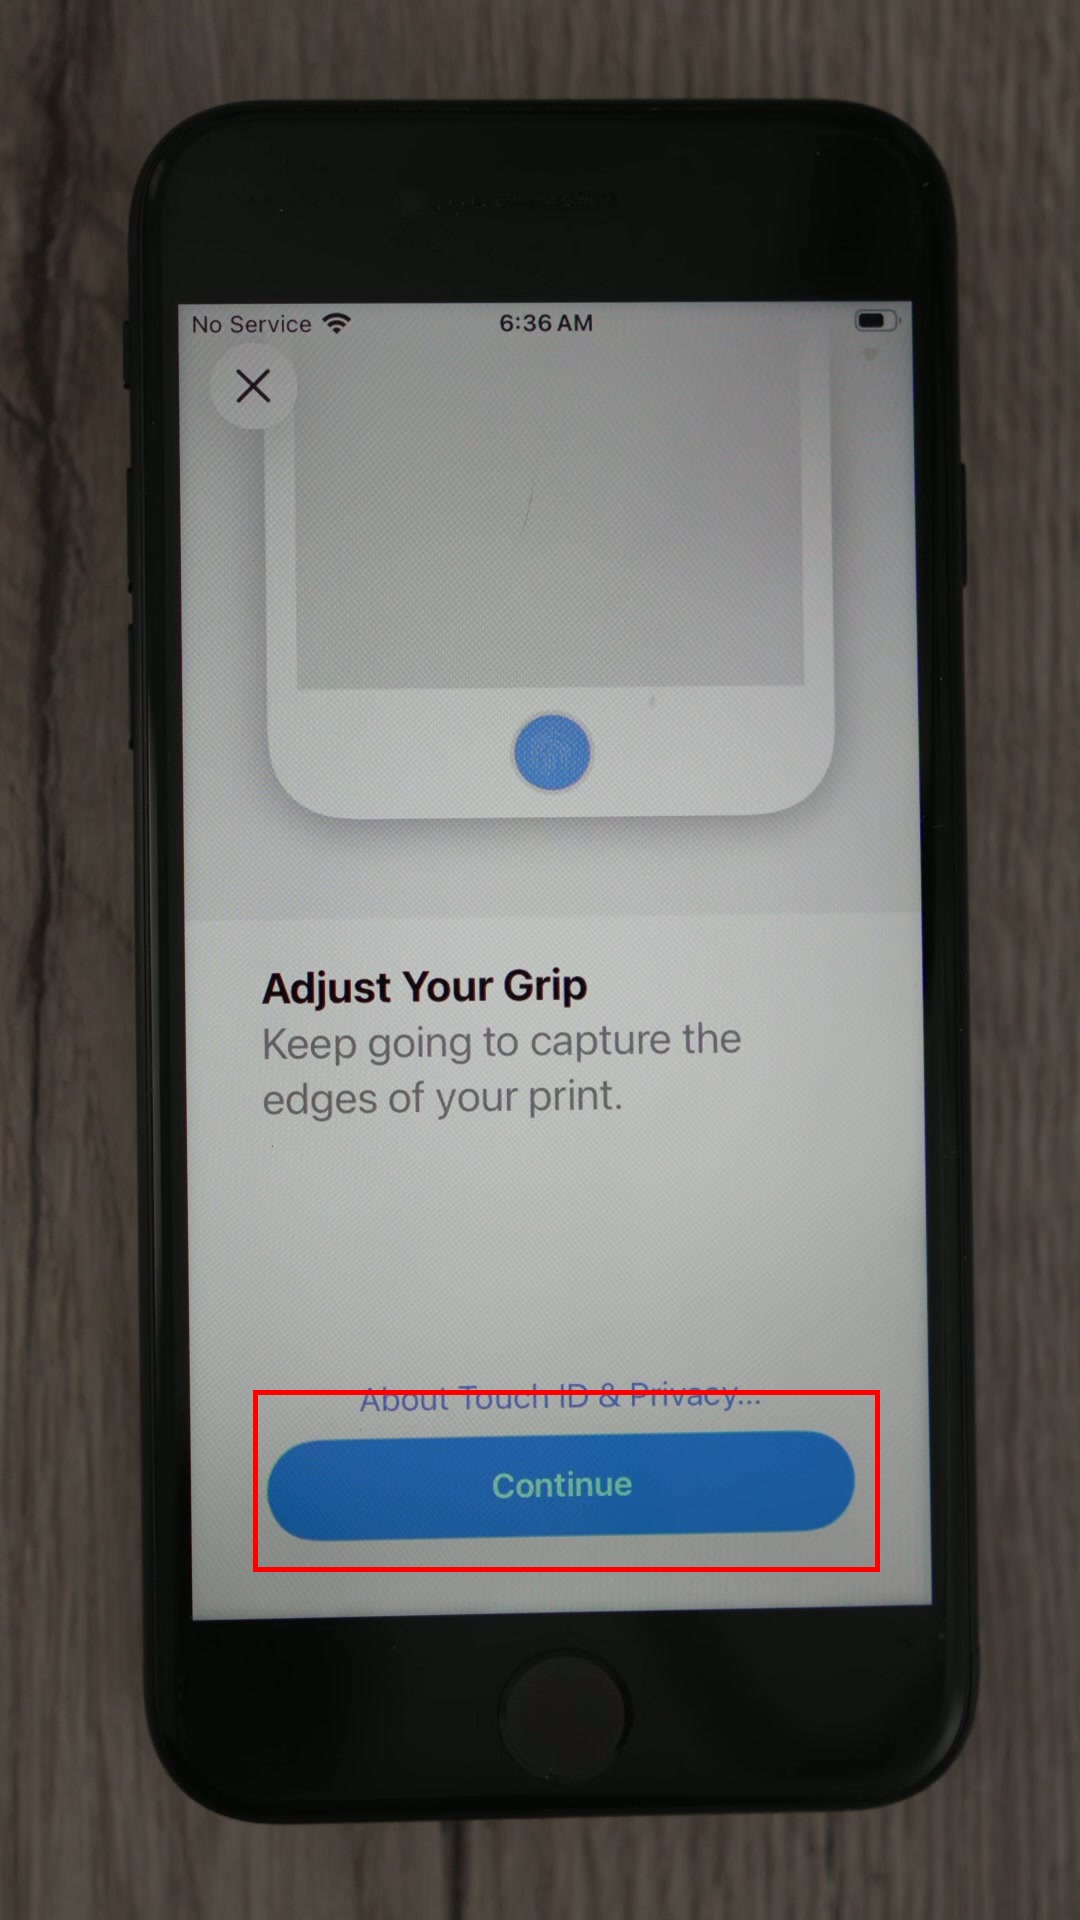
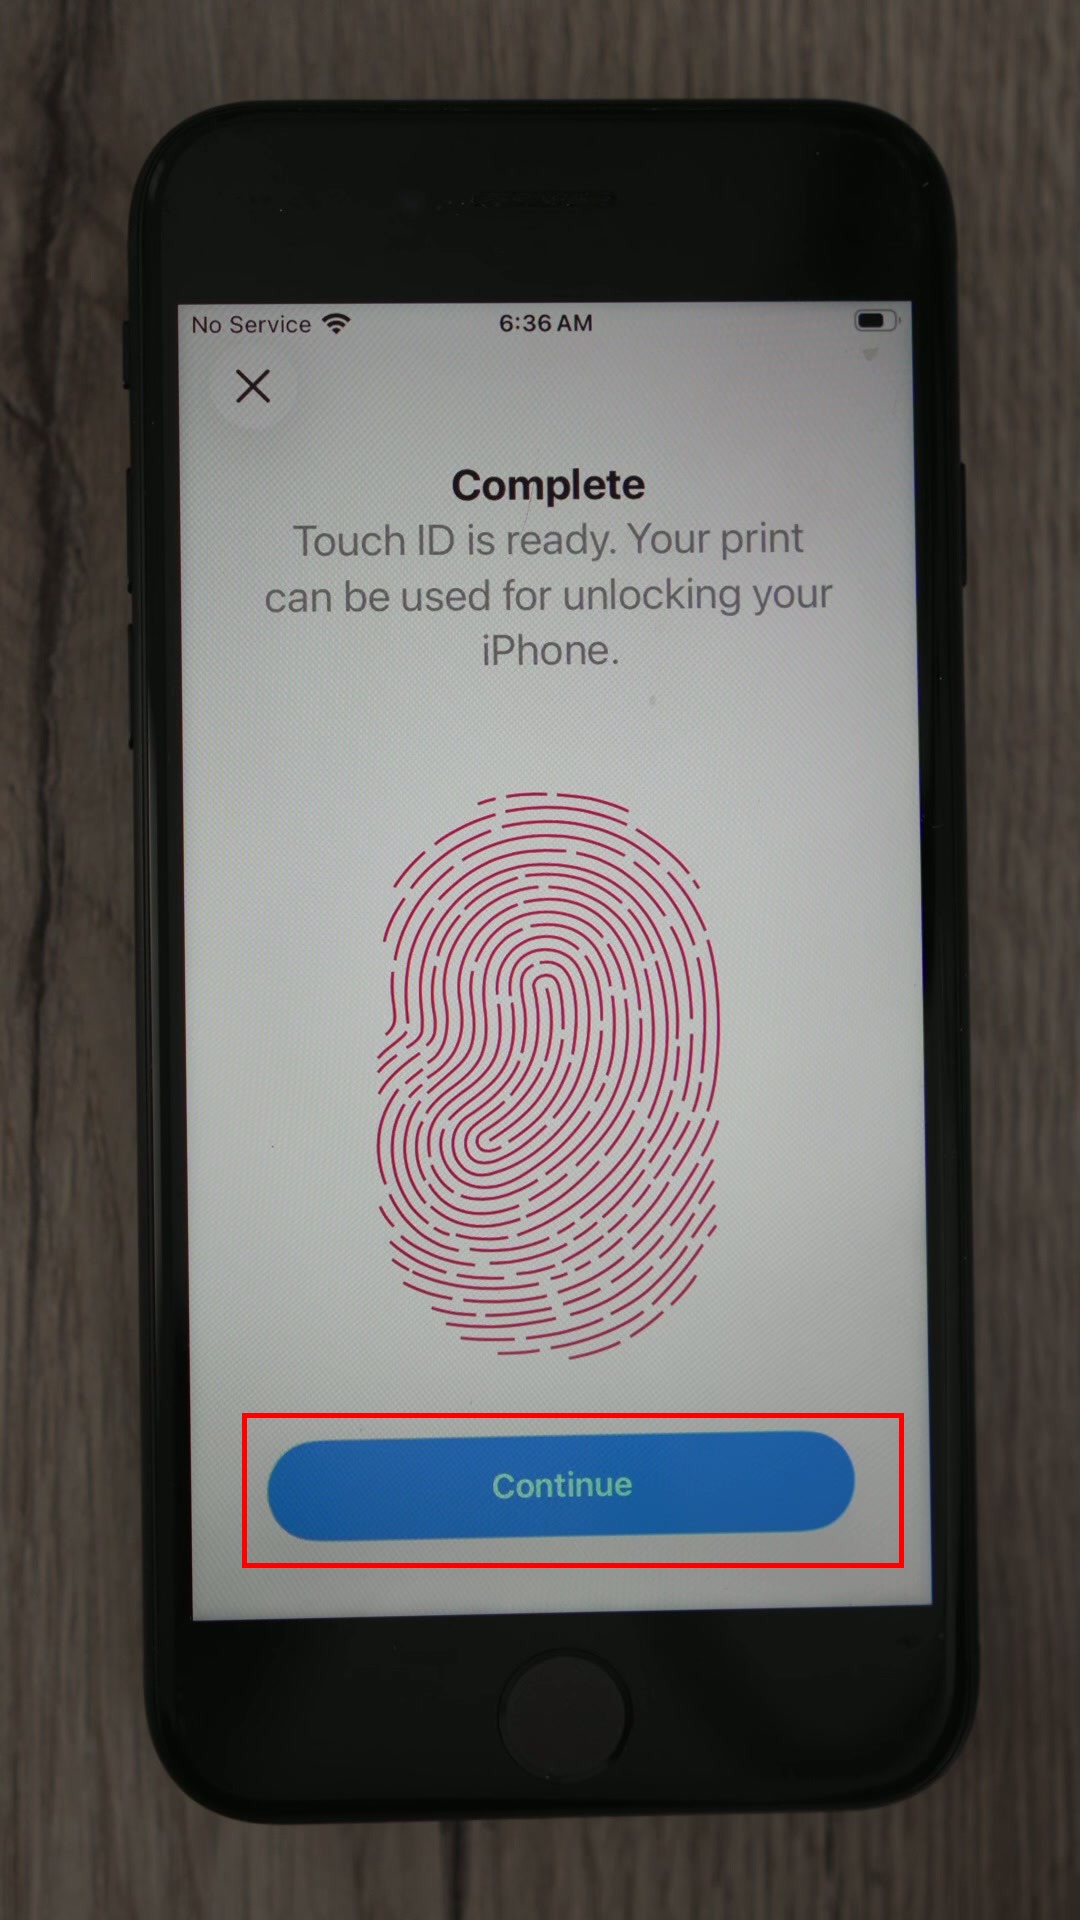
37.When you see "Complete", tap Continue.
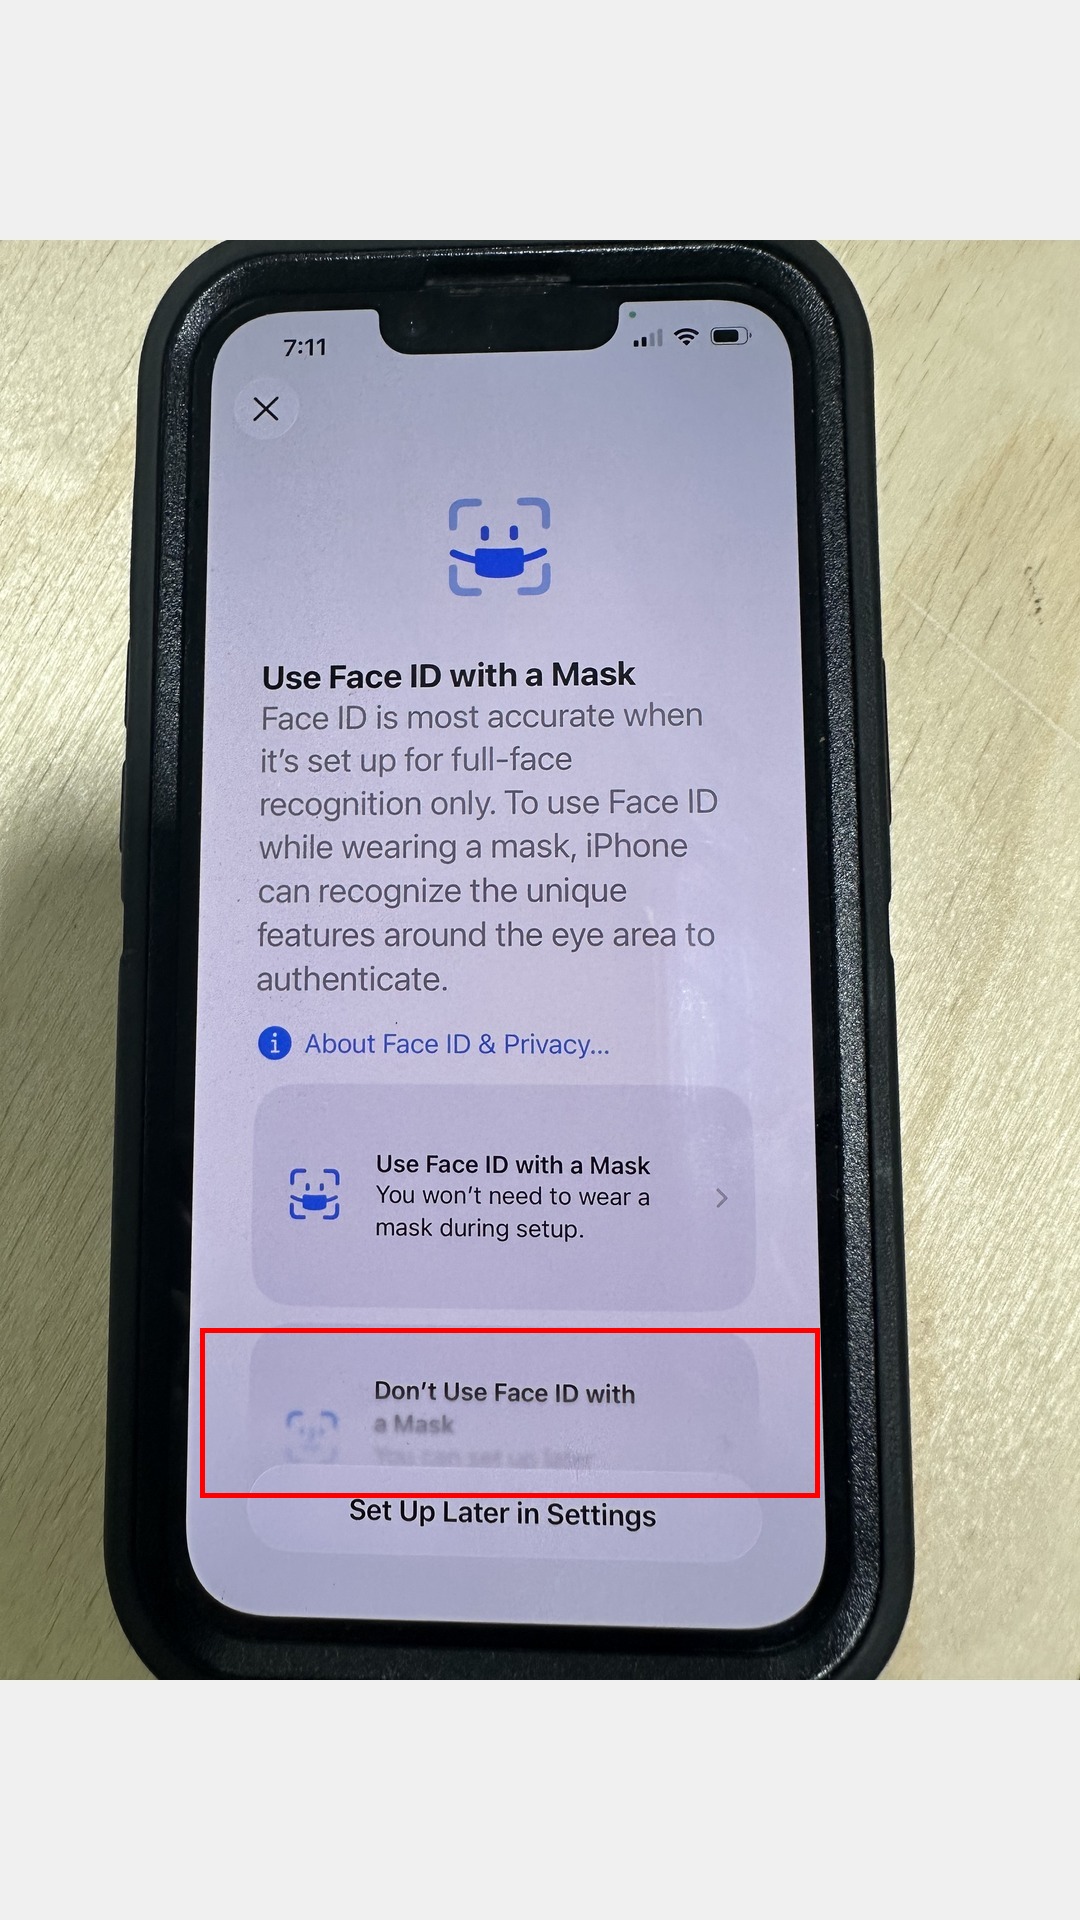
38.Face ID devices (iPhone 16e / 17e): You will see the screens below instead. Tap Continue, slowly move your head in a circle when prompted, then choose Use Face ID with a Mask if asked.
39.Face ID with mask option. Tap Use Face ID with a Mask so you can unlock your phone while wearing a mask.
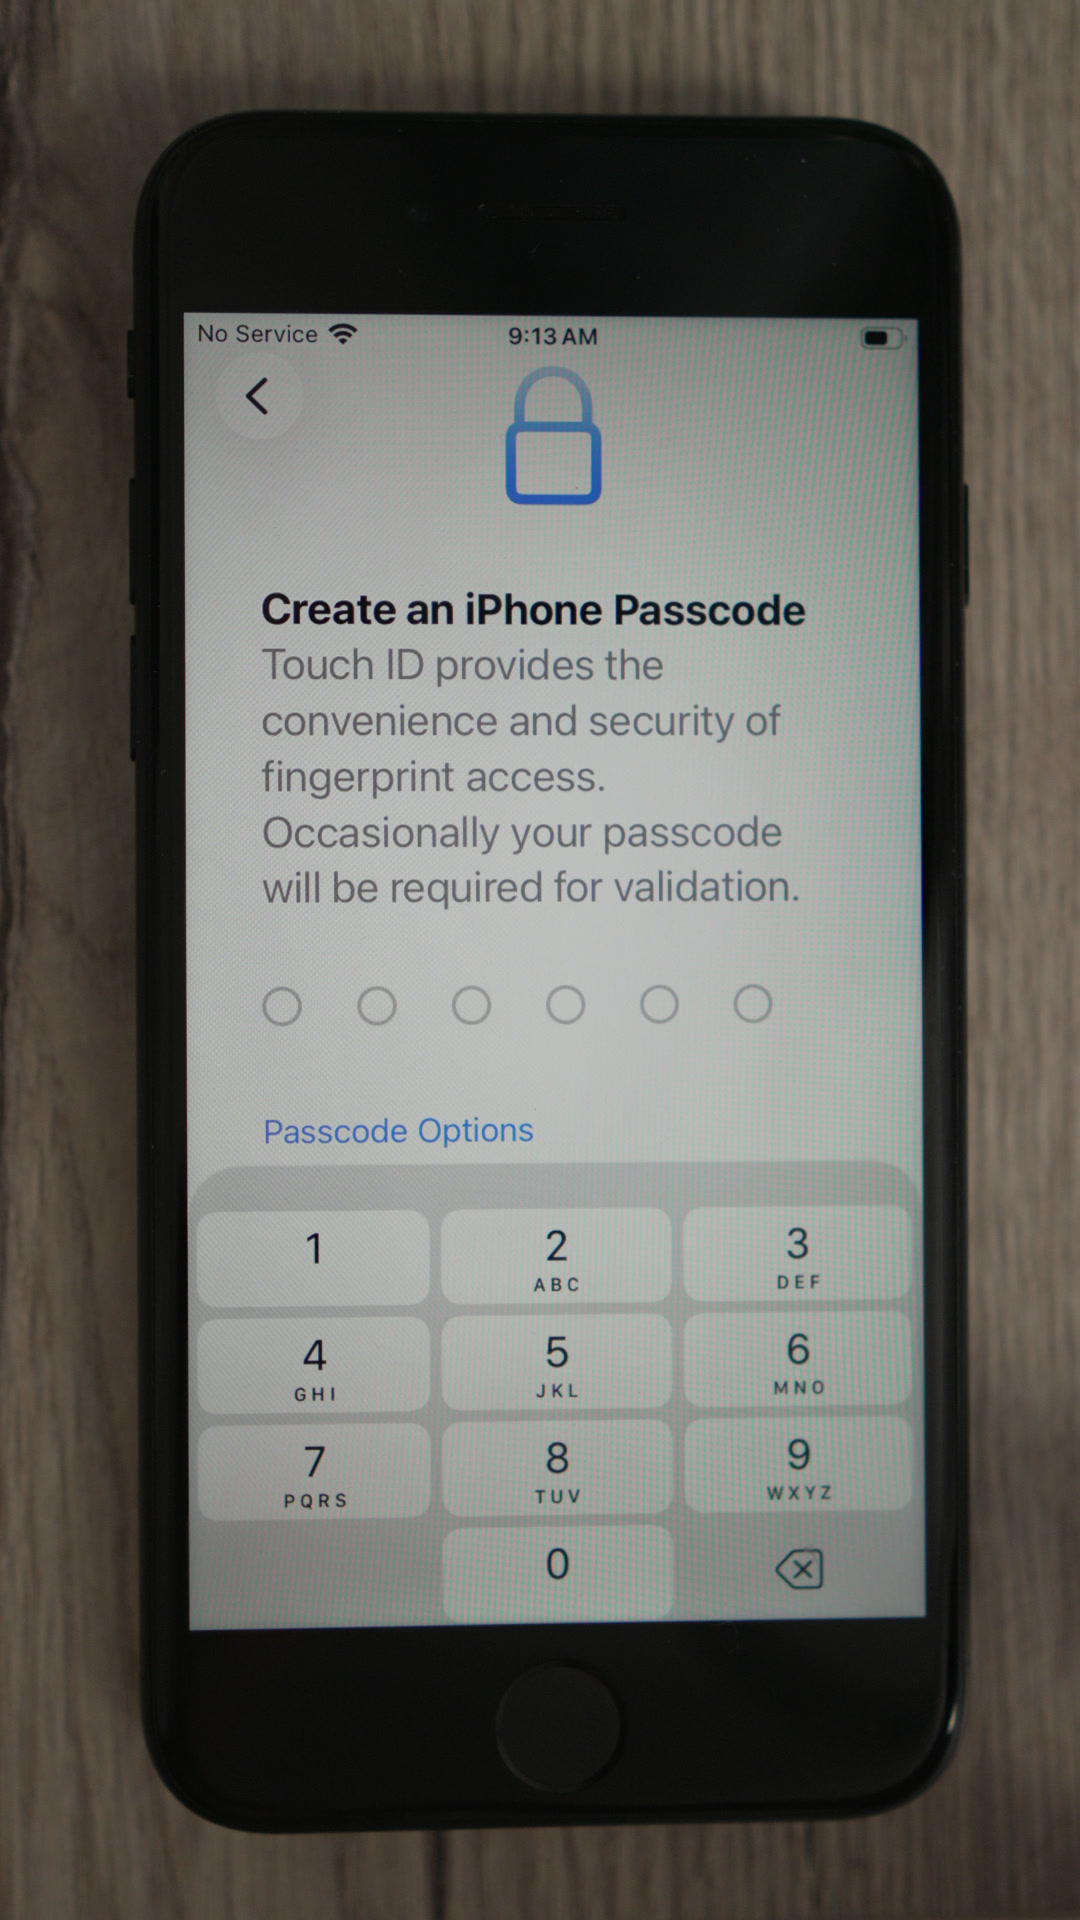
40.Create a 6-digit passcode. Enter it twice to confirm.
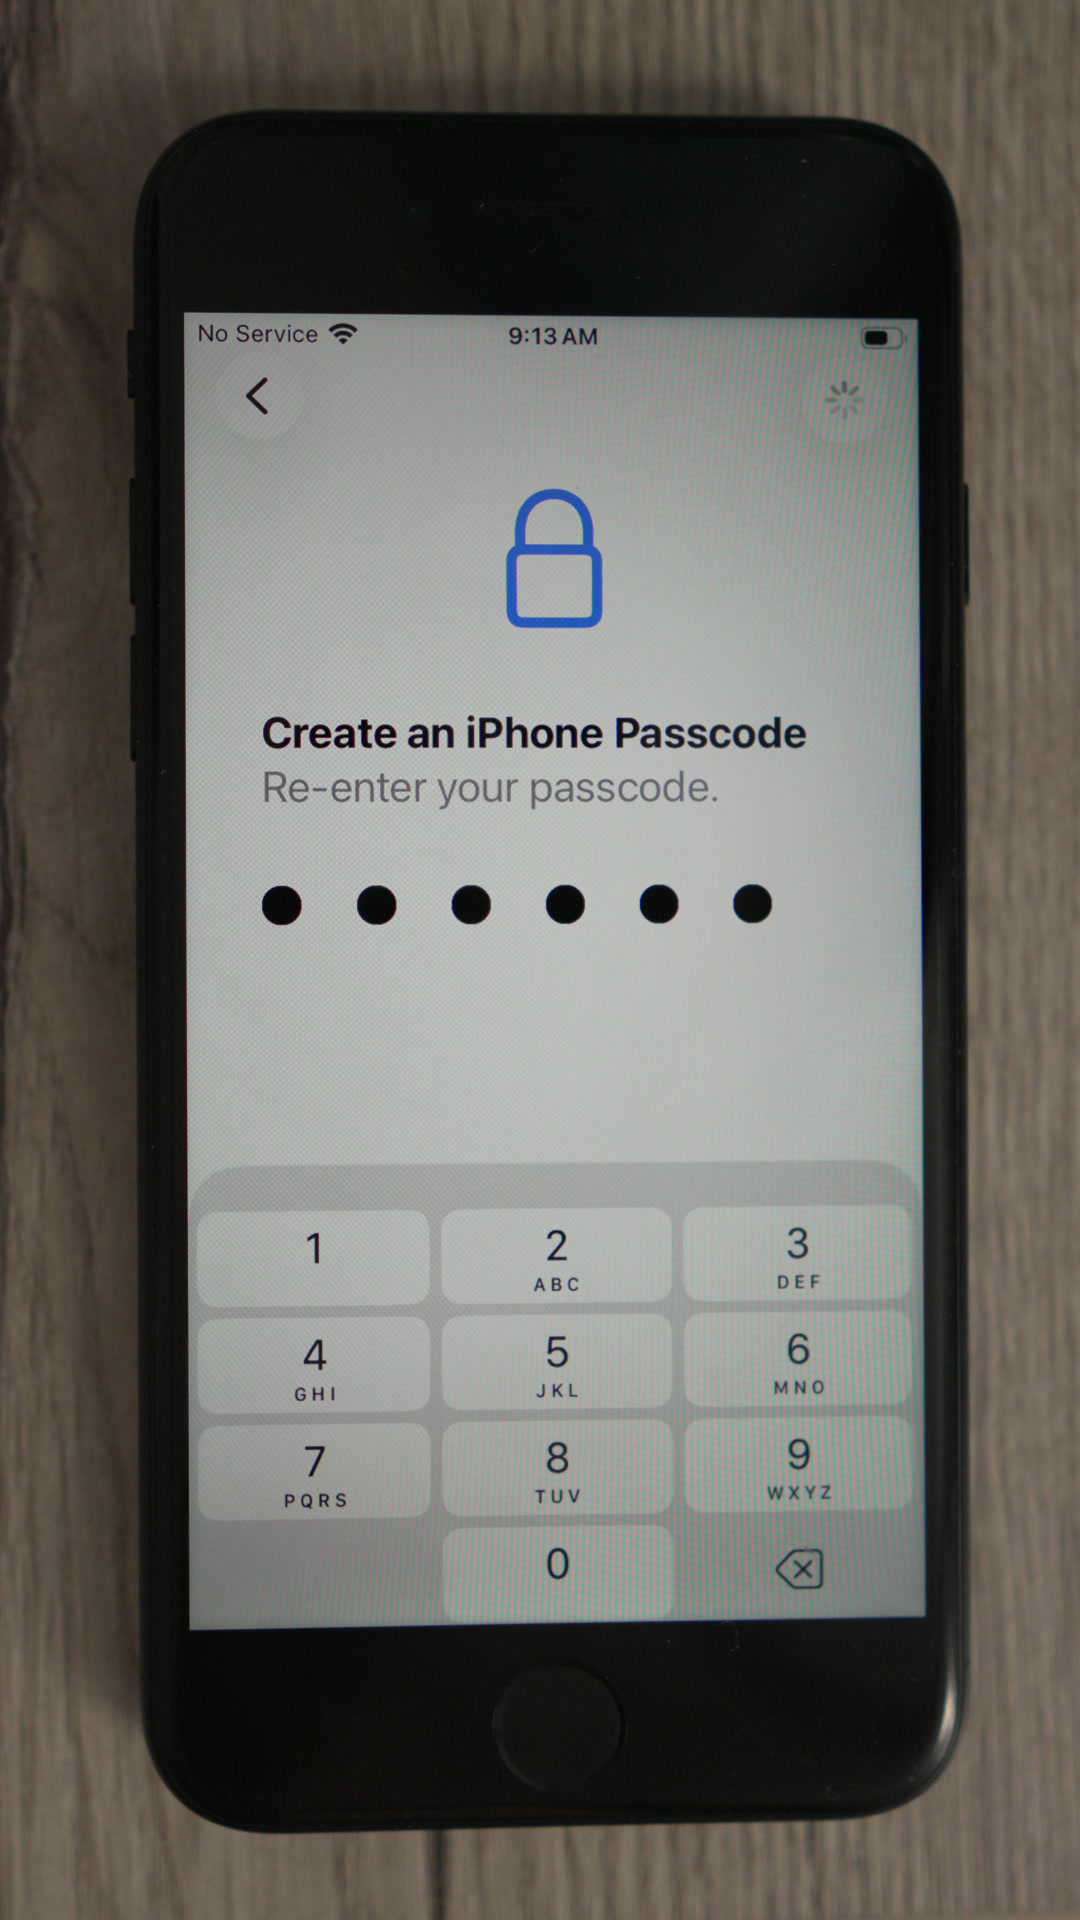
41.Re-enter your passcode to confirm.
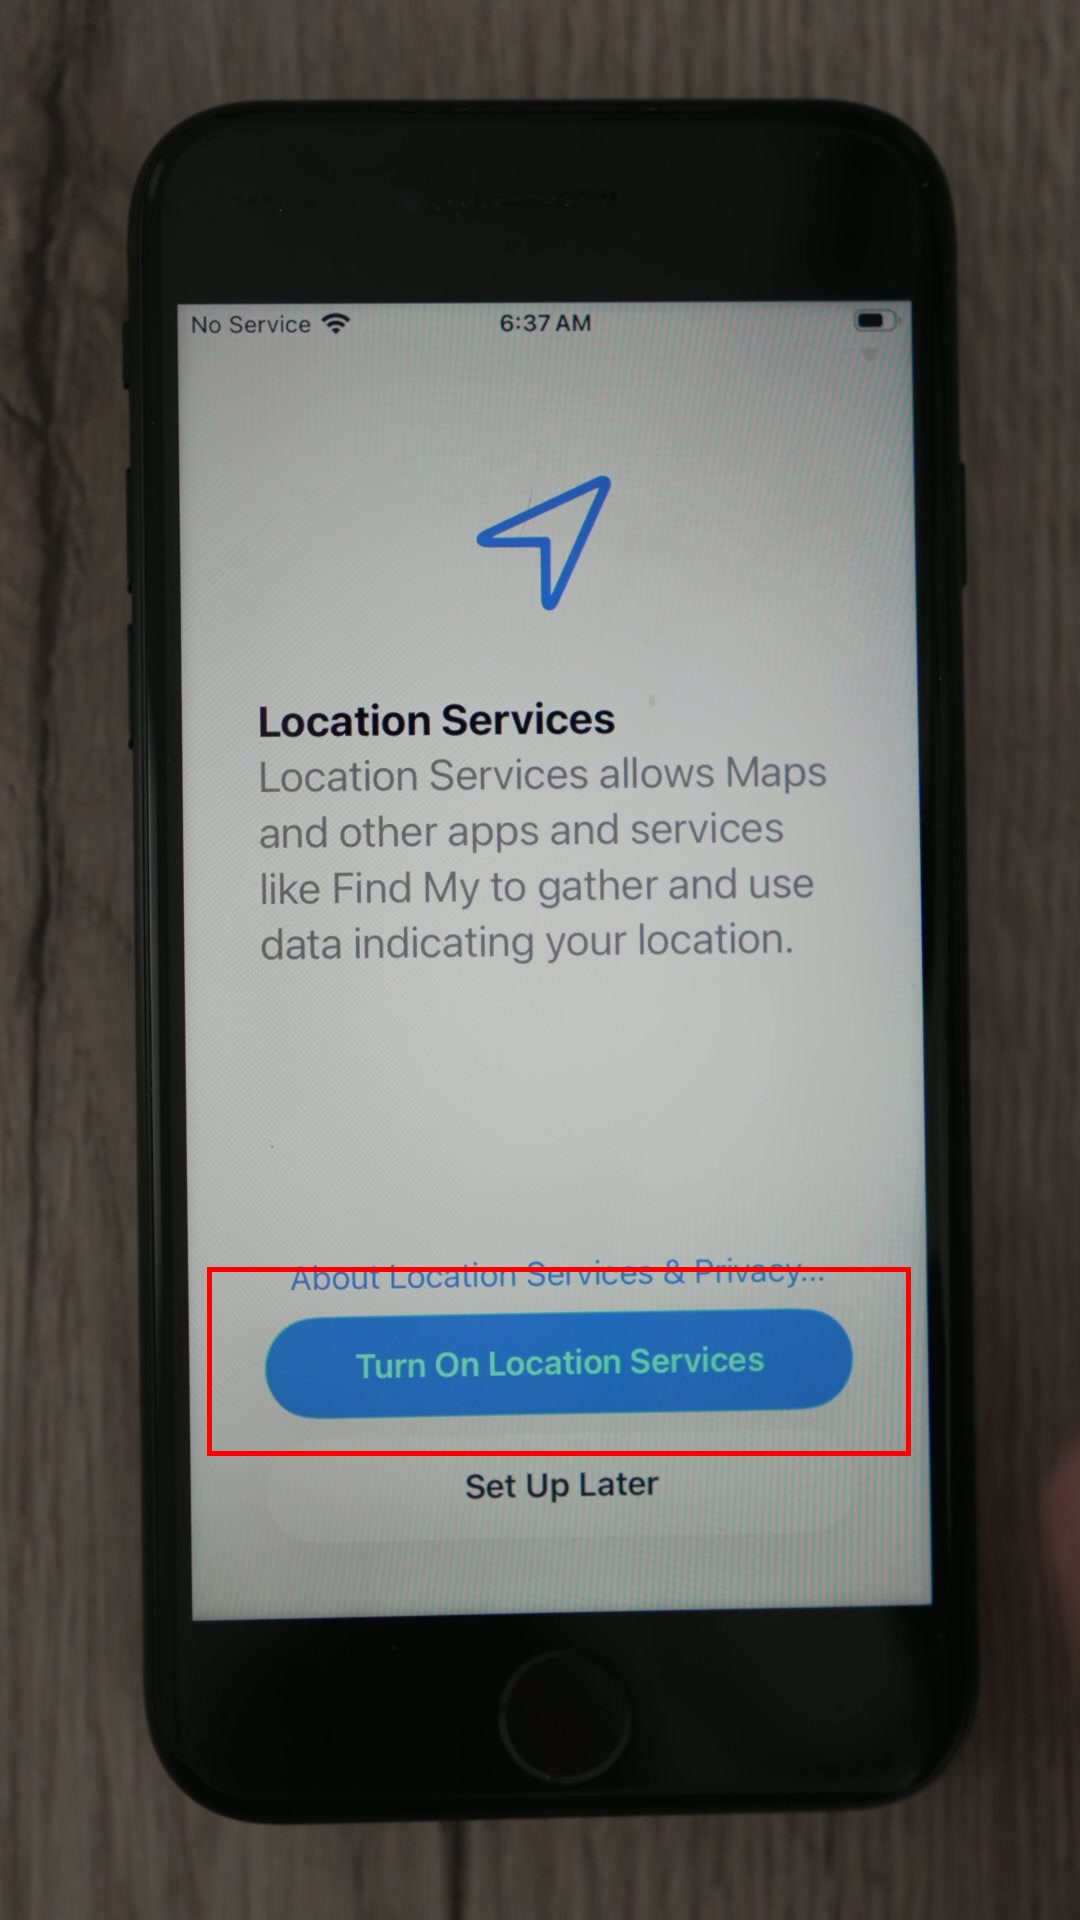
42.On the Location Services screen, tap Turn On Location Services.
Part 5: Company Portal enrollment
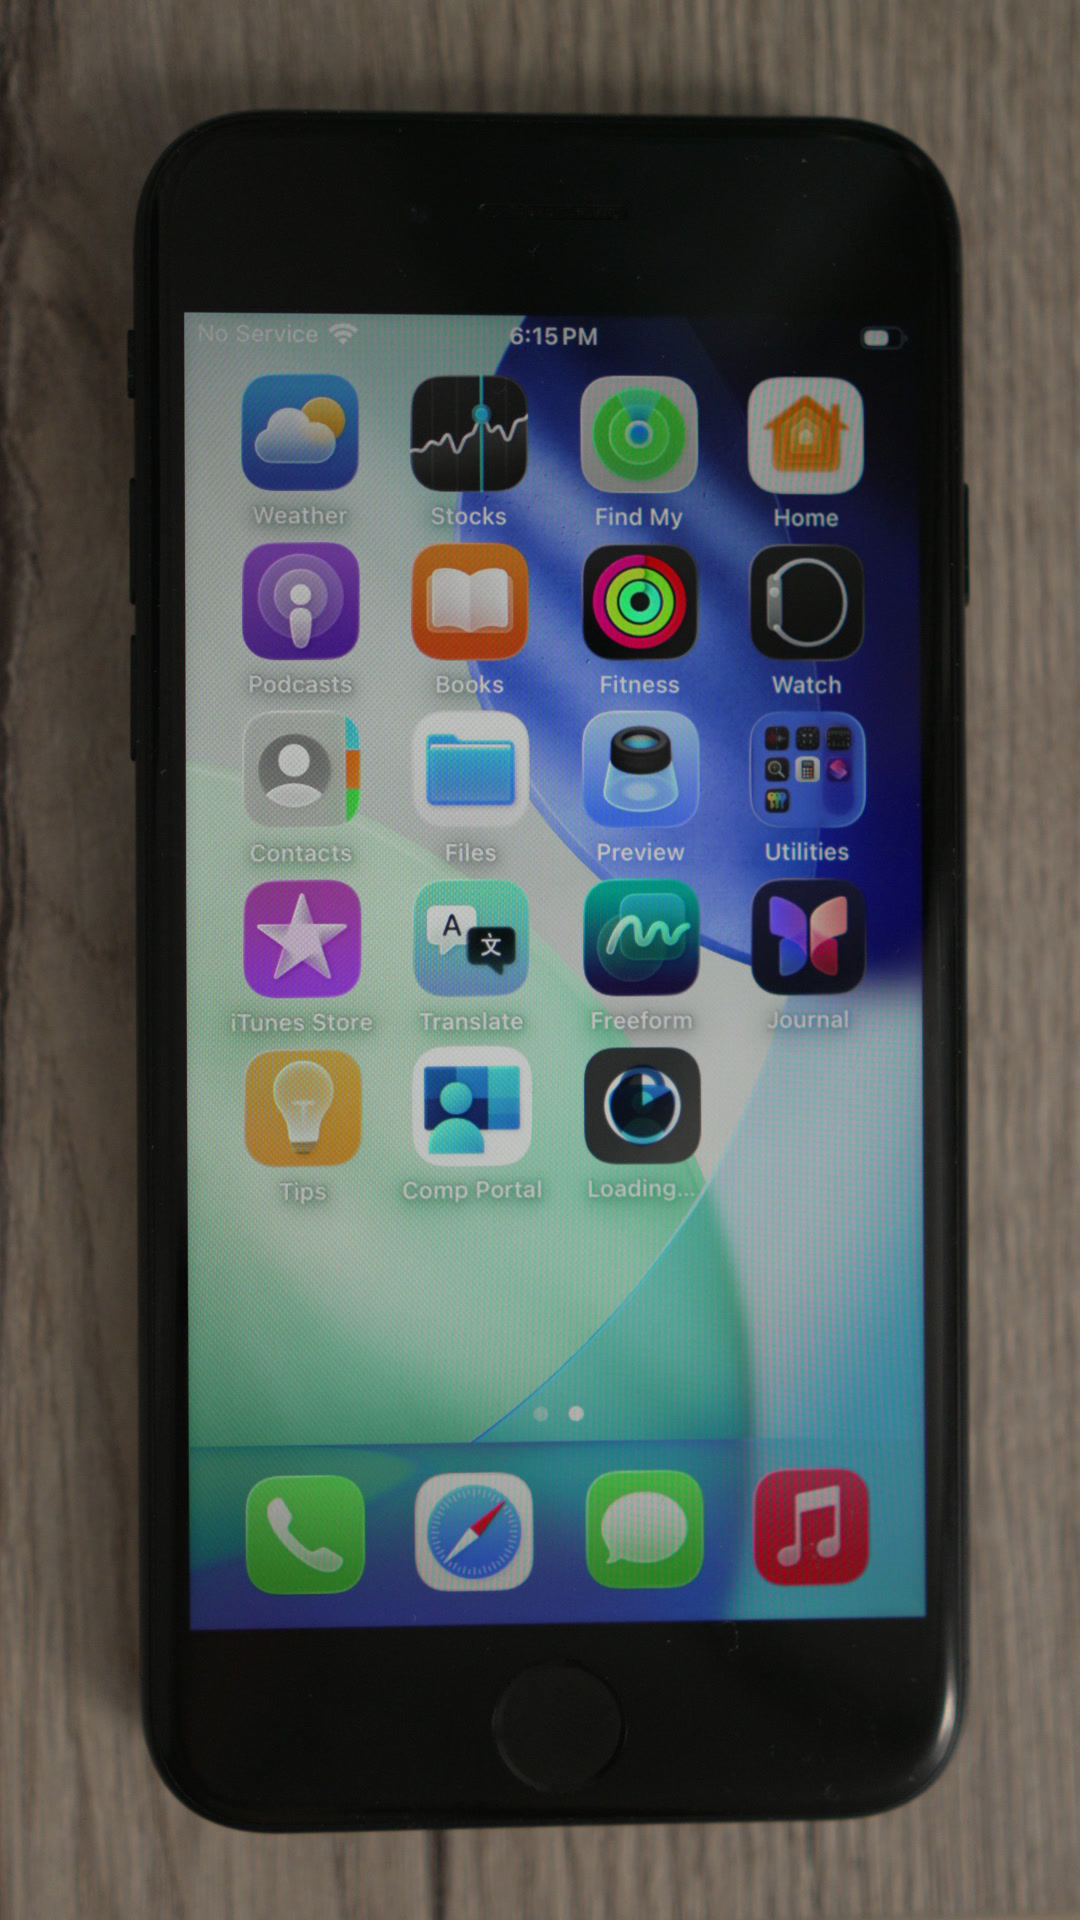
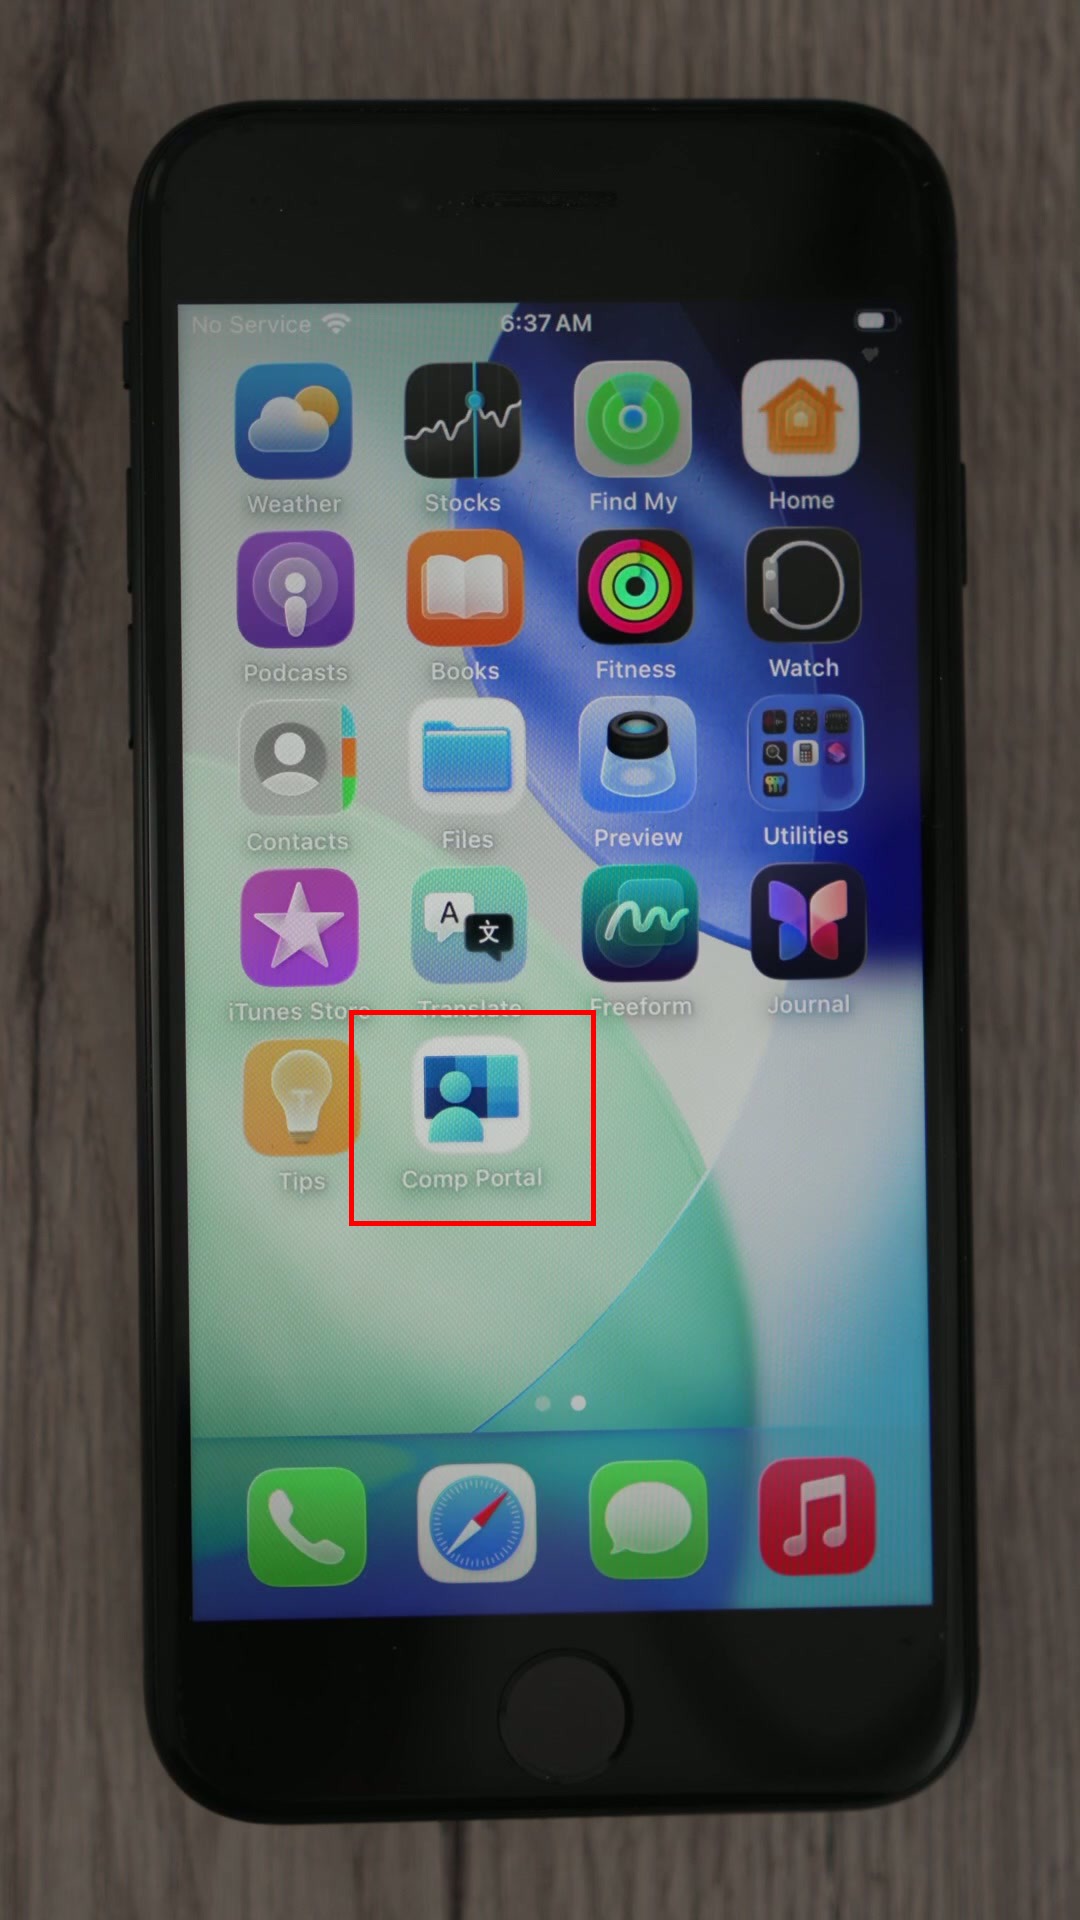
43.Once you reach the home screen, open the Company Portal app.
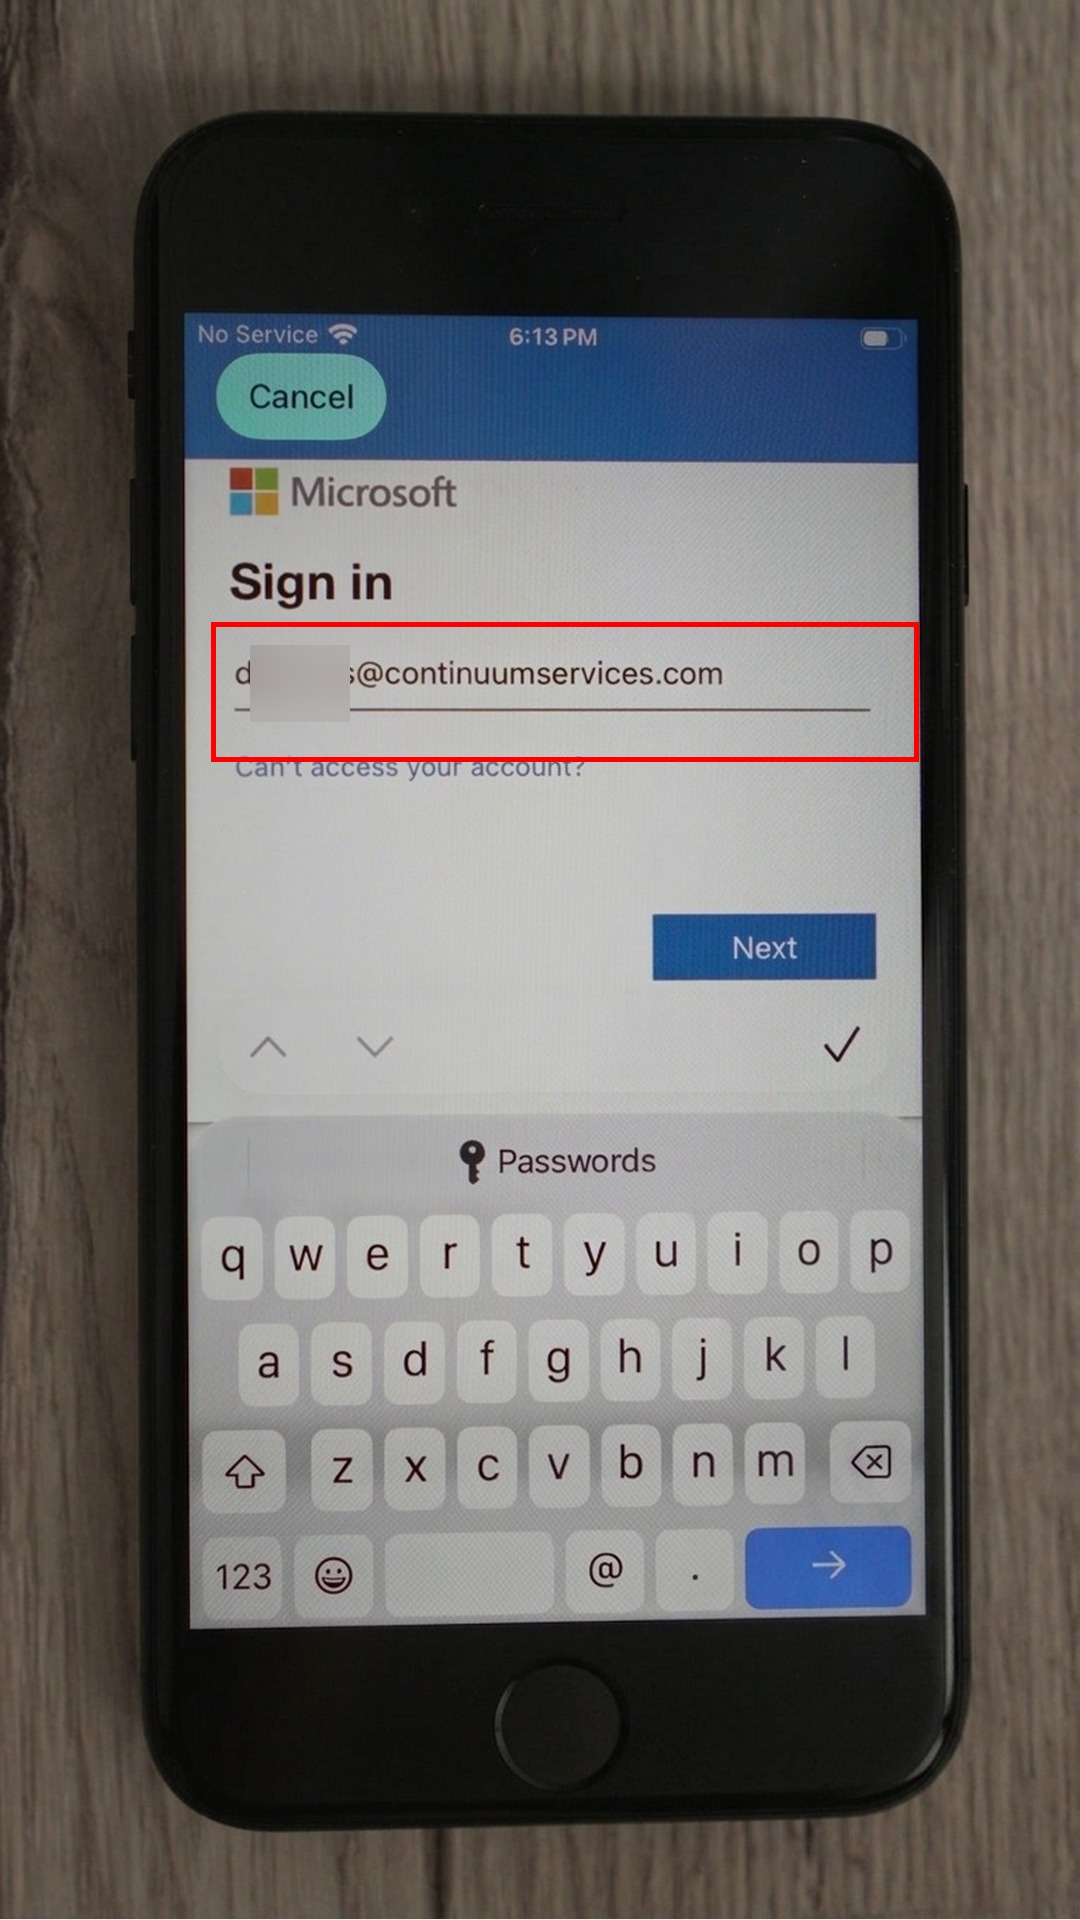
44.Enter your work email [your name]@continuumservices.com and tap Next.
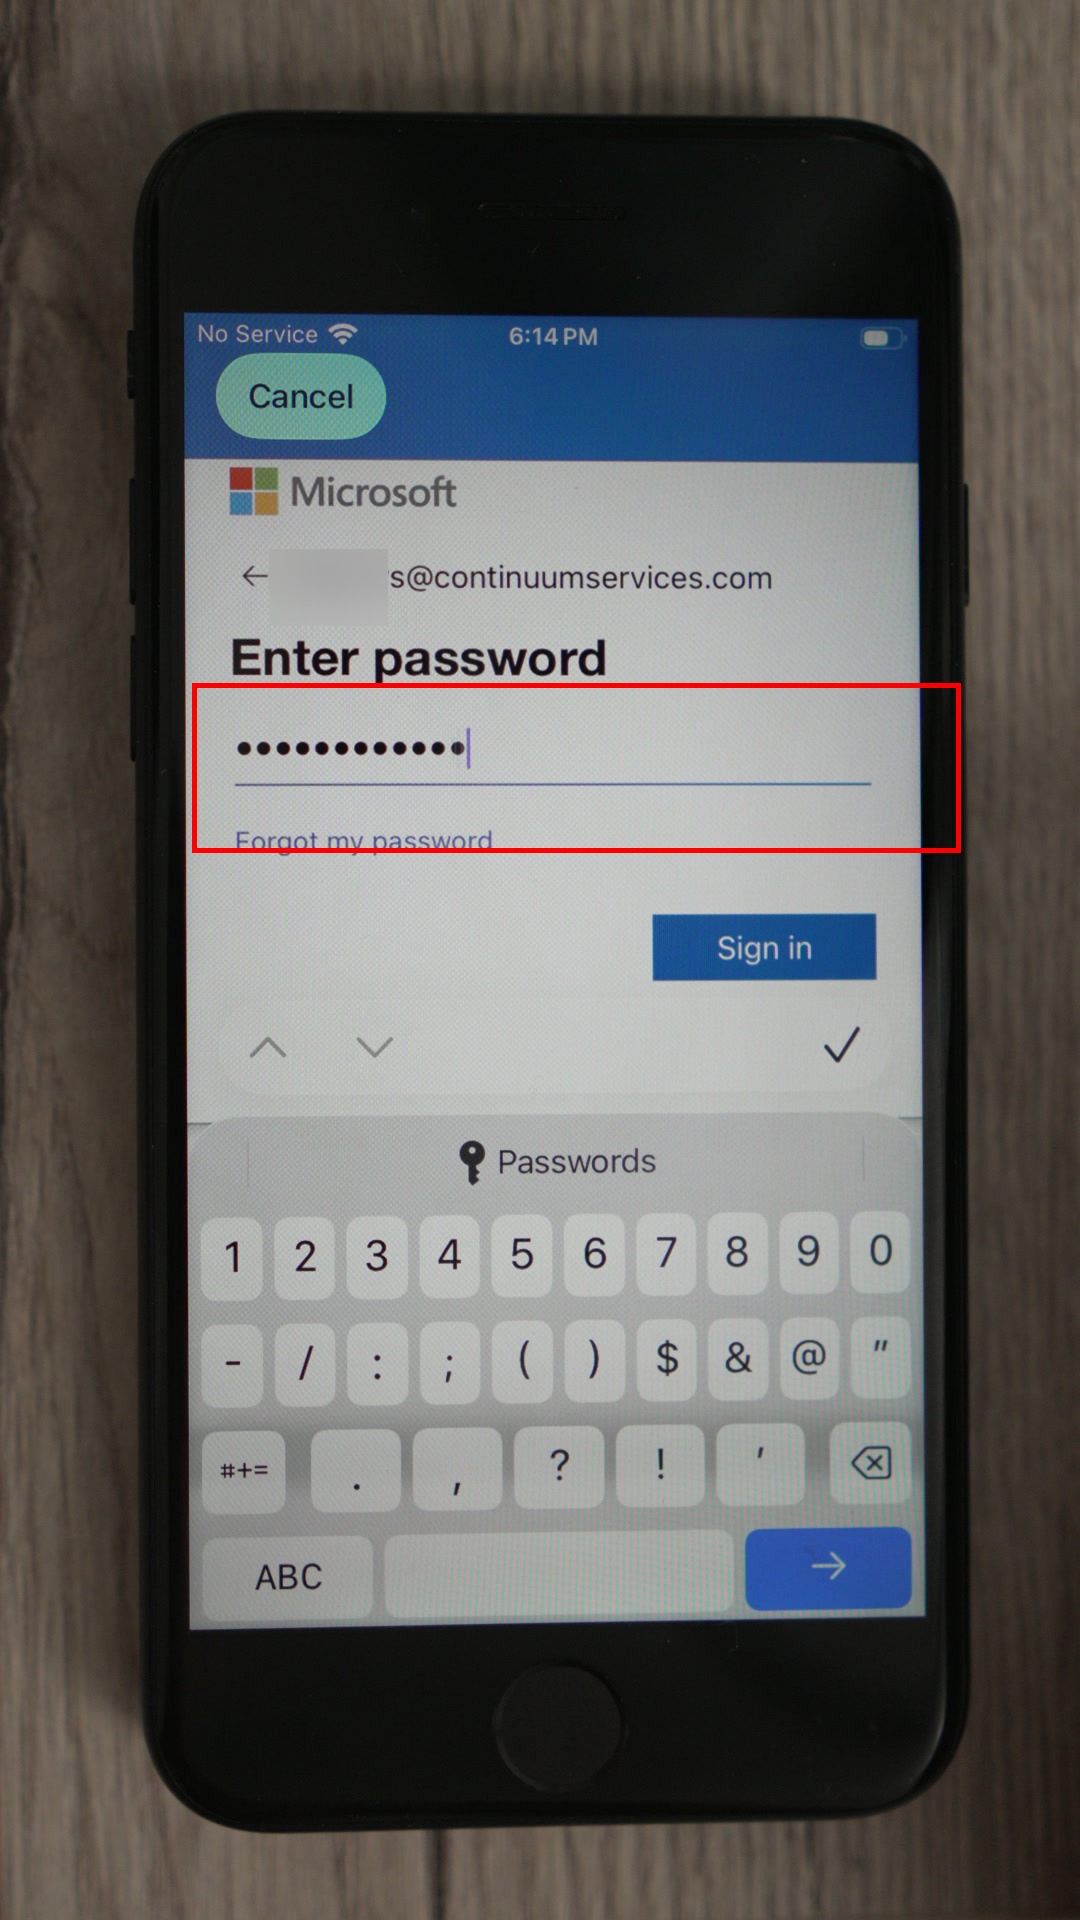
45.Enter your password in the field and tap Sign in.
Temporary password? If your IT administrator gave you a temporary password, you will be asked to change it after signing in. Follow the on-screen instructions to set a new password. Screenshots for this step will be added soon.
Having trouble?
Company Portal will not sign in: Make sure you are connected to Wi-Fi and using your full email address (including @continuumservices.com).
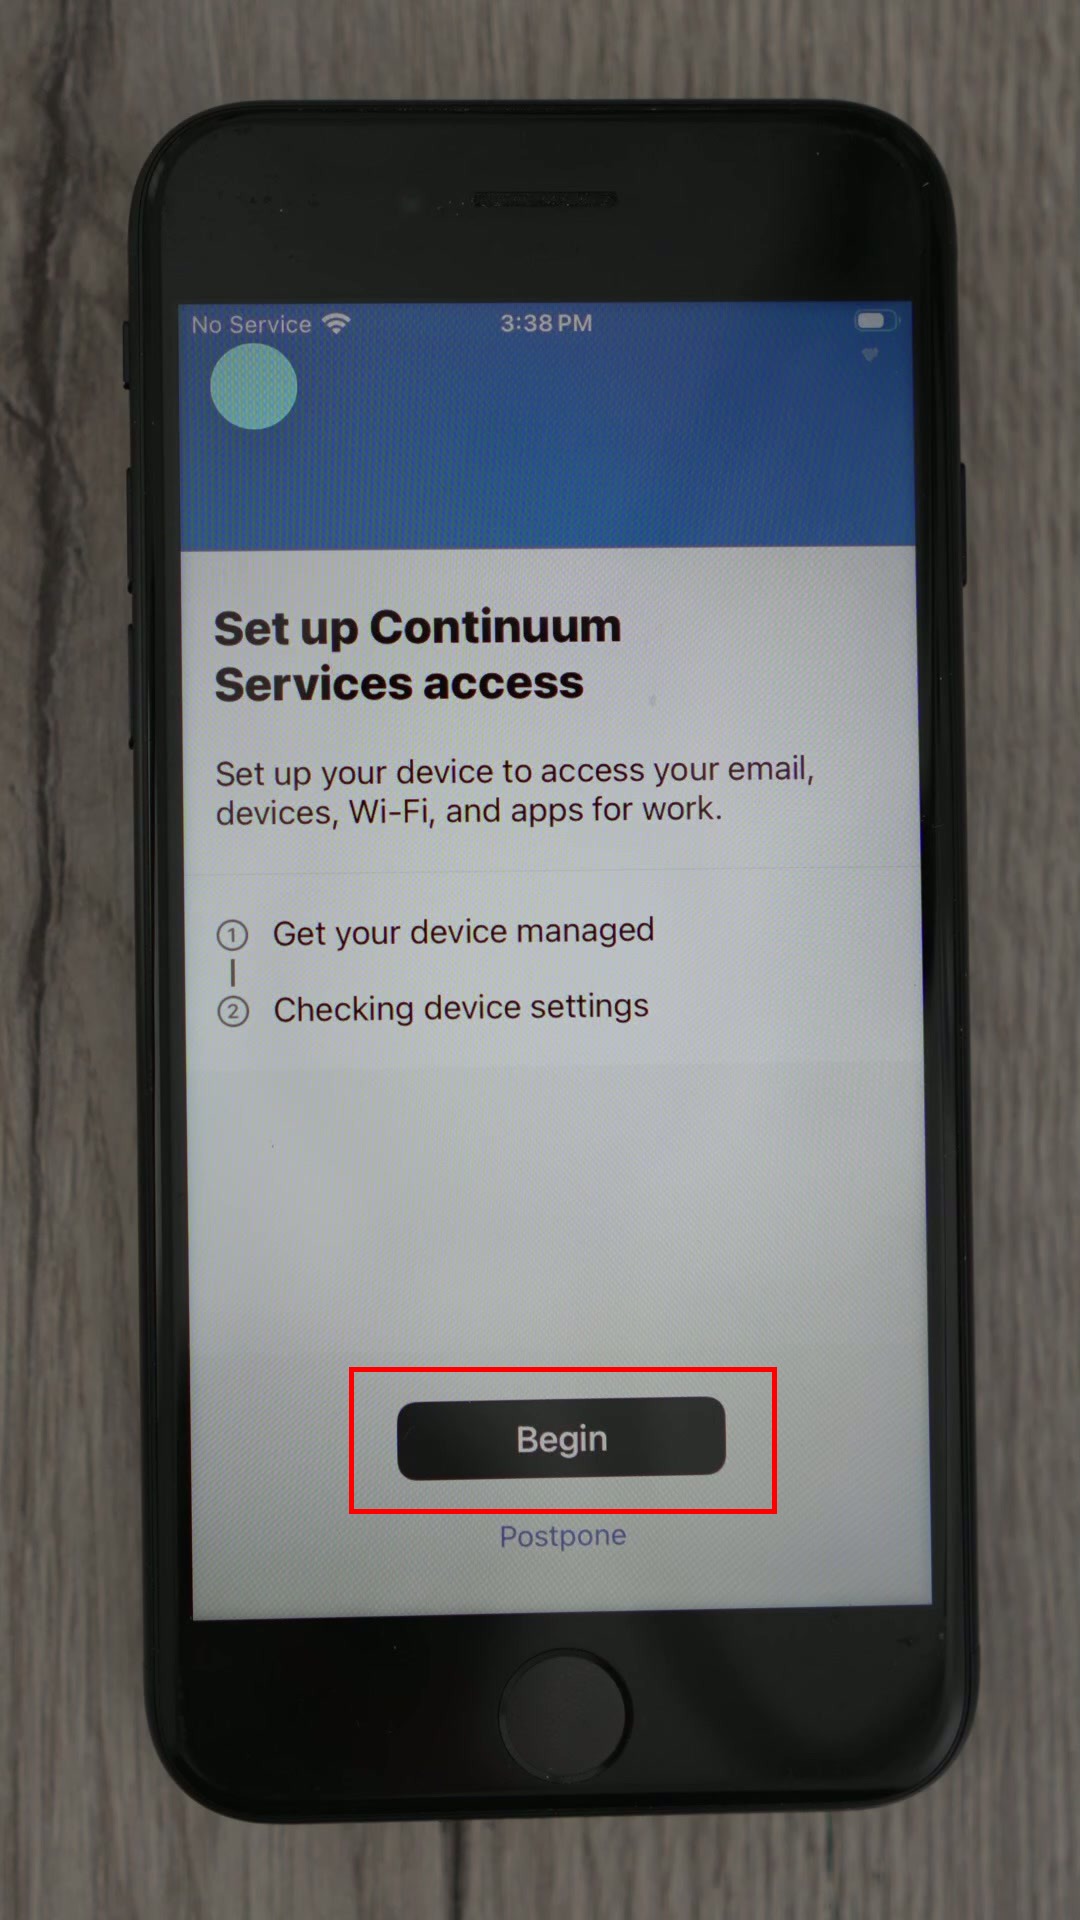
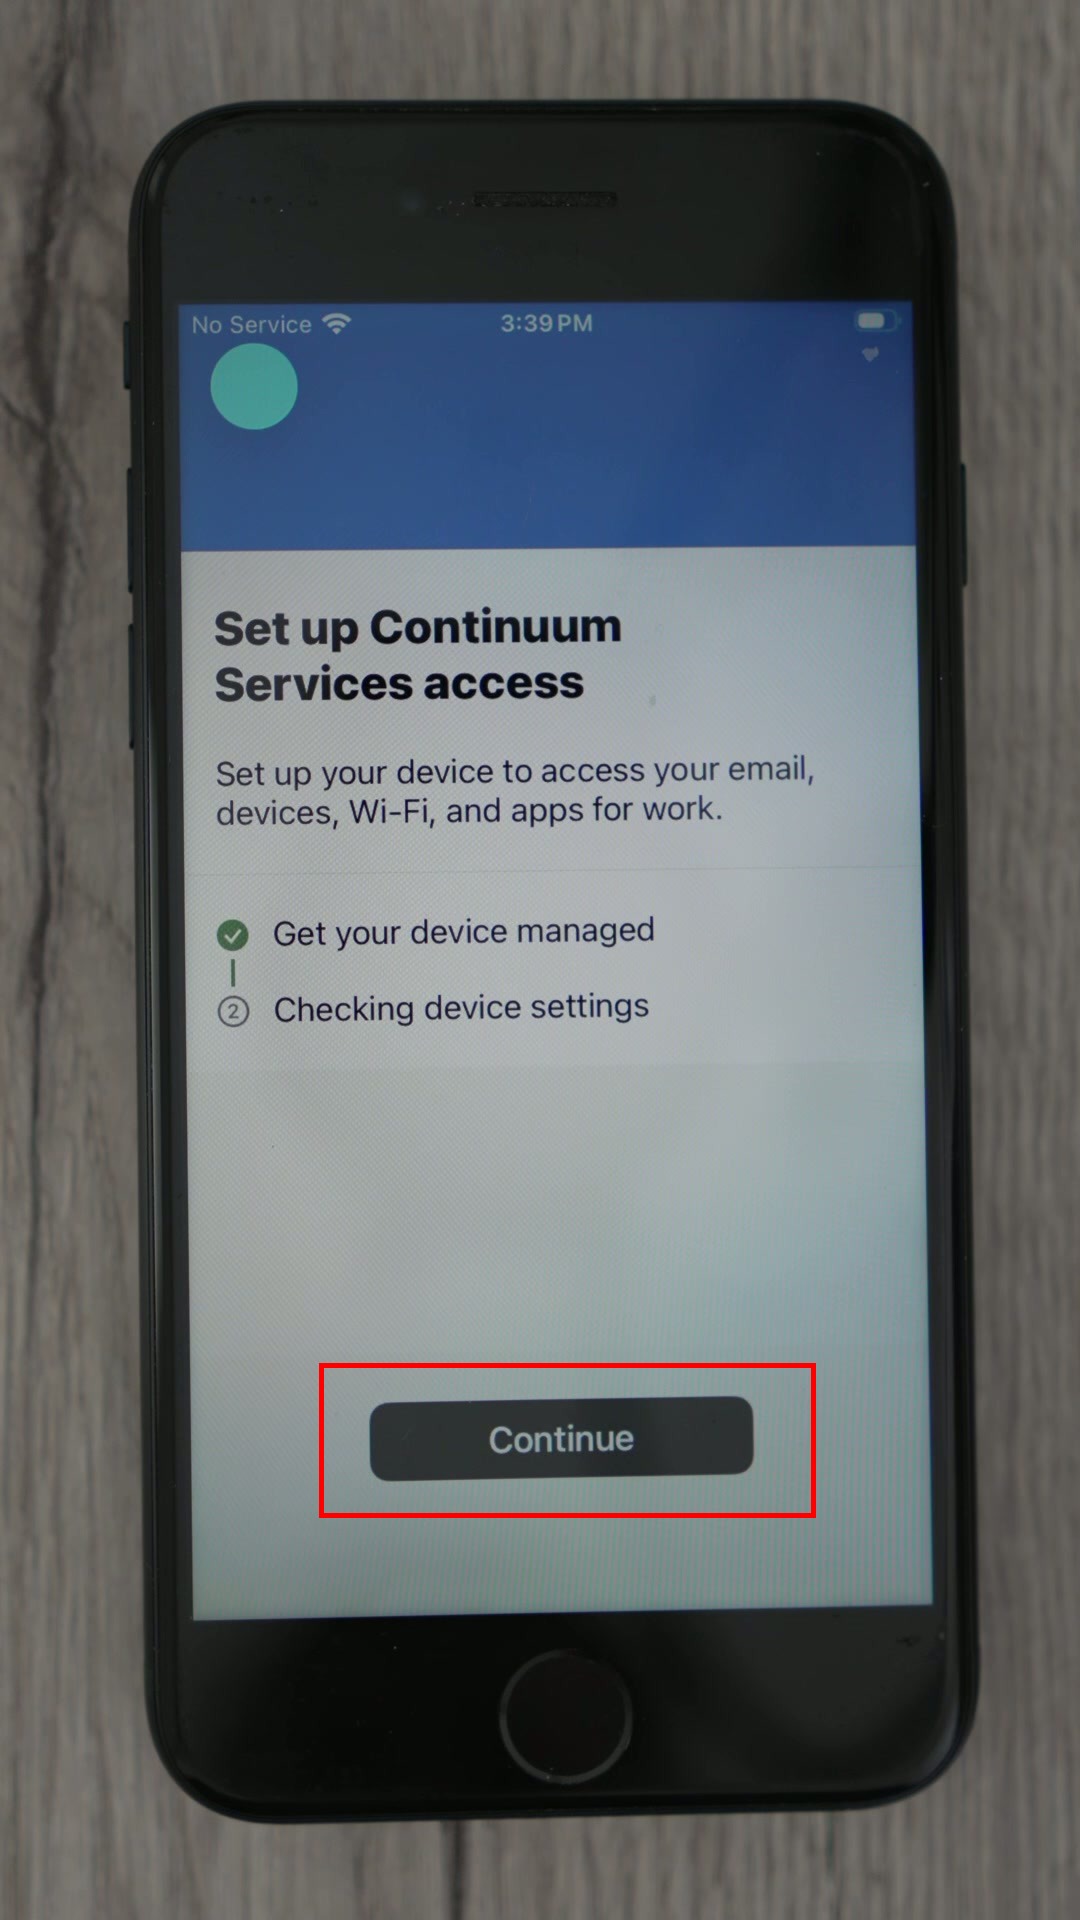
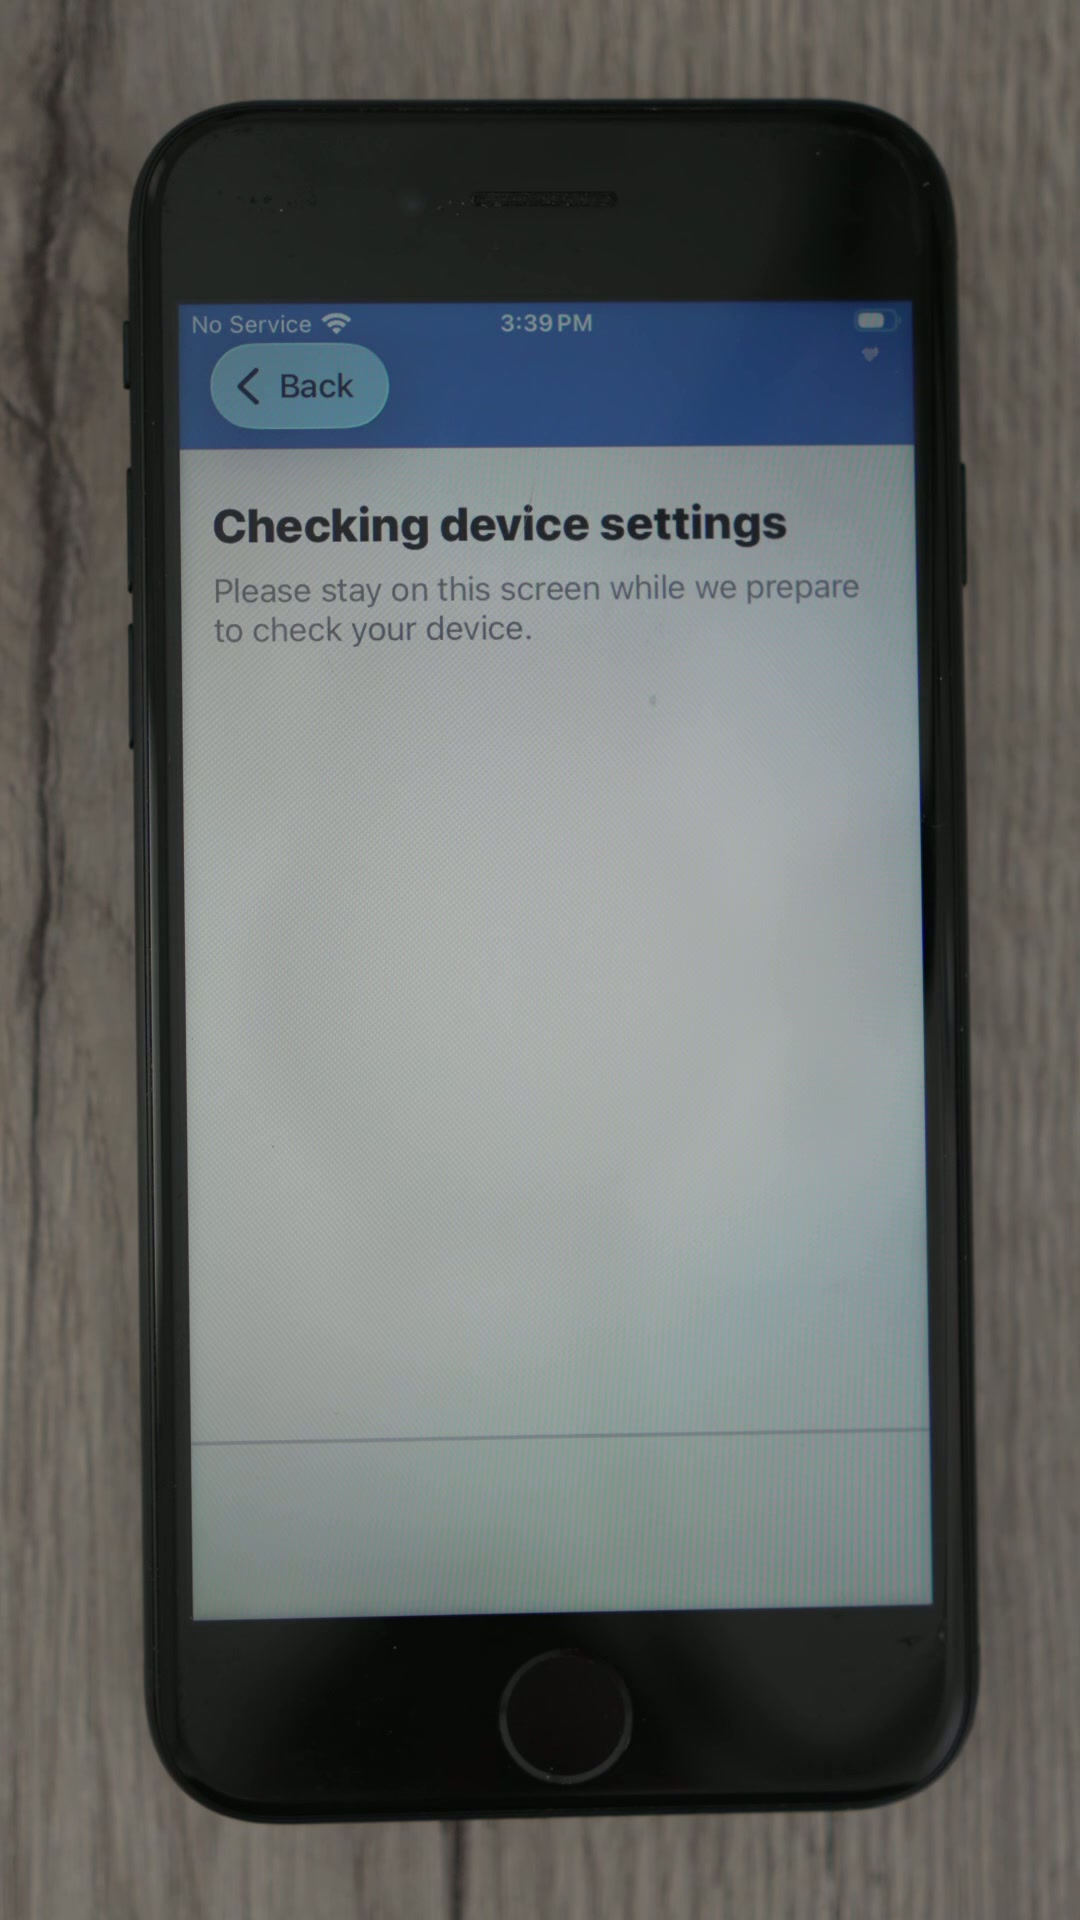
Stuck on "Checking device settings": This can take up to 2 minutes. If it takes longer than 5 minutes, close Company Portal and reopen it.
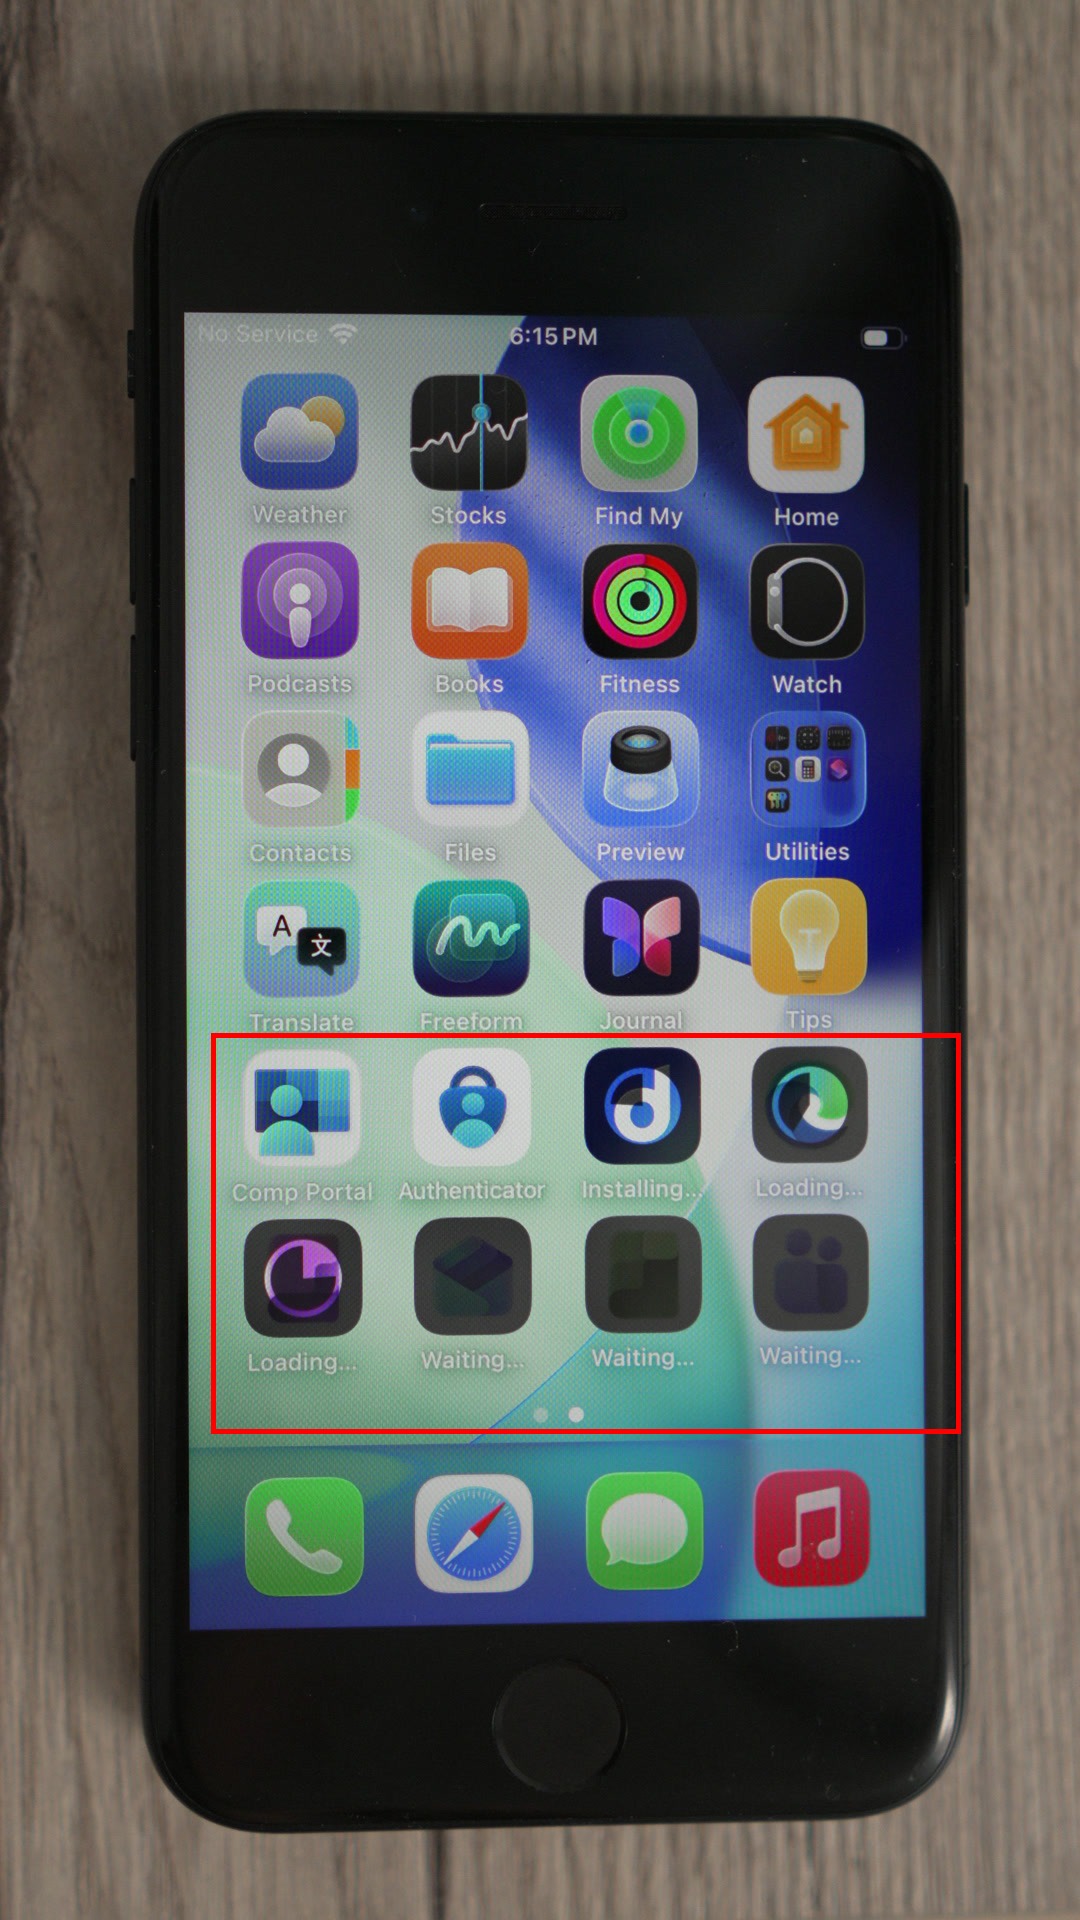
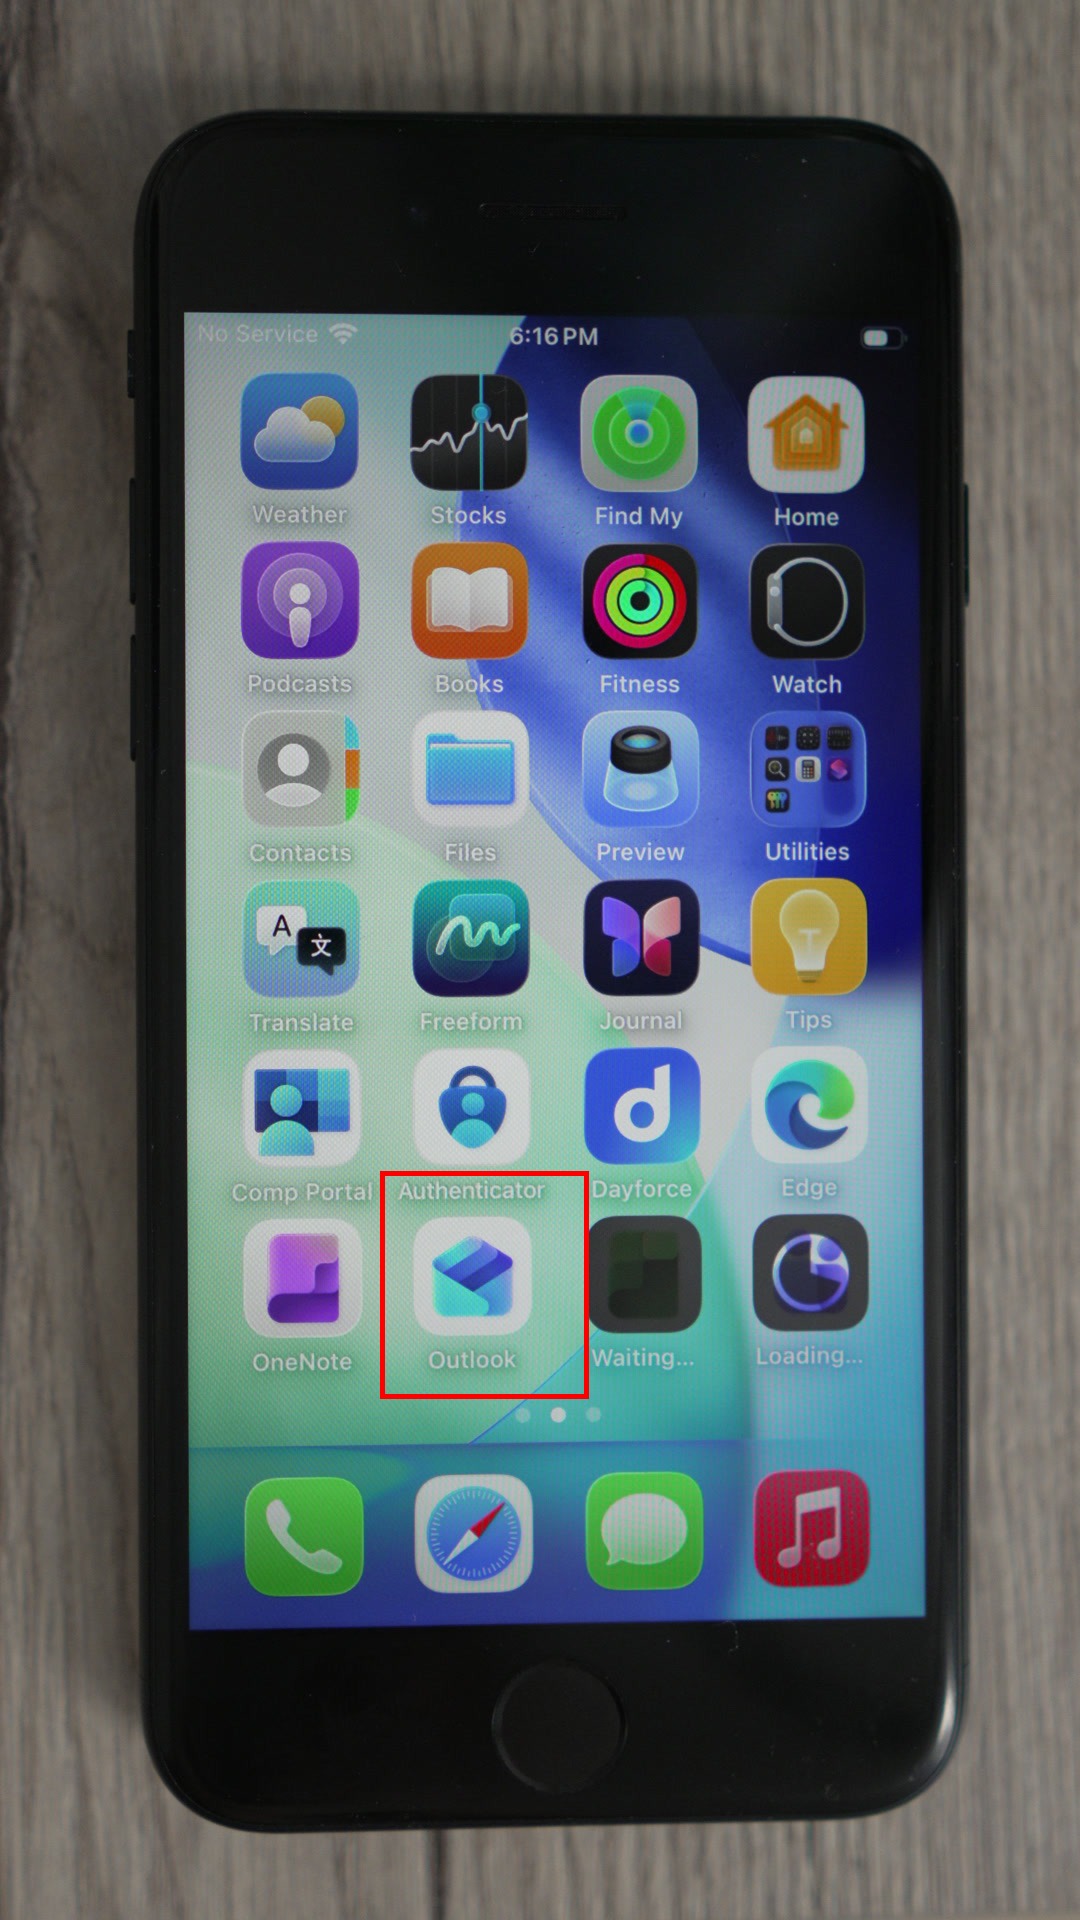
Apps not installing: Stay connected to Wi-Fi. Managed apps install automatically and may take a few minutes.
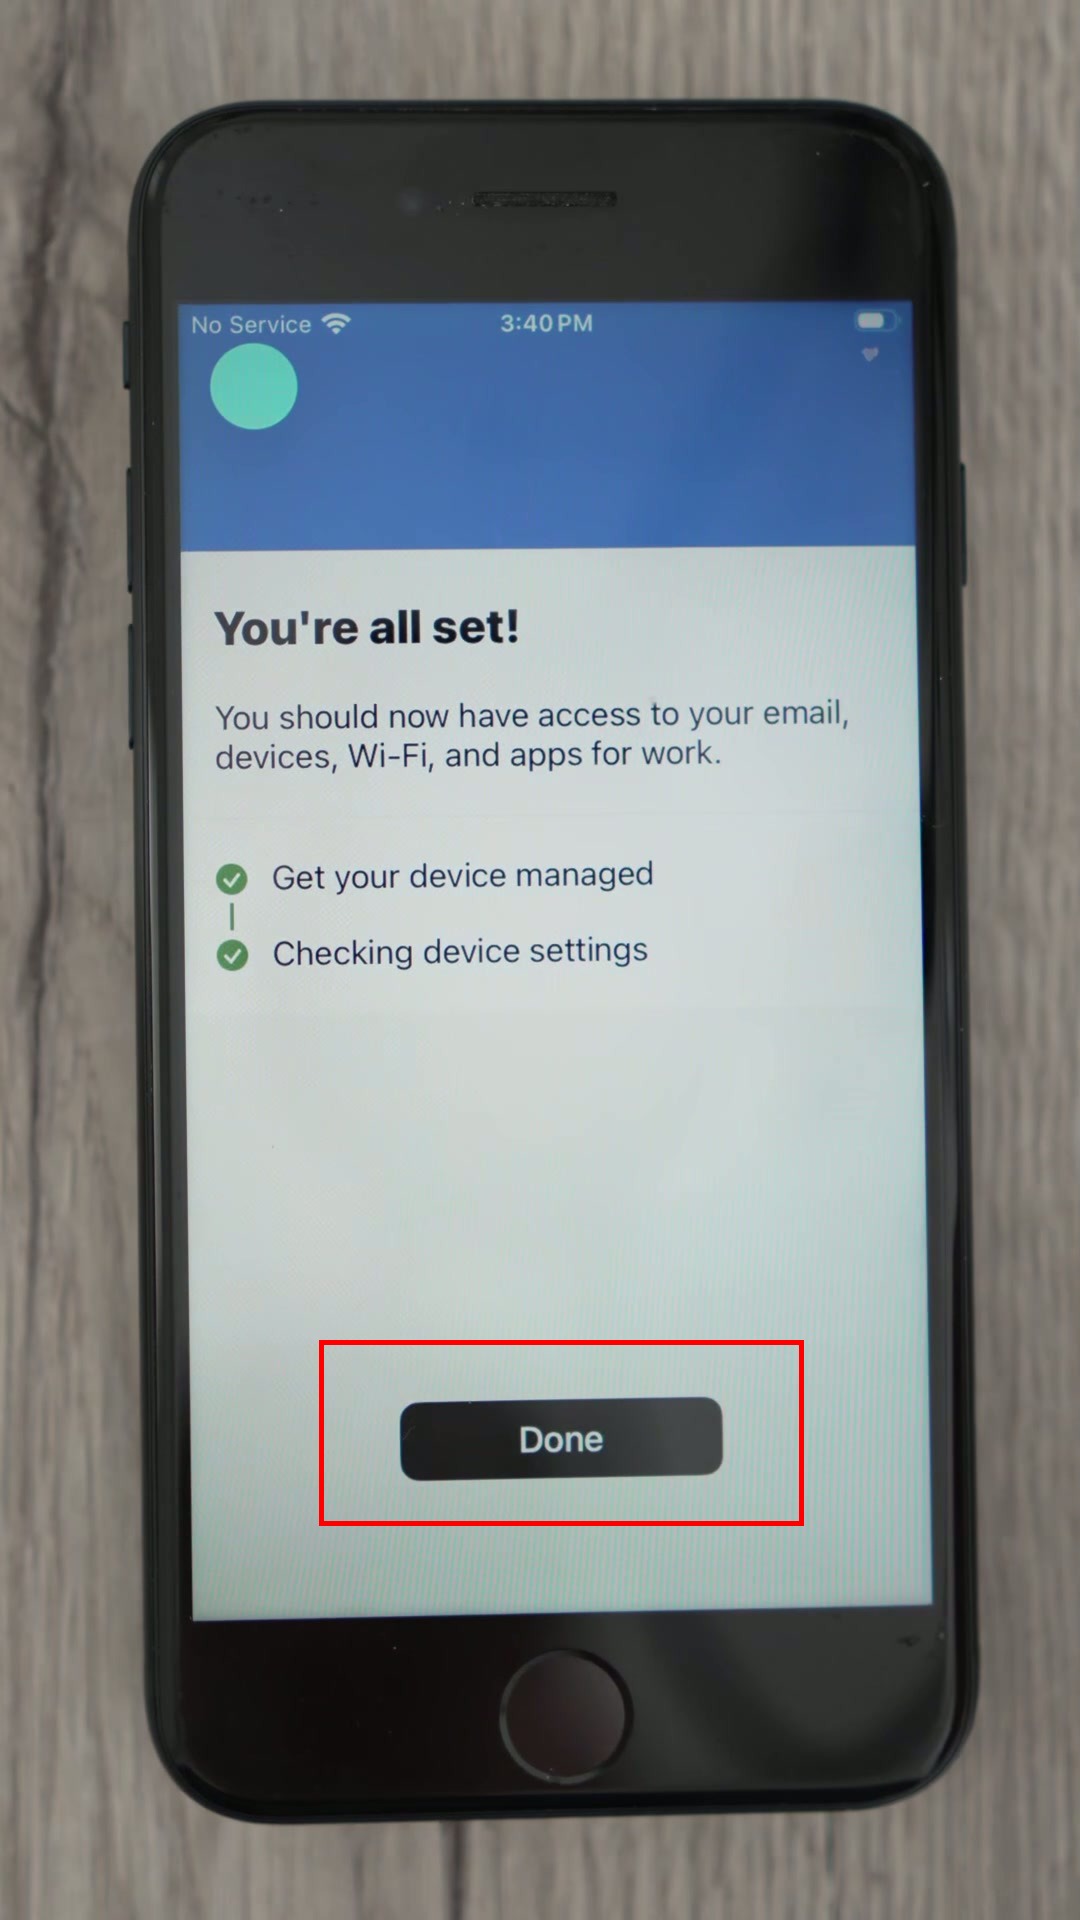
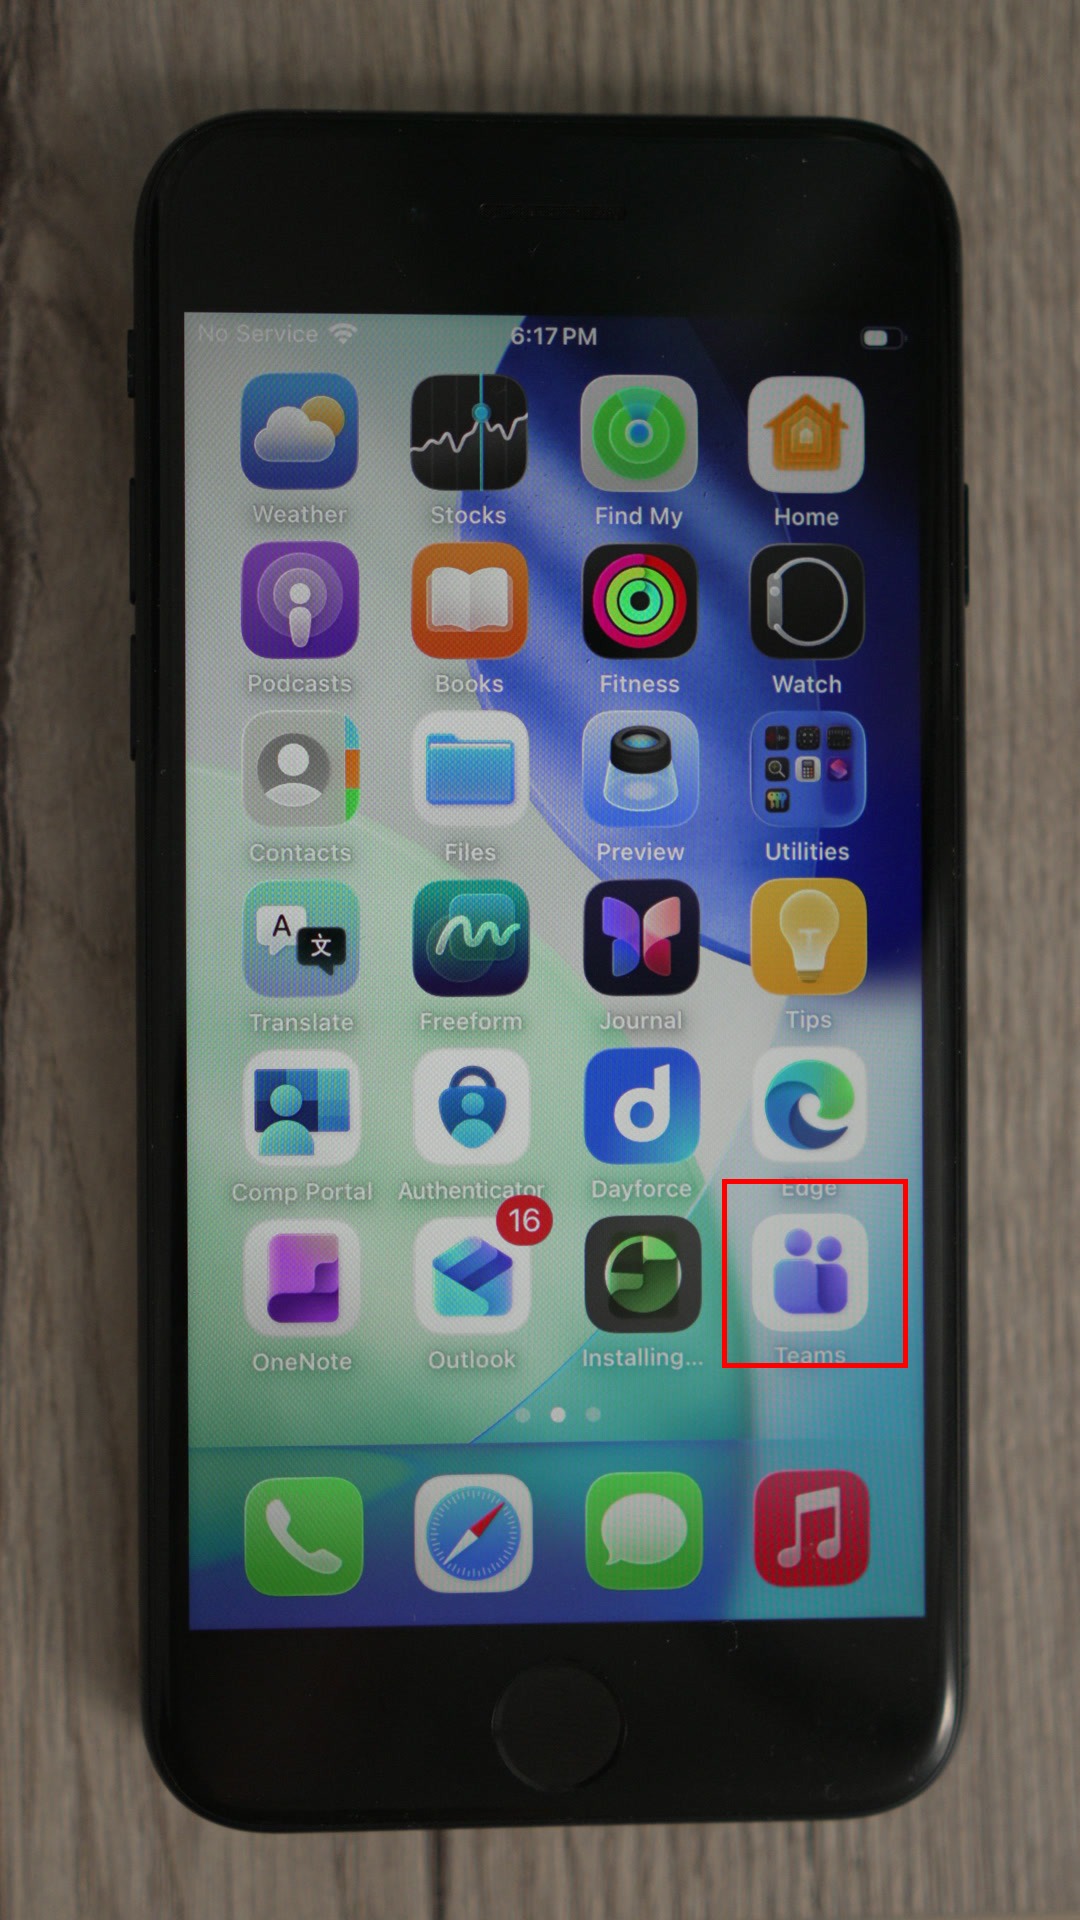
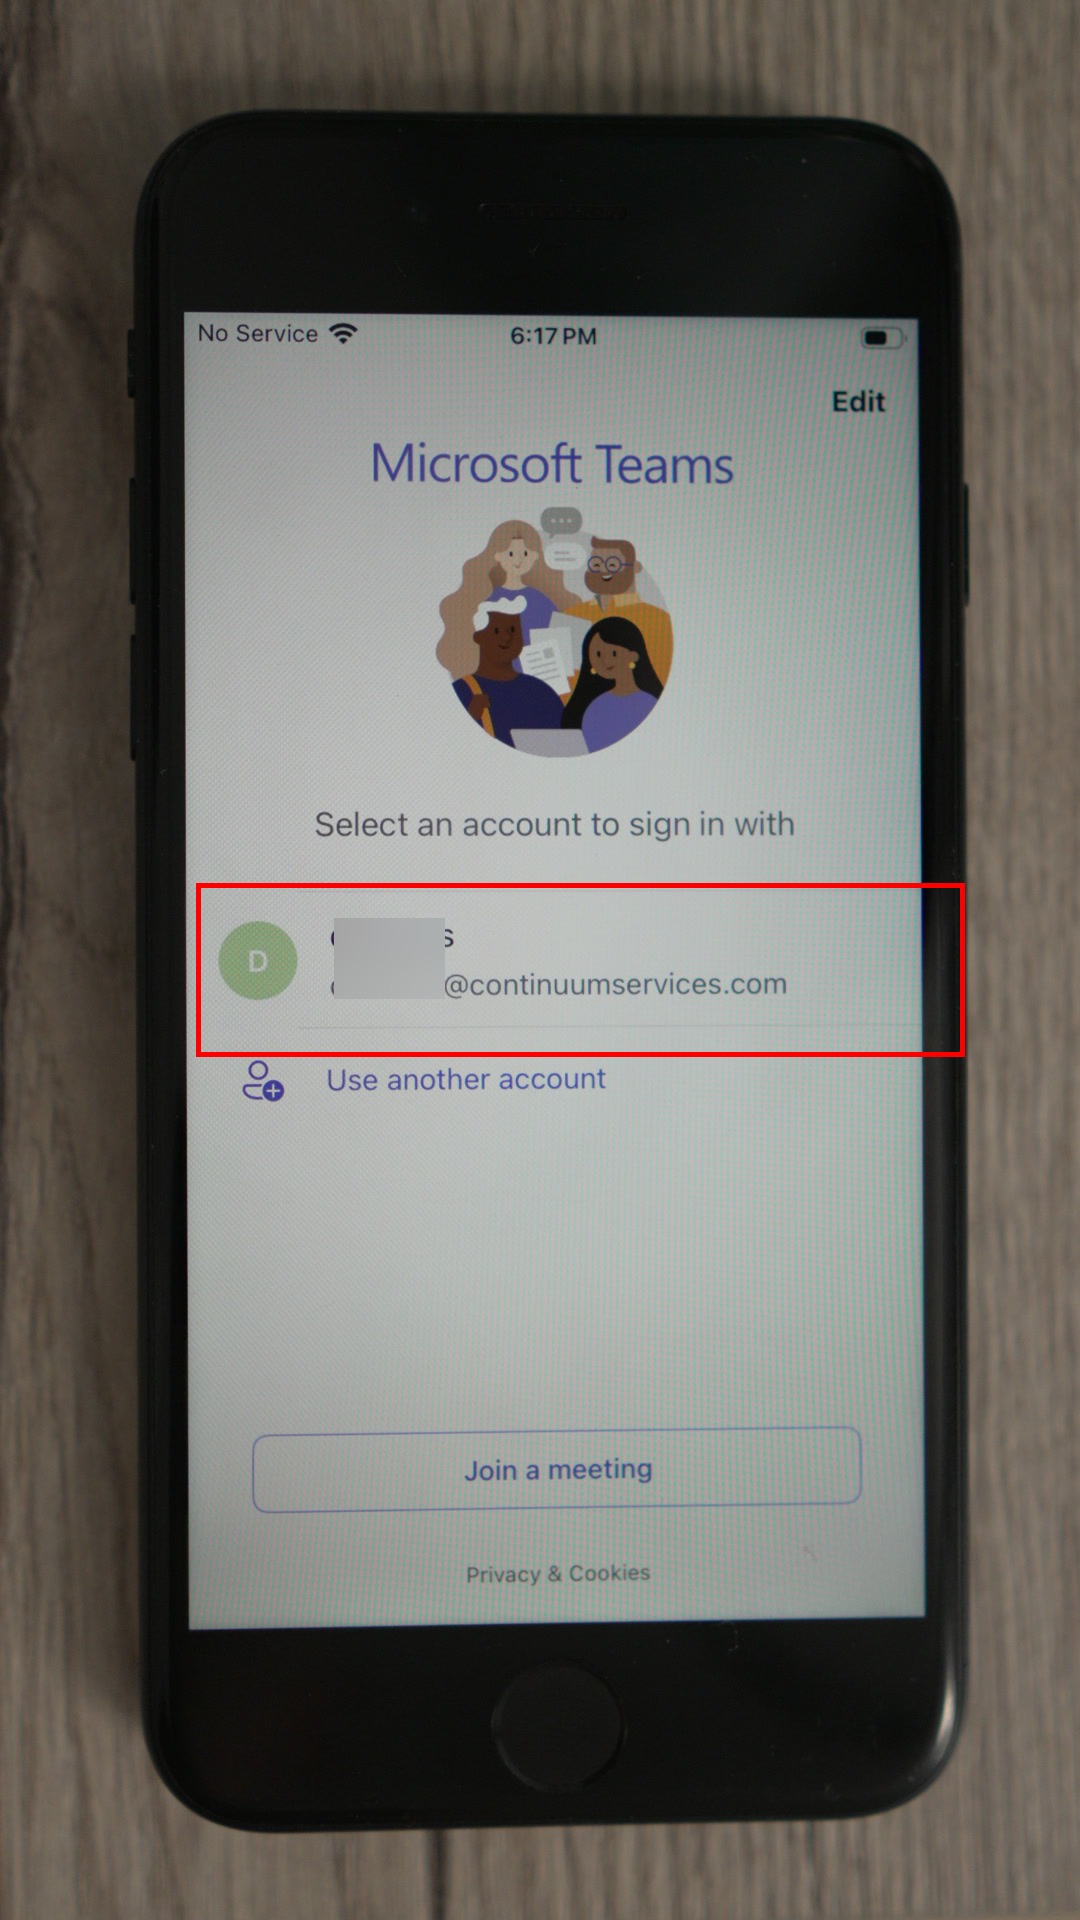
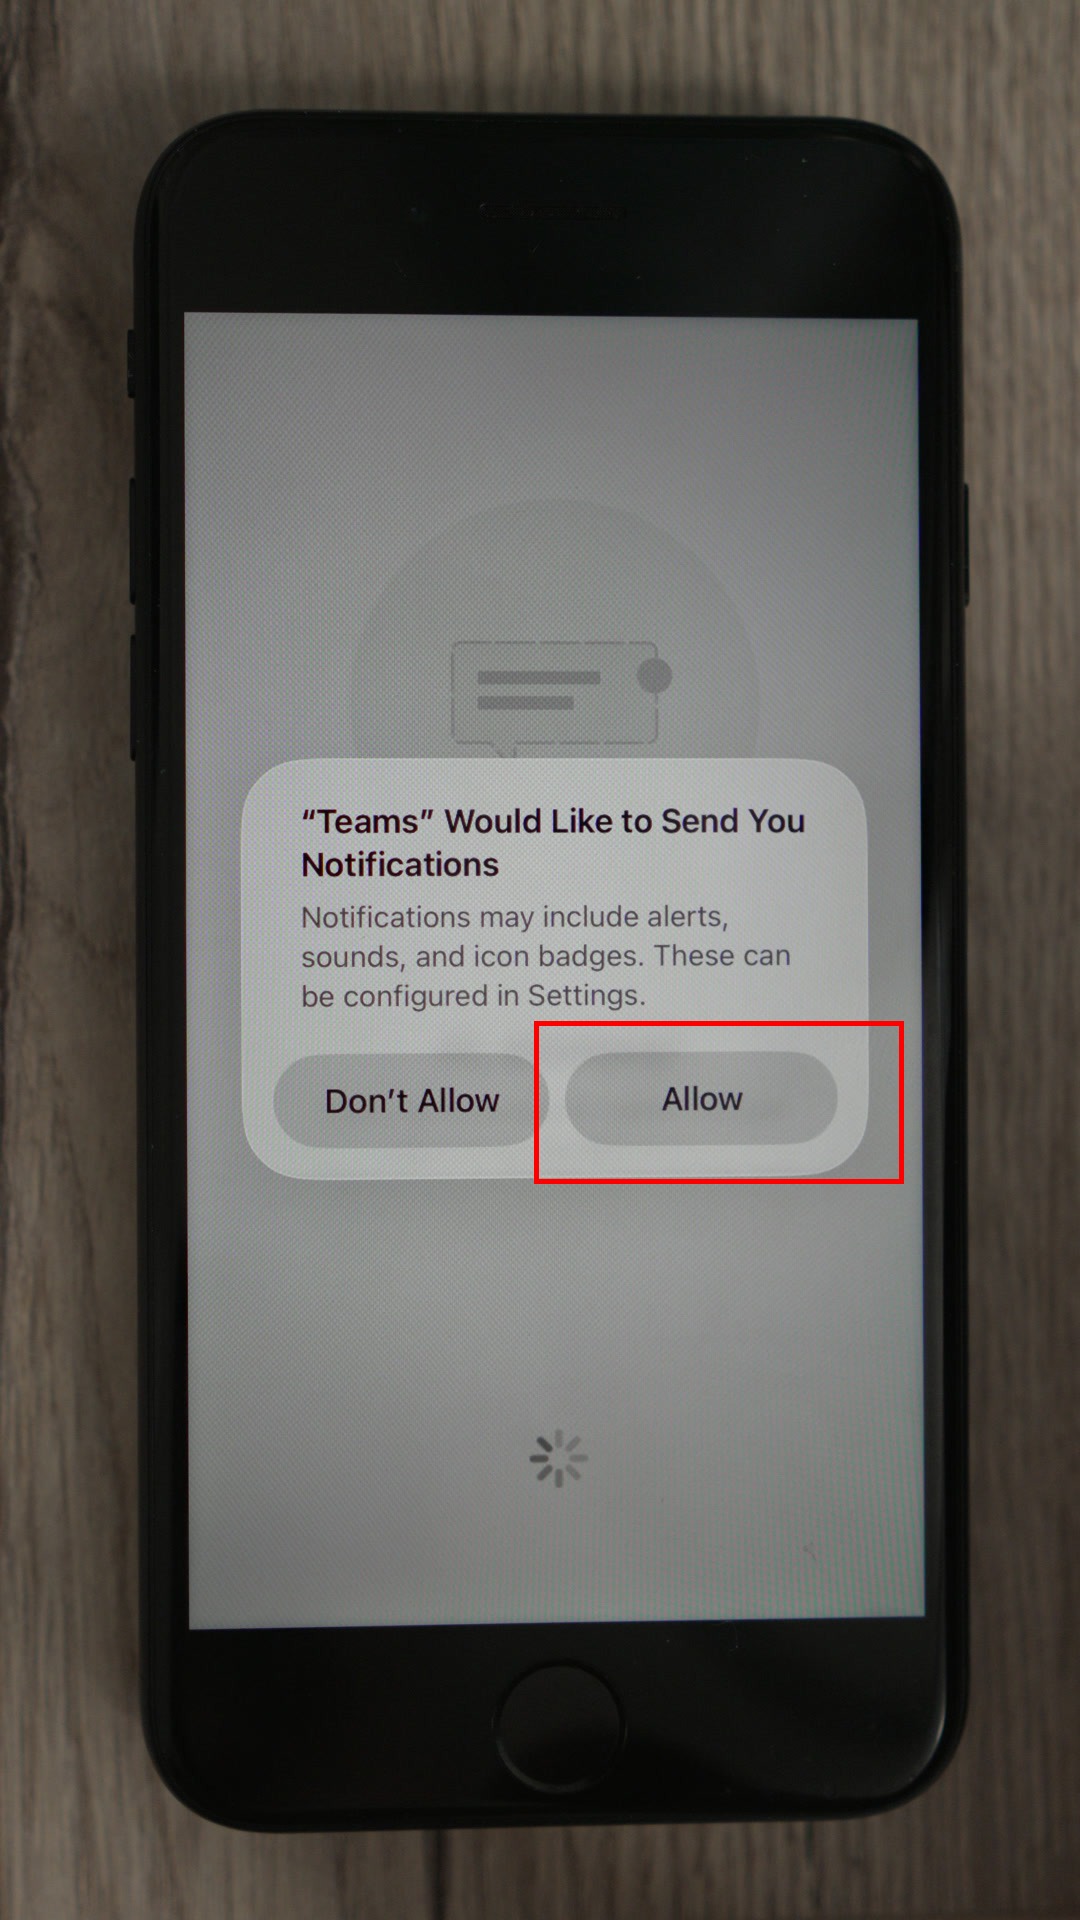
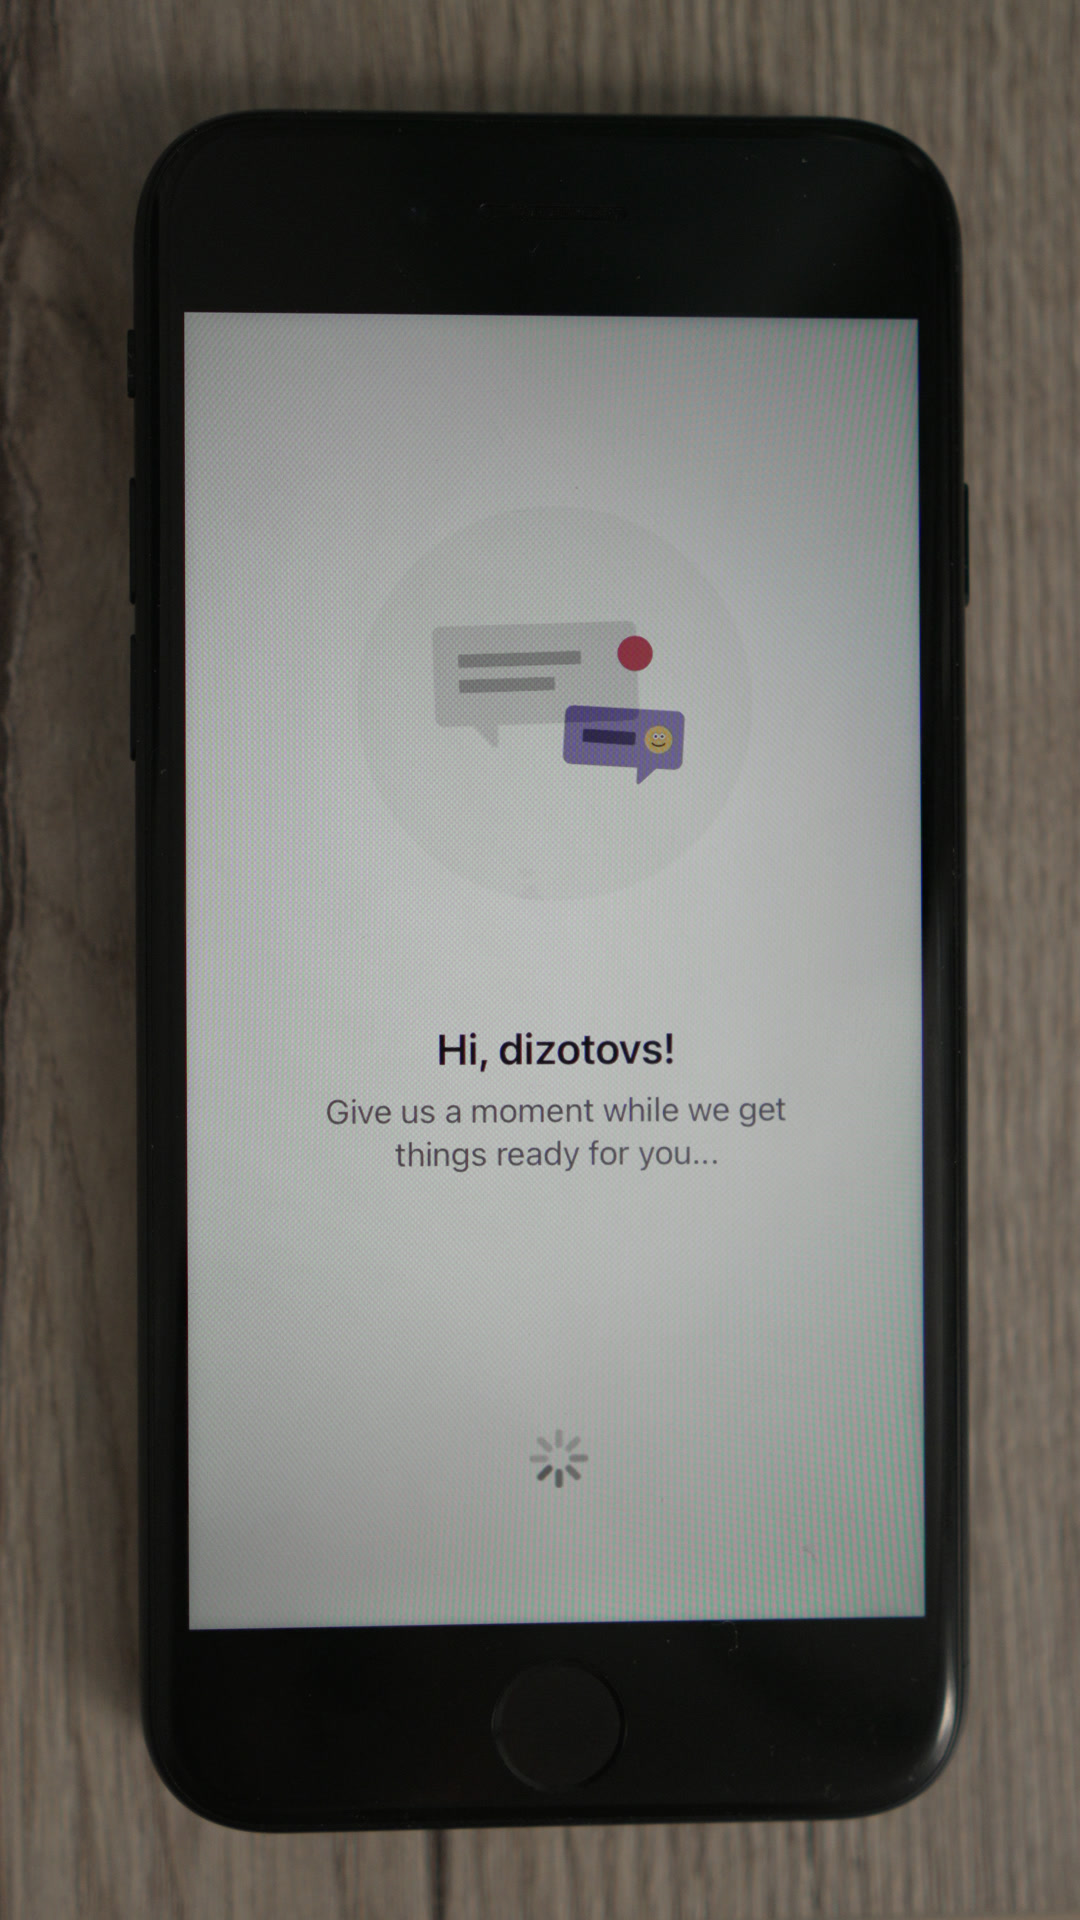
Outlook or Teams not signing in: Close the app and reopen it. SSO should sign you in automatically after Company Portal enrollment.
Still need help? Contact your IT support team.